Tiny Home Series · Part 5 · Designs 81–100
Tiny Homes — How to Build Them,
The Build Sequence and Designs 81–100
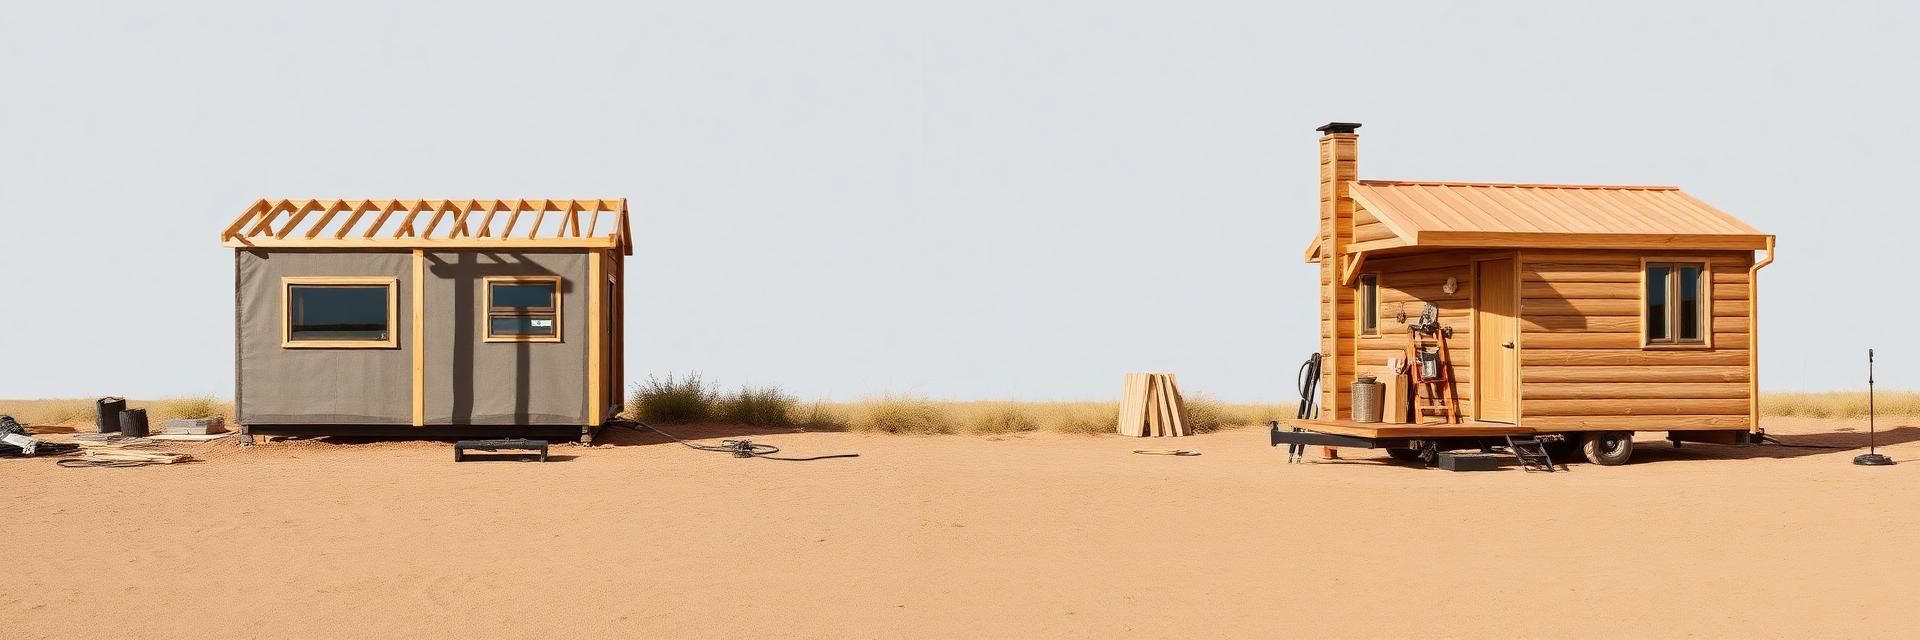
Part five is the practical one. It follows a tiny home in the order it actually gets built, because the sequence is what decides whether the finished home lasts thirty years or starts leaking in its second winter. A level pad or a correctly rated trailer chassis first. A square, plumb frame second. Then a weathertight shell — roof, wrap, flashings and windows — before a single sheet of lining goes up inside.
From there the work moves inward. Insulation and a continuous air seal, one services wall that stacks water, waste and power in a single accessible run, then the fit out in stages you can pay for as cash allows: kitchen, bathroom, storage joinery, floors and finally the deck and garden that finish the property. Working in that order means each stage protects the last one, and nothing has to be pulled apart later to reach a pipe or a cable.
The twenty designs below show what each stage produces, from bare ground to a finished home sitting in its garden.
Setting out is the stage people rush and then pay for forever. A pad that is fifteen millimetres out of level across four metres, or a chassis that is a few millimetres out of square, shows up later as doors that will not latch, a shower screen that will not seal and cabinetry that has to be packed at every wall. Spend the extra half day with string lines, a water level or a laser and diagonal measurements before a single bearer lands. Everything above that point inherits the accuracy of that first afternoon, and no amount of careful carpentry higher up will correct it.
Weathertightness is the second discipline, and it is a system rather than a product. Roof first, then flashings, then the wall wrap lapped so water always runs to the outside, then window head flashings dressed over the wrap rather than under it, then the cladding with a drainage cavity behind it. Every penetration — a tap, a vent, a cable, a bracket — is a hole you have to detail deliberately. Get this sequence right and the building dries itself out after every storm. Get it out of order and you build a wall that traps water where you will never see it.
The fit out is where a staged build earns its keep. With the shell closed in, the home is safe from weather and you can slow down to match your budget. Rough in all the plumbing and electrical while the frame is open, photograph every wall before it is lined so you know where the services run, insulate and air seal continuously, then work through kitchen, bathroom, joinery and floors in whatever order the money allows. The deck and garden come last, and they are the stage that turns a finished building into a home you want to sit outside of.
The services wall is the single detail that separates a comfortable small home from a frustrating one. Stacking the kitchen sink, the bathroom, the hot water unit and the electrical run into one accessible cavity means a single short pipe run, one drain fall, one place to isolate everything and one panel to open when something needs attention in ten years. Every design in this part is drawn with that wall identified, and the build sequence keeps it open until the rough in has been checked and photographed.
Off grid systems are worked in at the same stage rather than added afterwards. Panel orientation and roof penetrations belong with the roofing, cable routes and the battery location belong with the framing, and the rainwater tank, first flush and pump line belong with the ground works. Deciding those things while the walls are still open costs nothing; deciding them after the linings are on costs a weekend and a repair every single time.
Finish with the deck and the garden, because they are what turn a completed building into a home. A platform flush with the internal floor, a pergola or wide eave for shade, a path that drains through winter, a screen of climbing greenery and a couple of raised beds by the door take a weathertight box and give it a front door worth walking up to. The last twenty designs in the library show exactly that moment, from bare ground through to a finished home sitting in its garden.
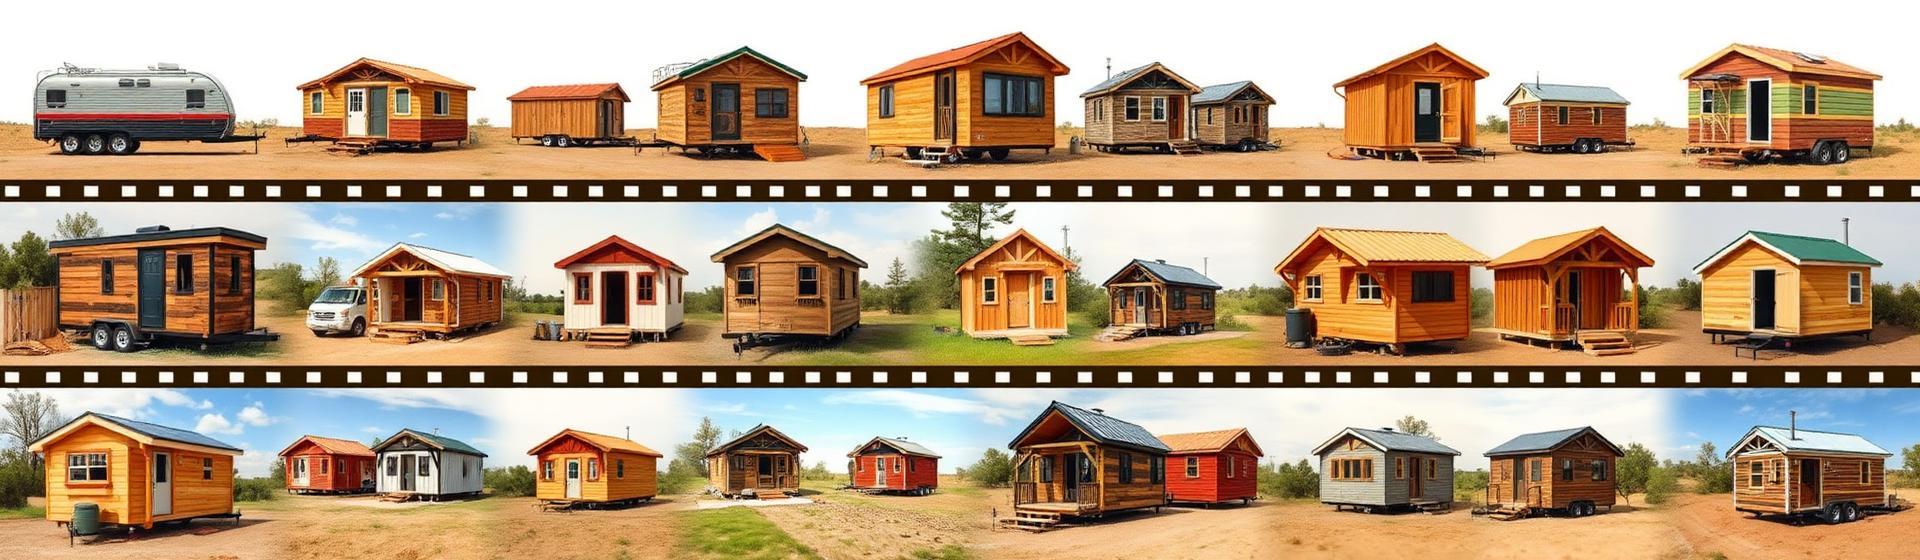
Jump to any Tiny Home Article
Every tiny home design on this site is published inside a five part feature series that runs in build order. Part one collects the classic fixed site cabins and garden cottages, part two follows the modern compact homes a younger generation is choosing, part three works through the money — land, kit prices, connections and running costs — part four weighs small housing against an expensive property market, and part five walks the build sequence from a level pad or rated chassis to a staged fit out. Read them in order for the full story or jump straight to the twenty designs you want.
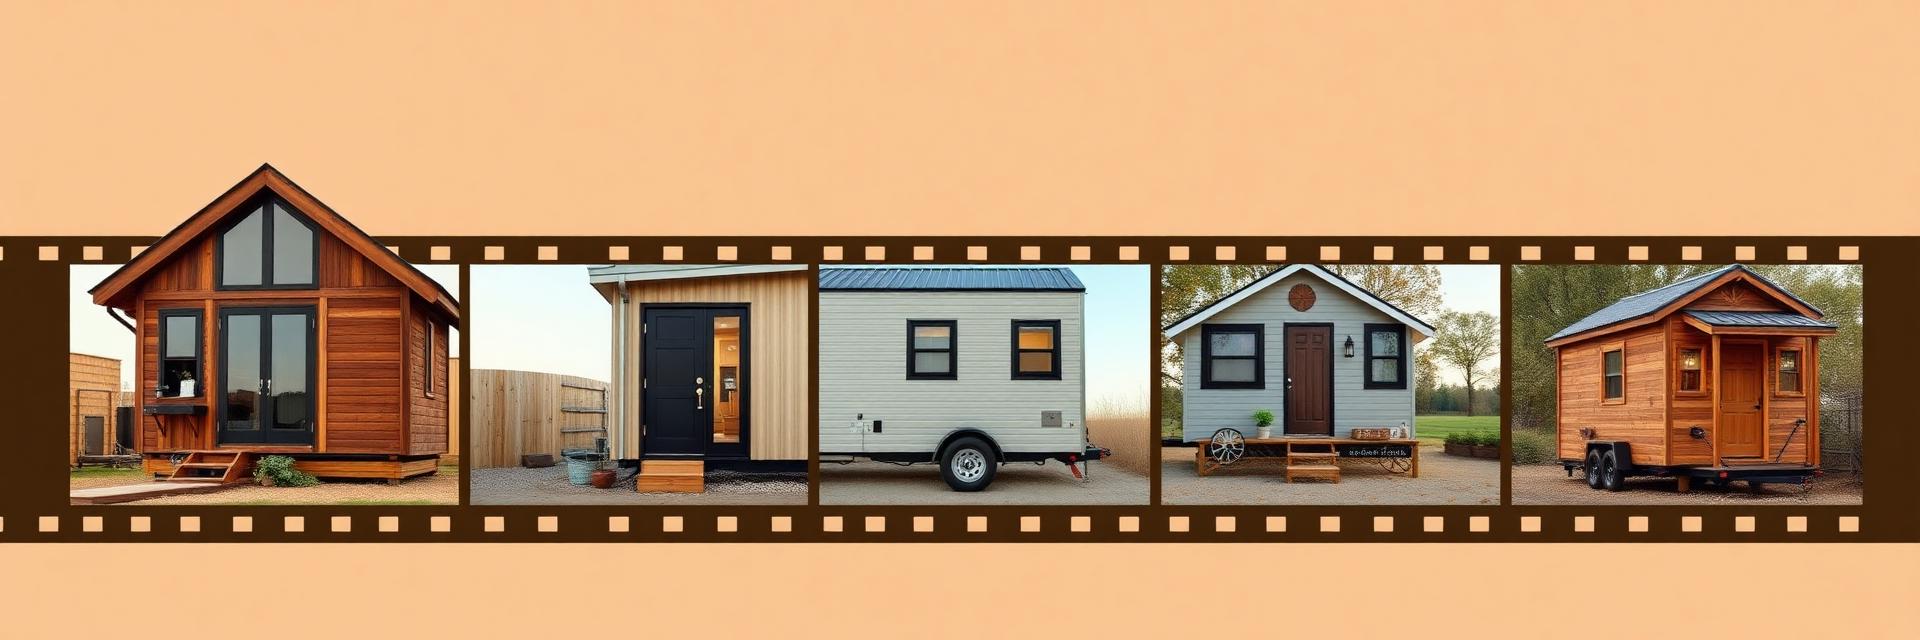
Main Sections of the Website
The main sections of the site are laid out the way a real project happens: browse the designs, read the feature articles, follow the weekly journal for new material every Monday, then dig through the image catalogue and concept galleries when you are ready to pin down finishes, cladding, roof shapes and outdoor rooms. Every page links back into the design library so nothing is more than two clicks away.
How a tiny home is actually built
Nine stages, in the order that saves you money
A tiny home is a small building, not a large piece of furniture, and it rewards the same sequence a good house does. The order is: confirm what you are allowed to build, set a level and drained foundation or a rated chassis, frame square, get the shell weathertight, run and photograph services, insulate and seal, line and fit out, connect power, water and waste, then plant the garden that the house looks into. Work in that order and each stage protects the one before it. Work out of order and you pay twice.
The decisions that cost the most to change later are all early ones: where the openings go, how high the floor sits, whether the walls have a drained cavity behind the cladding, and where the services stack. None of them are visible in a finished photo, which is exactly why they get skipped. Spend your care there and the pretty parts — joinery, tiles, lighting — become easy and cheap by comparison.
Budget in three thirds. Roughly a third goes into the shell: foundations or trailer, frame, roof, cladding, windows. A third goes into the systems: insulation, wiring, plumbing, hot water, ventilation, solar or connections. The last third is the fit-out you actually touch — kitchen, bathroom, joinery, floors and the deck outside. When a build blows out, it is almost always because the first two thirds were underestimated and the third one was chosen from a magazine.
Two practical notes before the designs. First, weight and compliance: if it moves, every kilogram counts and the trailer rating is the hard limit; if it stays, the planning pathway for a secondary dwelling or a movable dwelling is what makes it legal to live in. Second, plan the garden with the plan of the house — position the deck, the tank, the path and the two or three trees on the same drawing, because in a small home the garden is not decoration, it is half the floor area.
Chapter five
Twenty designs that follow a tiny home from bare ground to finished garden
This final chapter reads in build order. The first designs are the parts nobody photographs — the pad, the chassis, the frame, the wrap — because they decide whether the house is still straight and dry in twenty years. The middle designs are the systems and the fit-out, where most of the money and nearly all of the regret lives. The last designs are finished homes, each one showing what a good sequence produces: a small building that feels generous, sitting in a garden that was planned at the same time as the house.
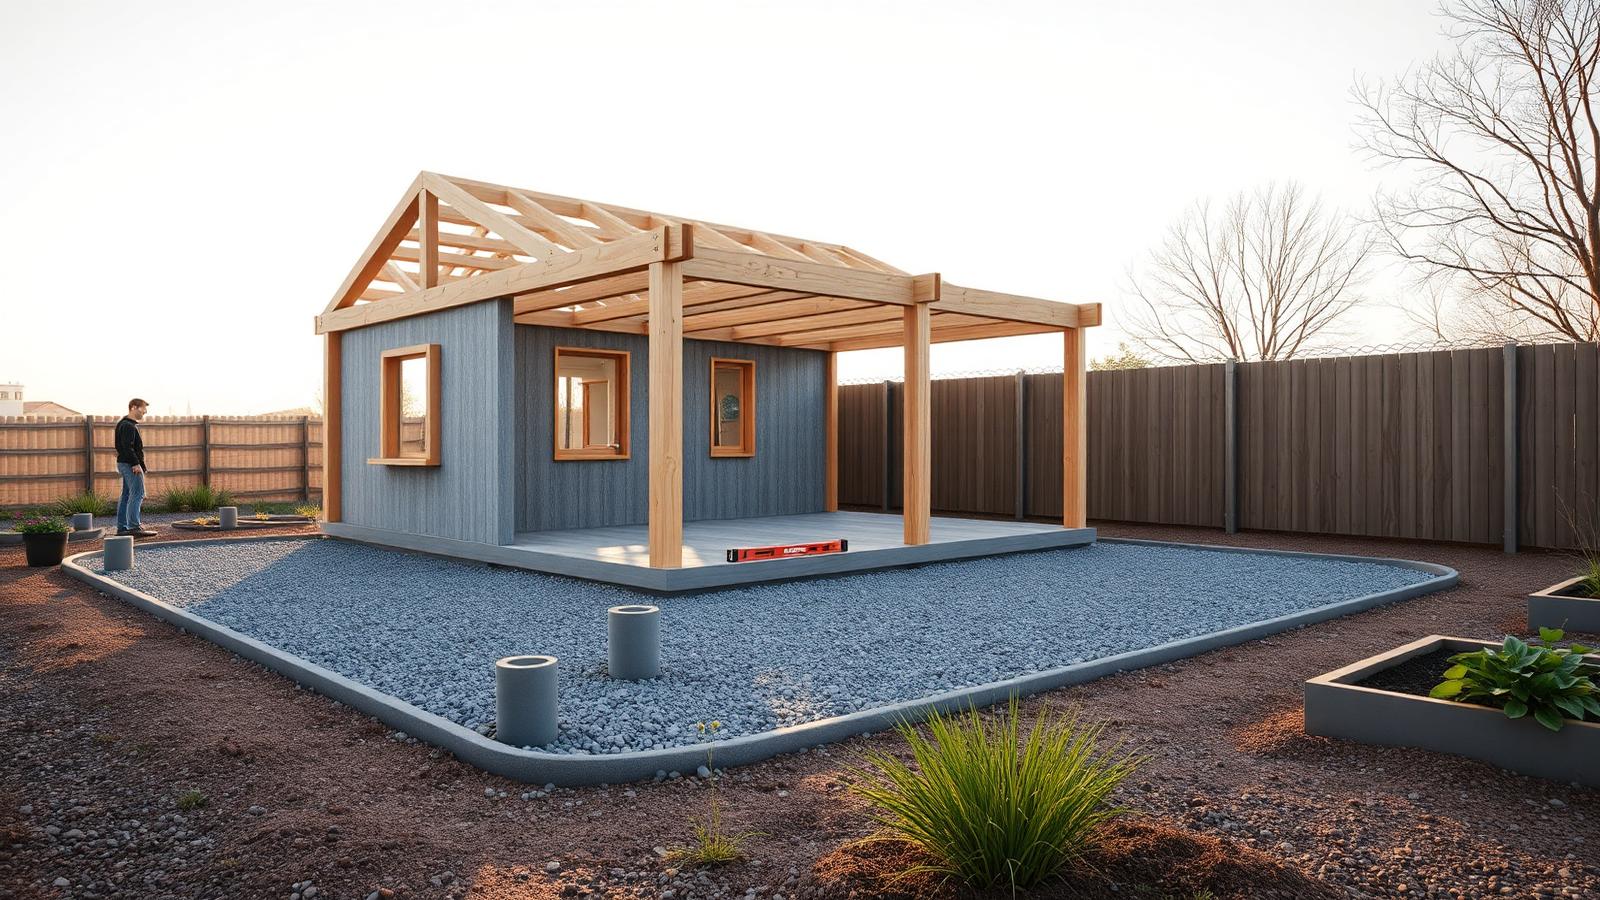
Start with the ground — a level, drained pad
Compacted gravel, screw piles set to a string line, bearers checked with a level before a single wall goes up. Every problem that is expensive later — doors that bind, cracked linings, damp floors — begins with a pad that was not level or not drained. Get water moving away from the footprint, set the piles high enough for air to pass underneath, and the rest of the build gets easier every day.
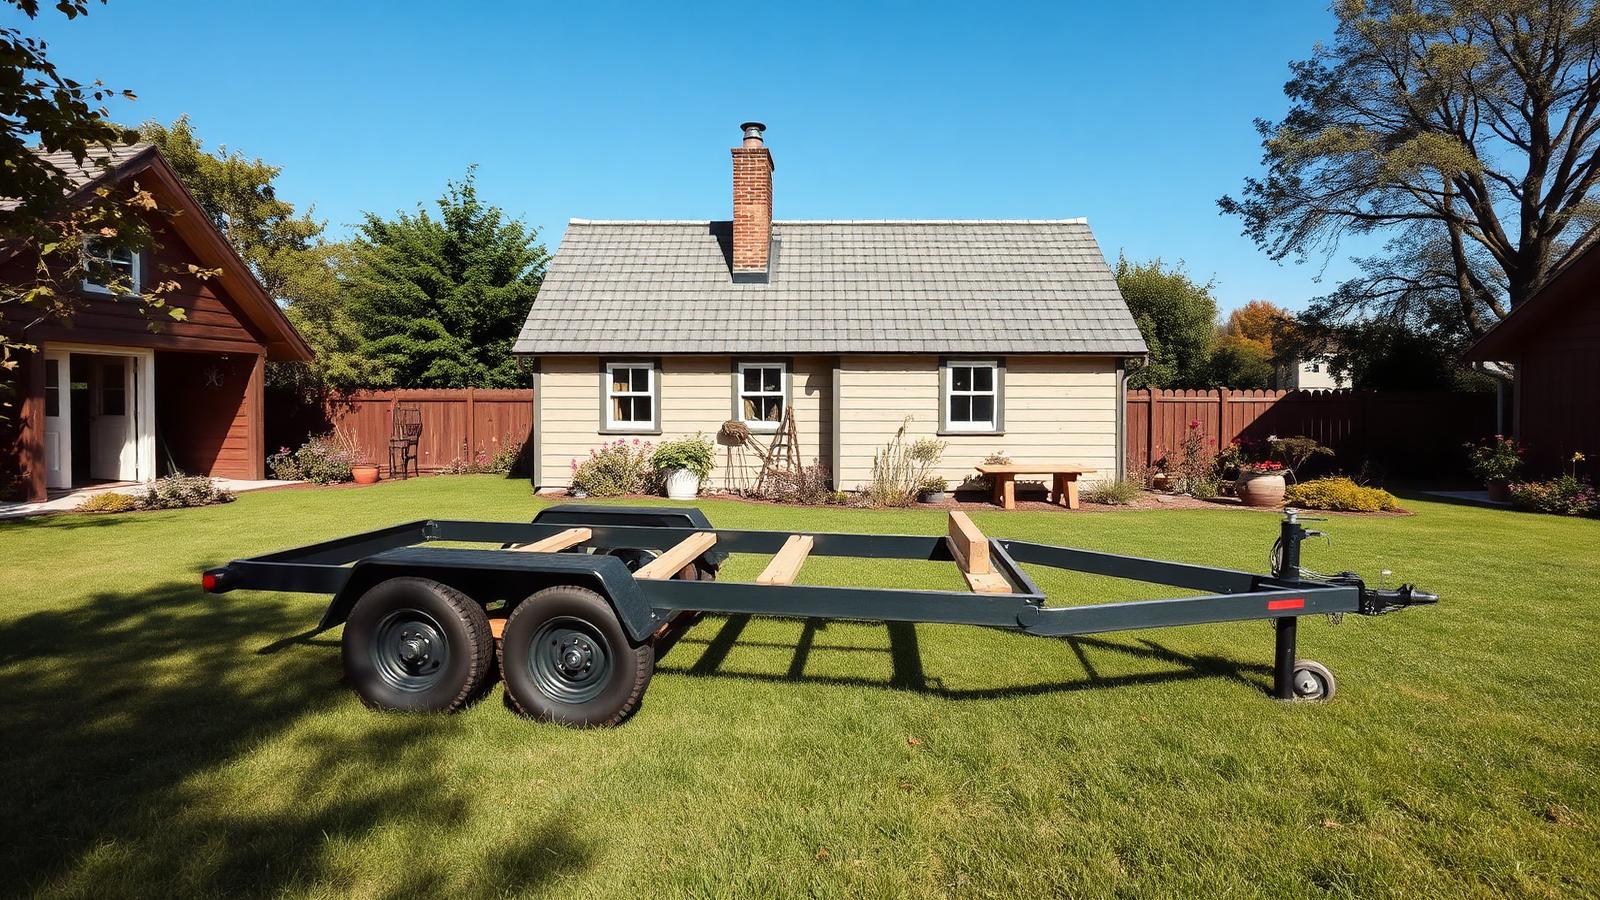
Chassis and floor cassette for a towable build
A hot-dip galvanised trailer with the floor framed, insulated and sheeted as one cassette. On wheels, the trailer is your foundation, so its rating and its straightness set the limits of the whole house. Insulate and seal the floor now — once walls are standing you will never get clean access to it again — and record the tare weight before you add another kilogram.
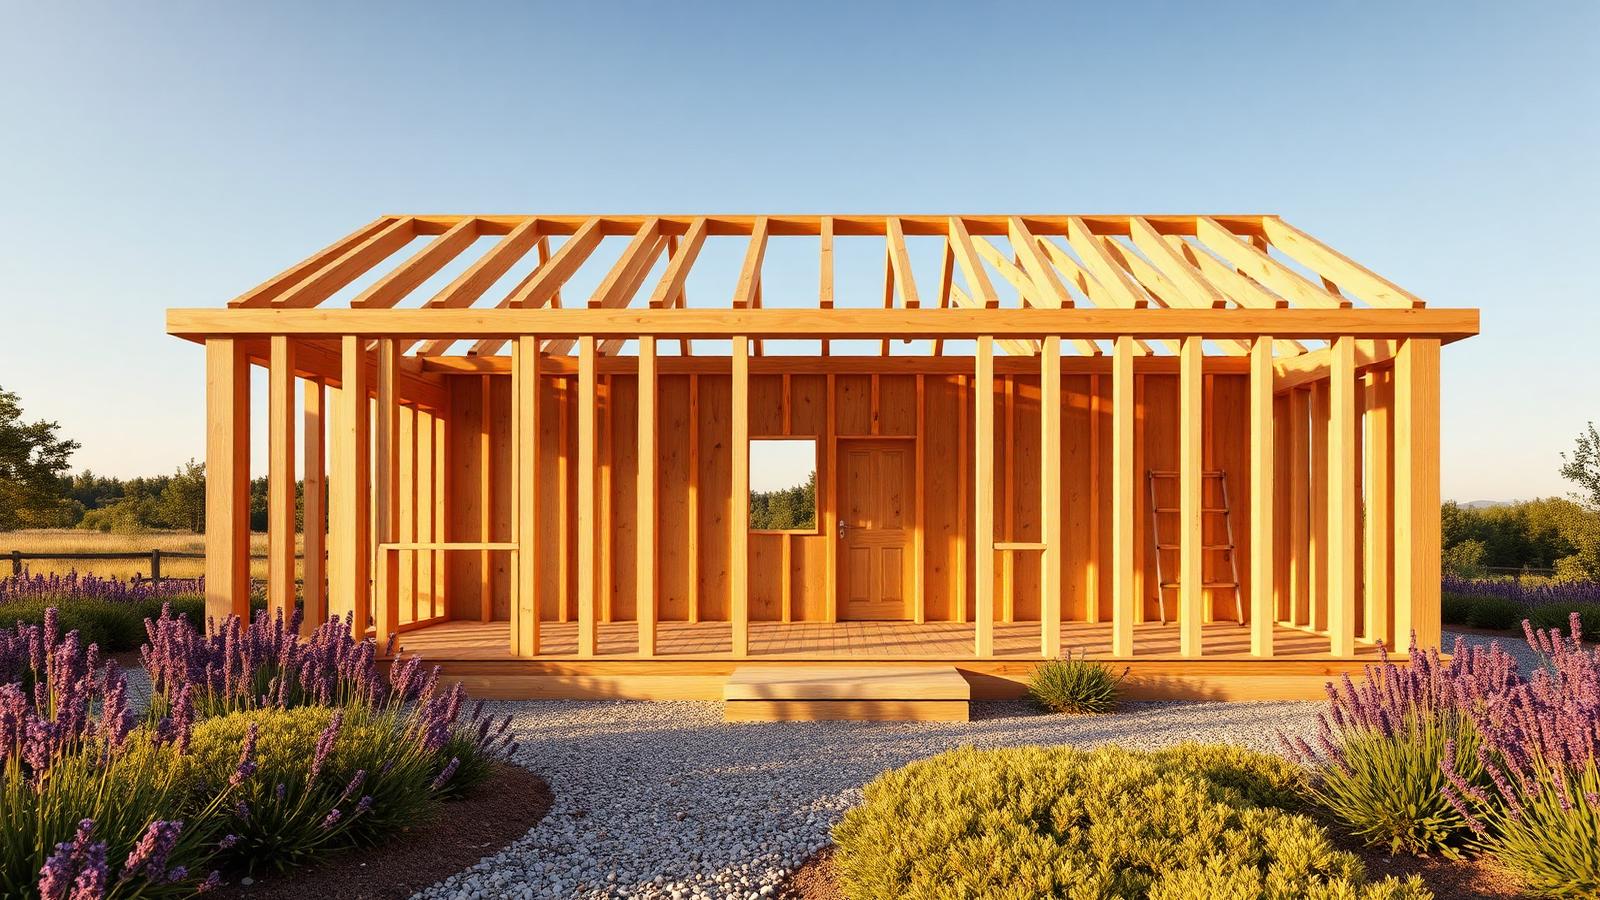
Frame it once, and frame it square
A timber stud frame standing complete with window and door openings formed, roof rafters on, no cladding yet. This is the cheapest stage to change your mind and the most expensive one to get wrong. Set the openings where the views and the cross breeze are, brace properly for road or wind loads, and check diagonals before you fix anything permanently.
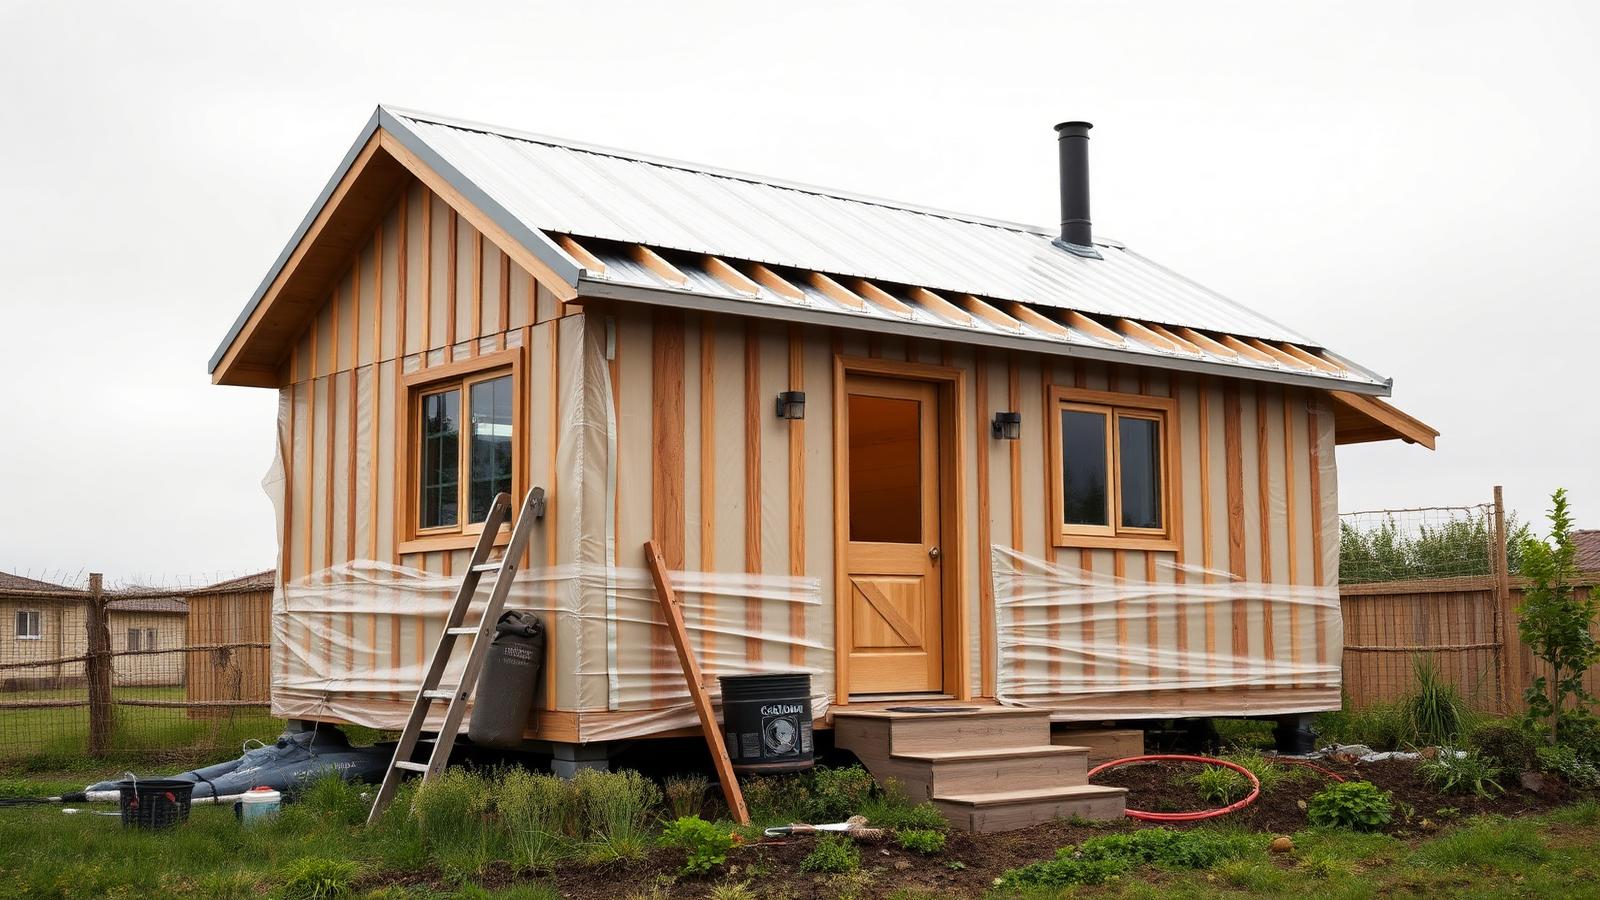
Wrap, batten and roof before anything else
Building membrane taped at every lap, vertical battens creating a drained cavity, roof sheeting run first. Getting the shell weathertight early protects the timber and lets you work in any weather. The cavity behind the cladding is not optional detailing — it is the difference between a wall that dries out and one that quietly rots behind a pretty finish.
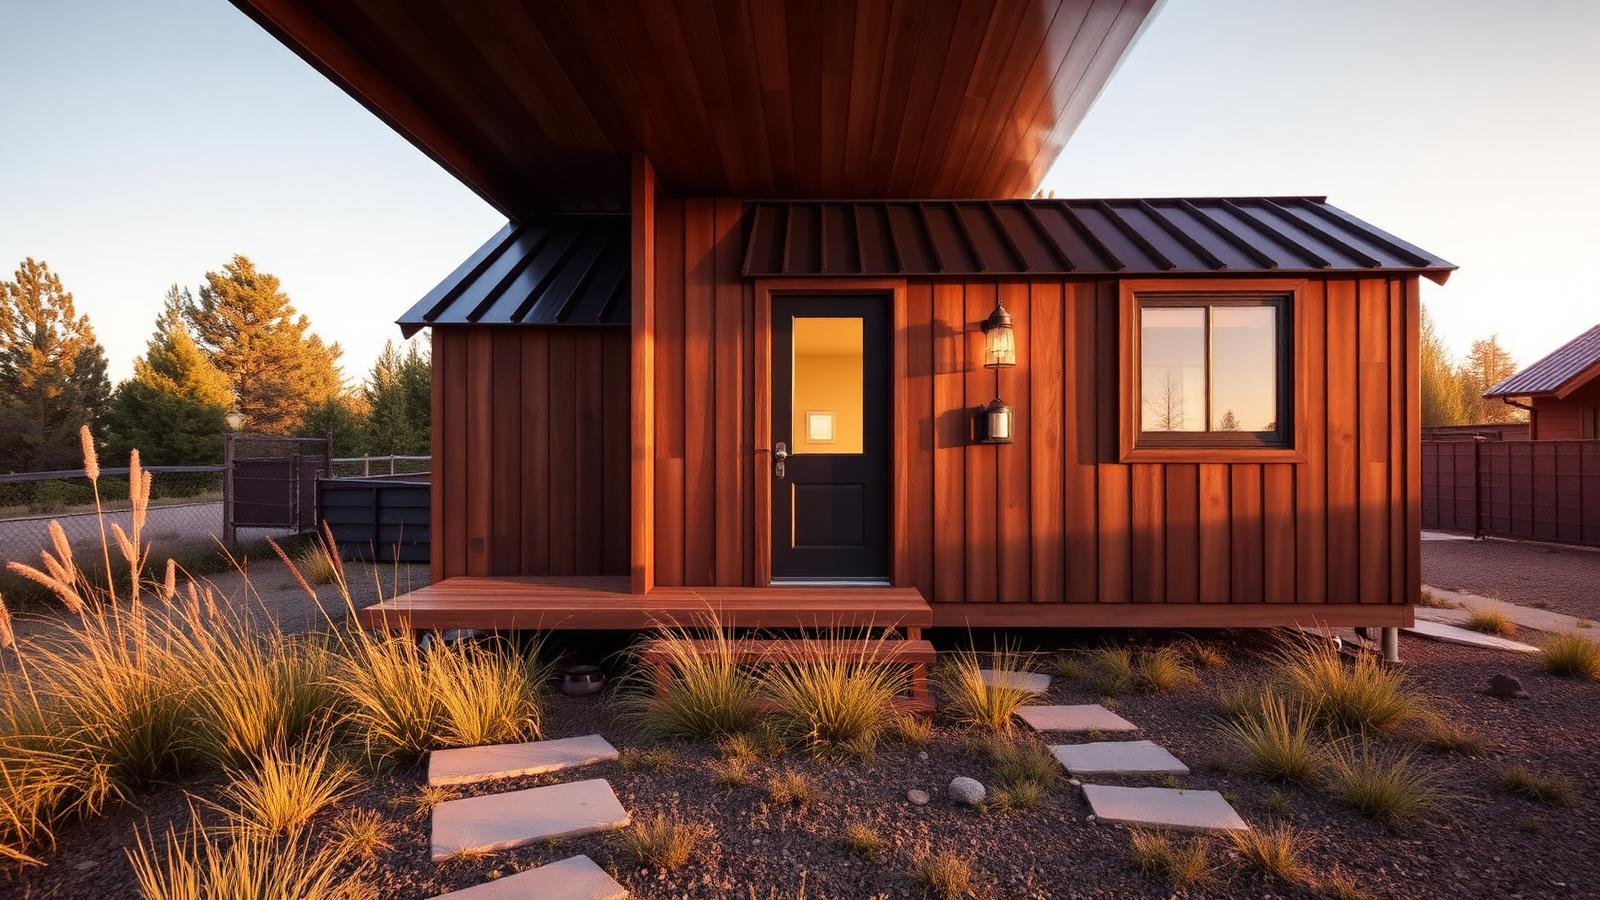
Cladding chosen for maintenance, not just looks
Charred and oiled vertical timber under a standing seam metal roof with deep eaves. On a small building the cladding is most of what people see, so it earns real money in feel — but choose it for how it ages. Deep eaves, a raised base and a finish you can recoat rather than replace will keep a tiny home looking new for a decade of weather.
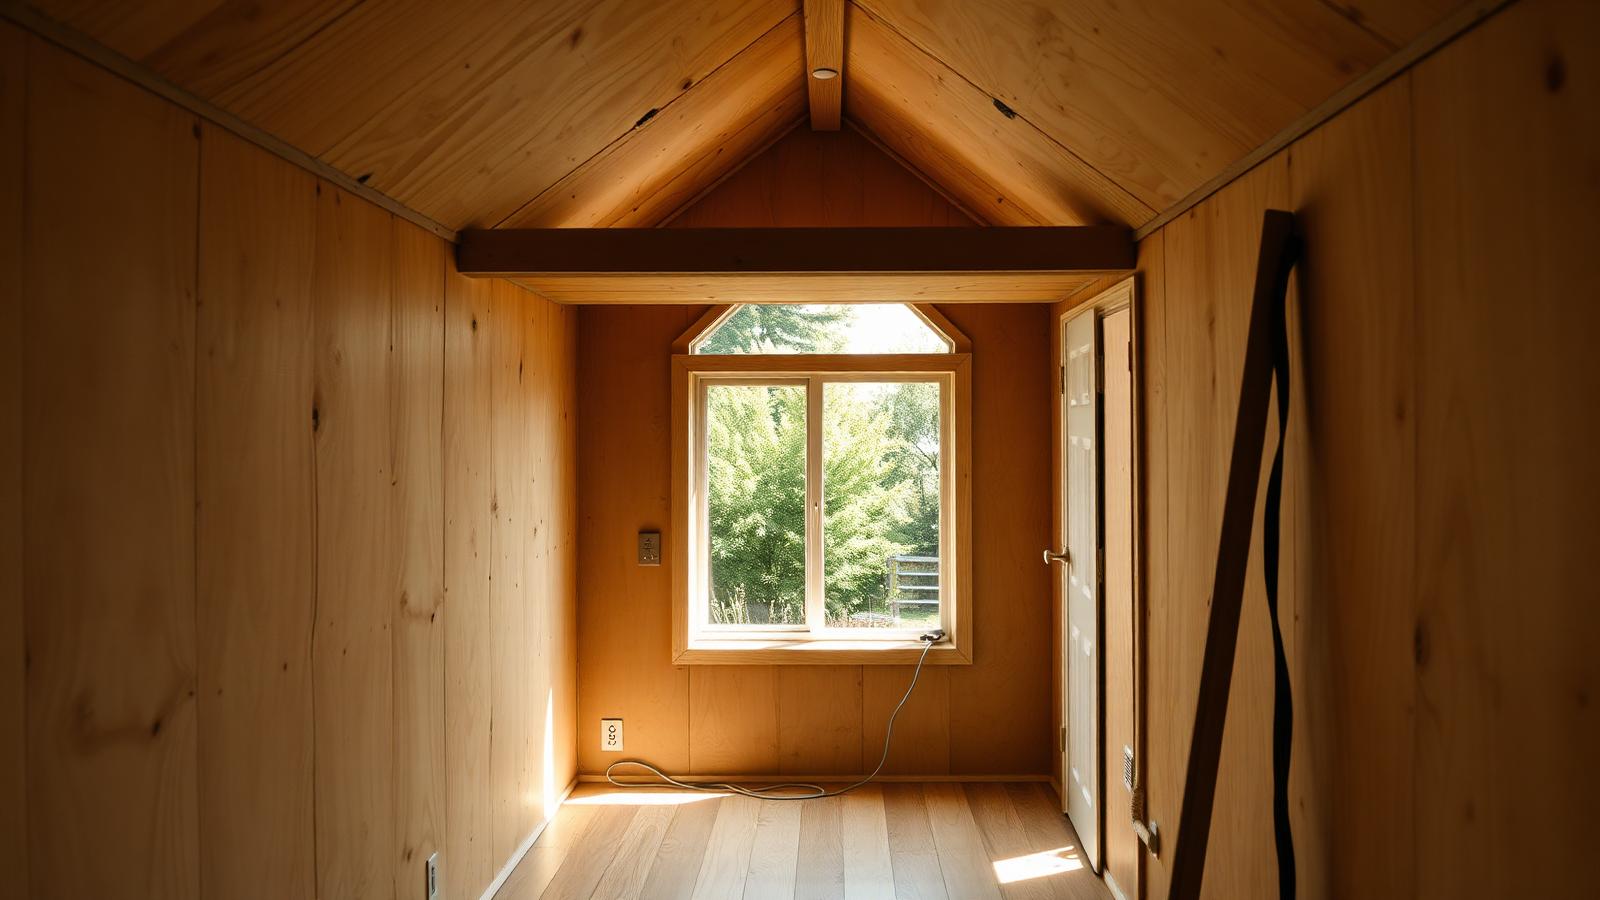
Insulate and line — the comfort you cannot see
Plywood lining going on over dense insulation, wiring and plumbing already run and photographed. A tiny home heats and cools fast, which means it also loses heat fast if the envelope is thin. Fill every cavity, seal the air leaks around openings, and take pictures of every service run before the lining hides it — future you will need them.
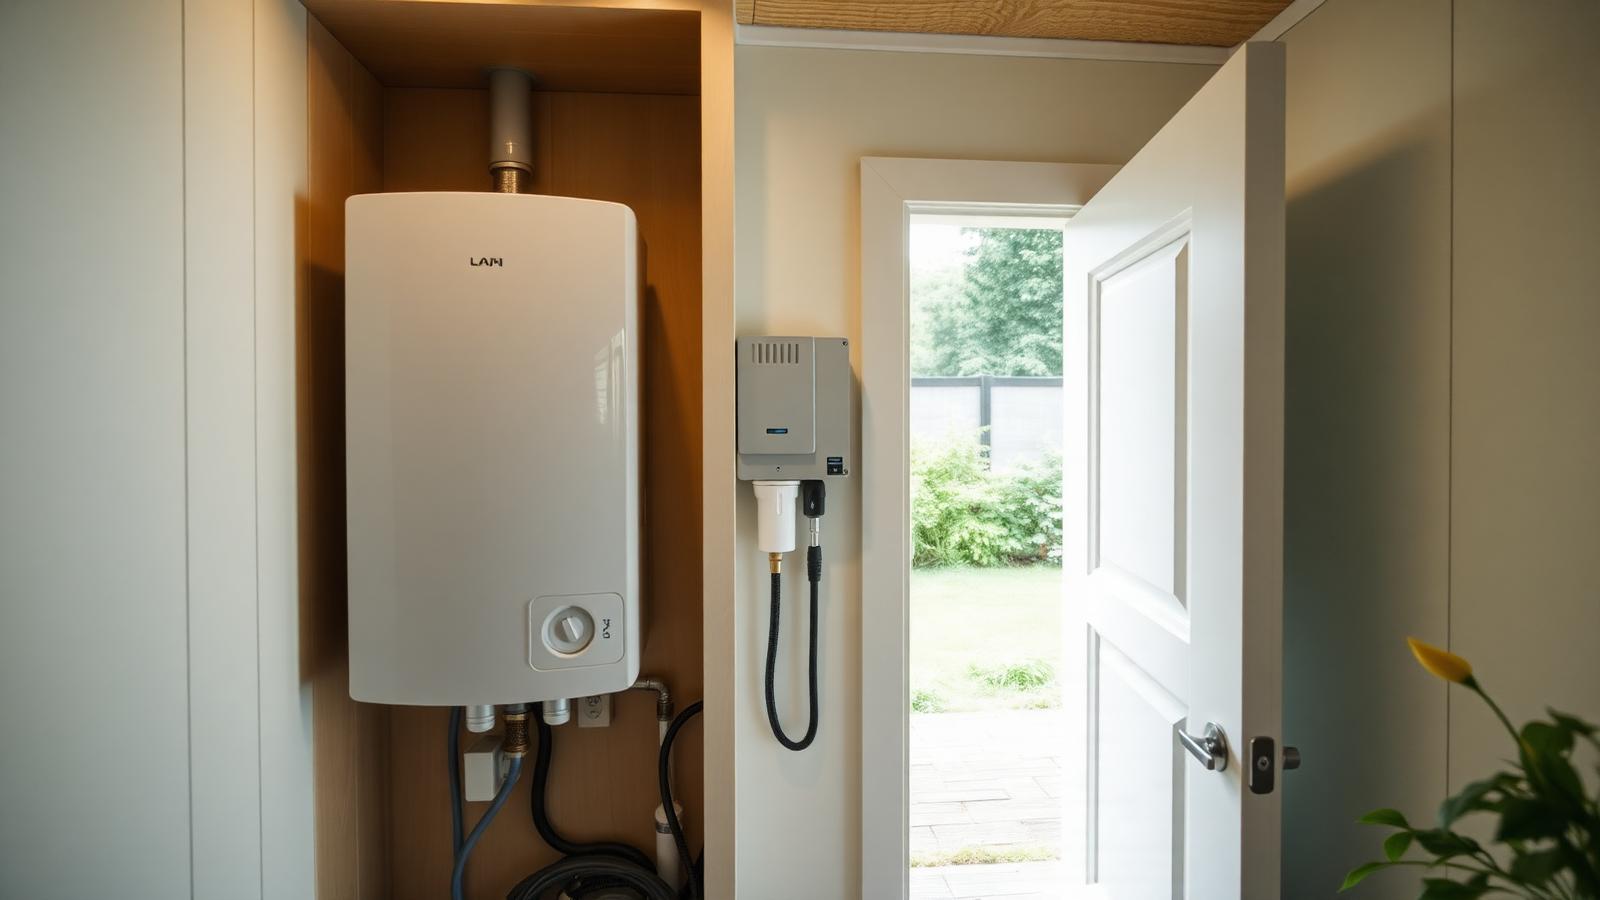
One services wall, all in one cupboard
Hot water unit, switchboard, pump and filter grouped behind a single access door. Concentrating services keeps pipe runs short, cuts heat loss and makes maintenance a five minute job instead of a demolition. In a small house the discipline is simple: everything wet and everything electrical stacks in one zone, ventilated, reachable, and away from the bed.
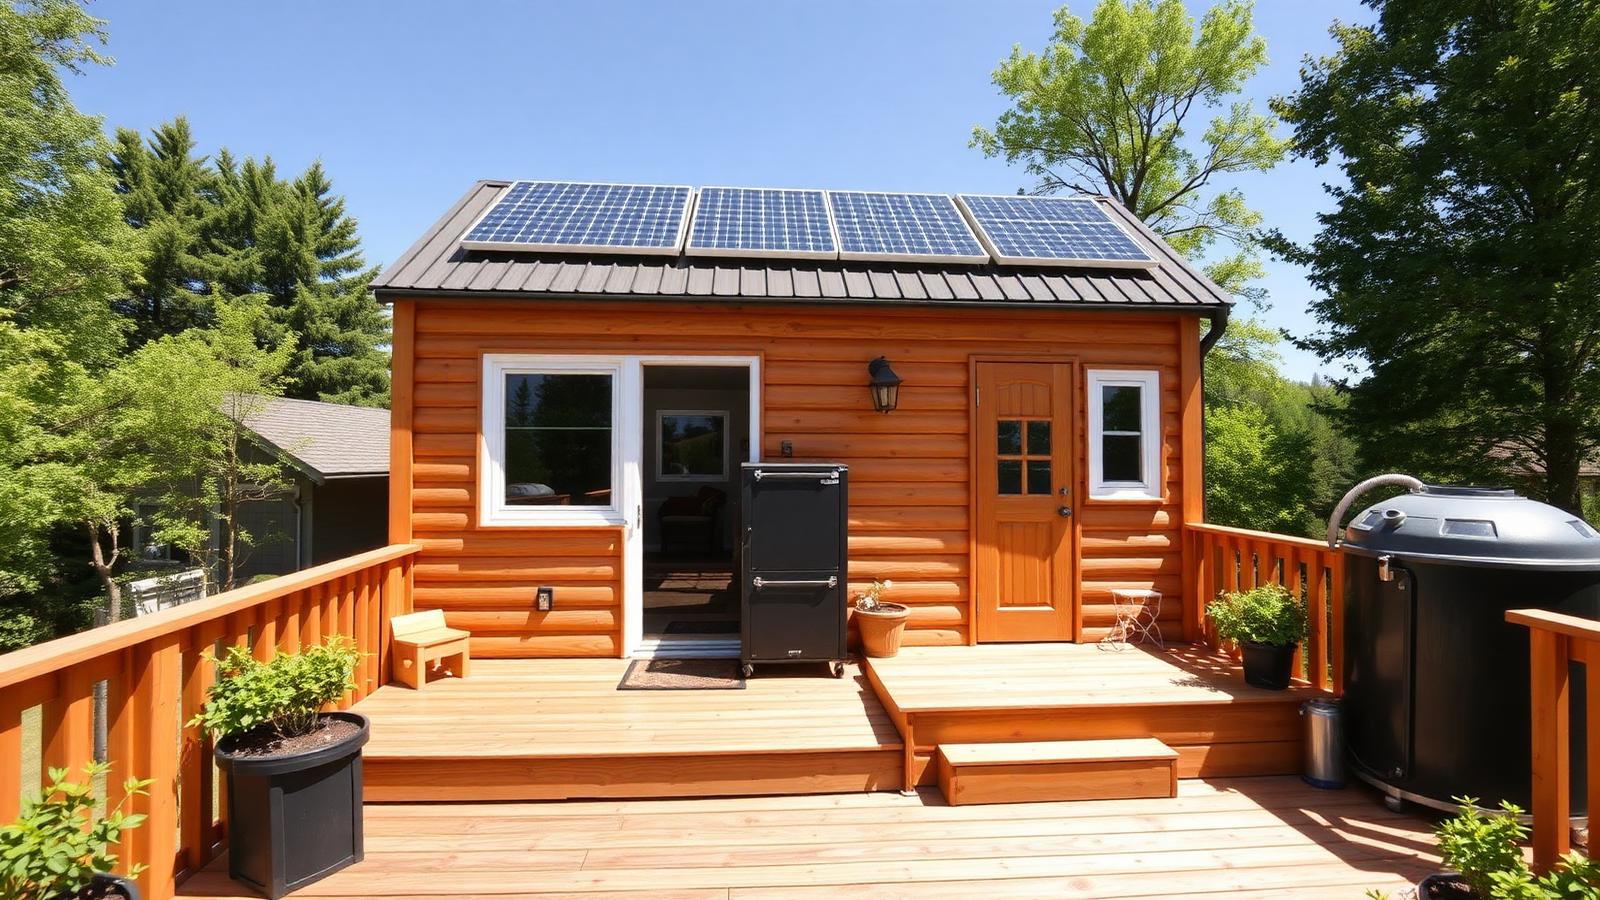
Solar, battery and rainwater sized to real use
Roof array, battery cabinet on the deck, tank plumbed to the garden. Off-grid works when the system is sized from a measured load rather than optimism — fridge, laptops, pump, lights, and one high-draw appliance at a time. Do that and running costs fall close to zero; guess it and you will be running a generator by the second cloudy week.
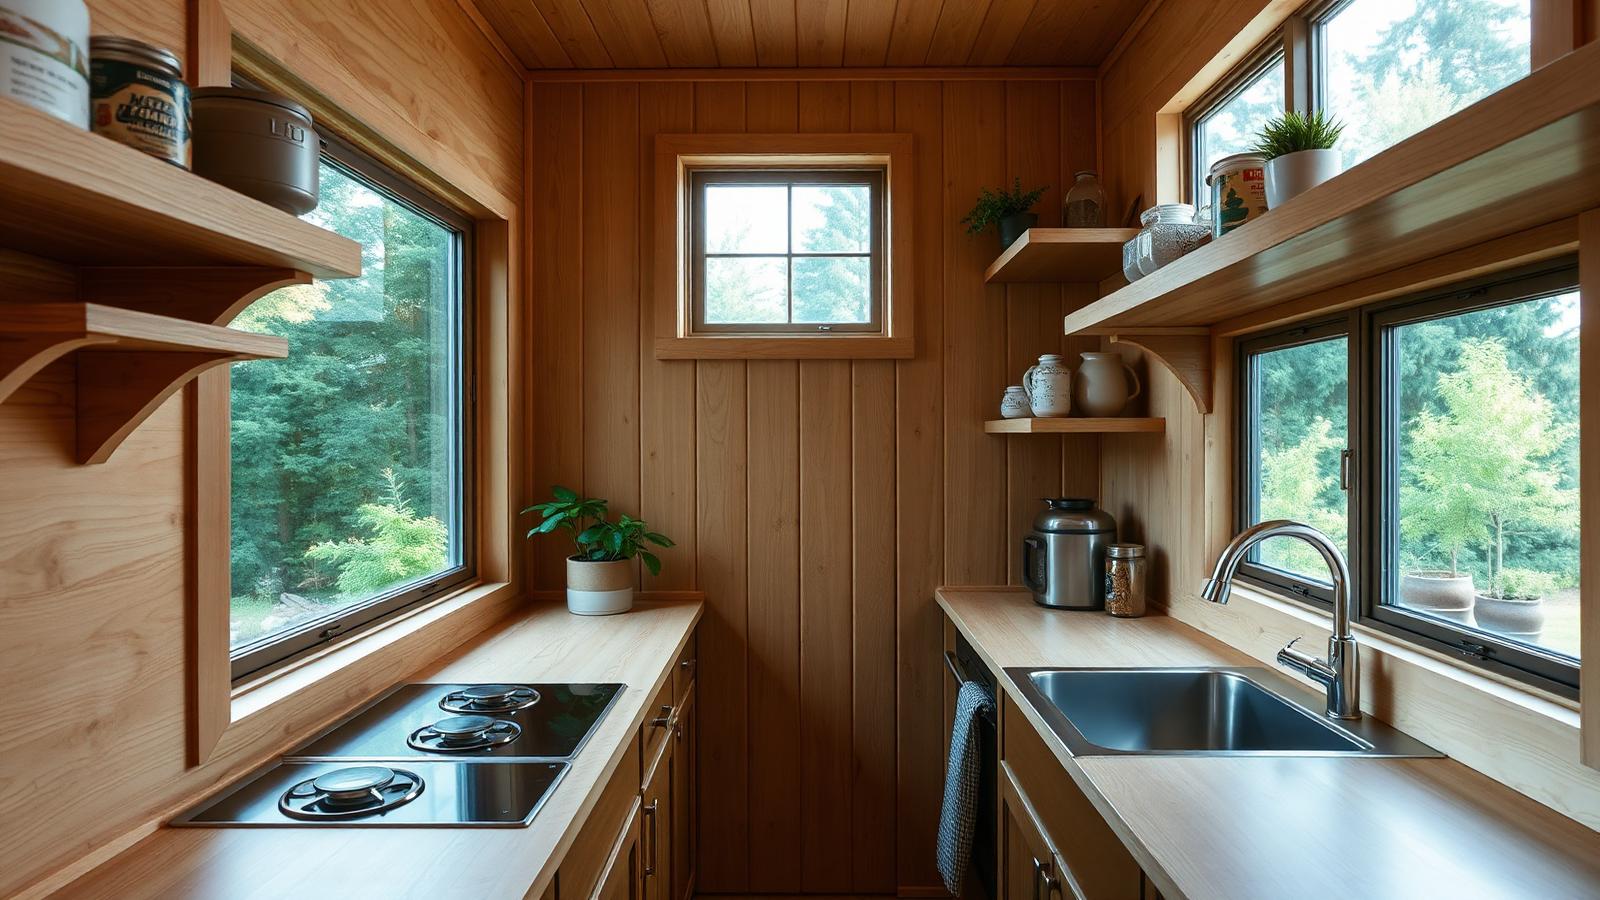
The kitchen — a galley that actually works
Plywood joinery, two burners, a deep single sink and open shelving under a window. Tiny kitchens fail on bench space, not appliance count. Keep an uninterrupted run beside the sink, put the window where you stand most, and choose fewer, better fittings — a good tap and a deep sink change daily life more than a second oven ever will.
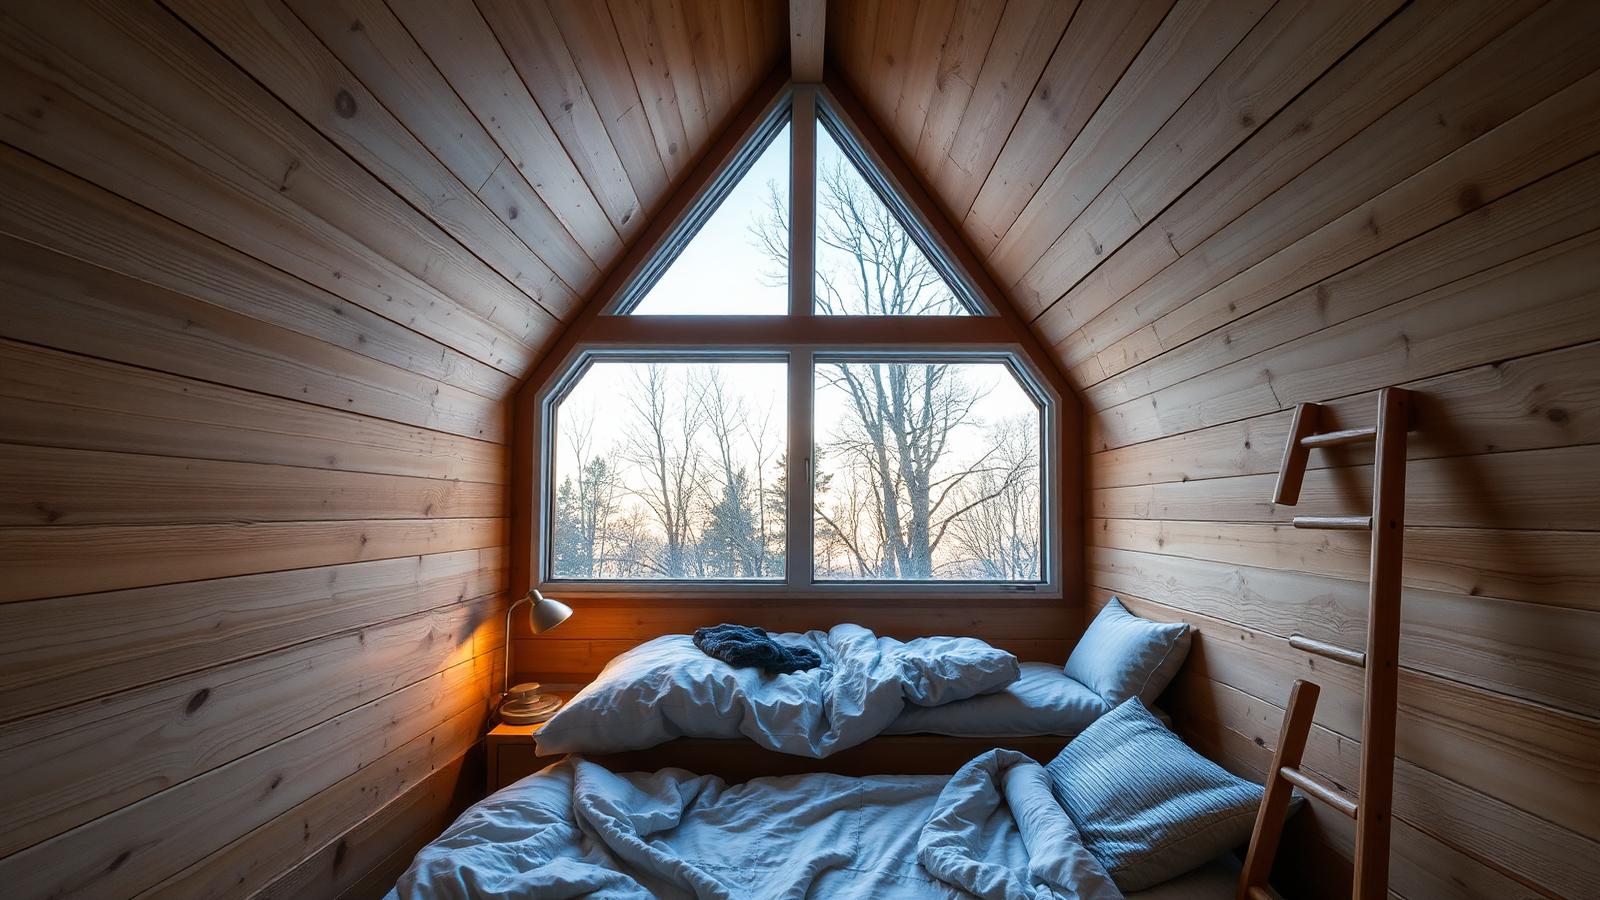
The sleeping loft — headroom, air and light
A low bed under a gable window with a ladder and an opening skylight. Lofts win floor area back but only stay pleasant with three things: enough sitting headroom at the bed edge, a window that opens for hot nights, and a ladder or stair you can climb half asleep. Get those right and the loft becomes the best room in the house.
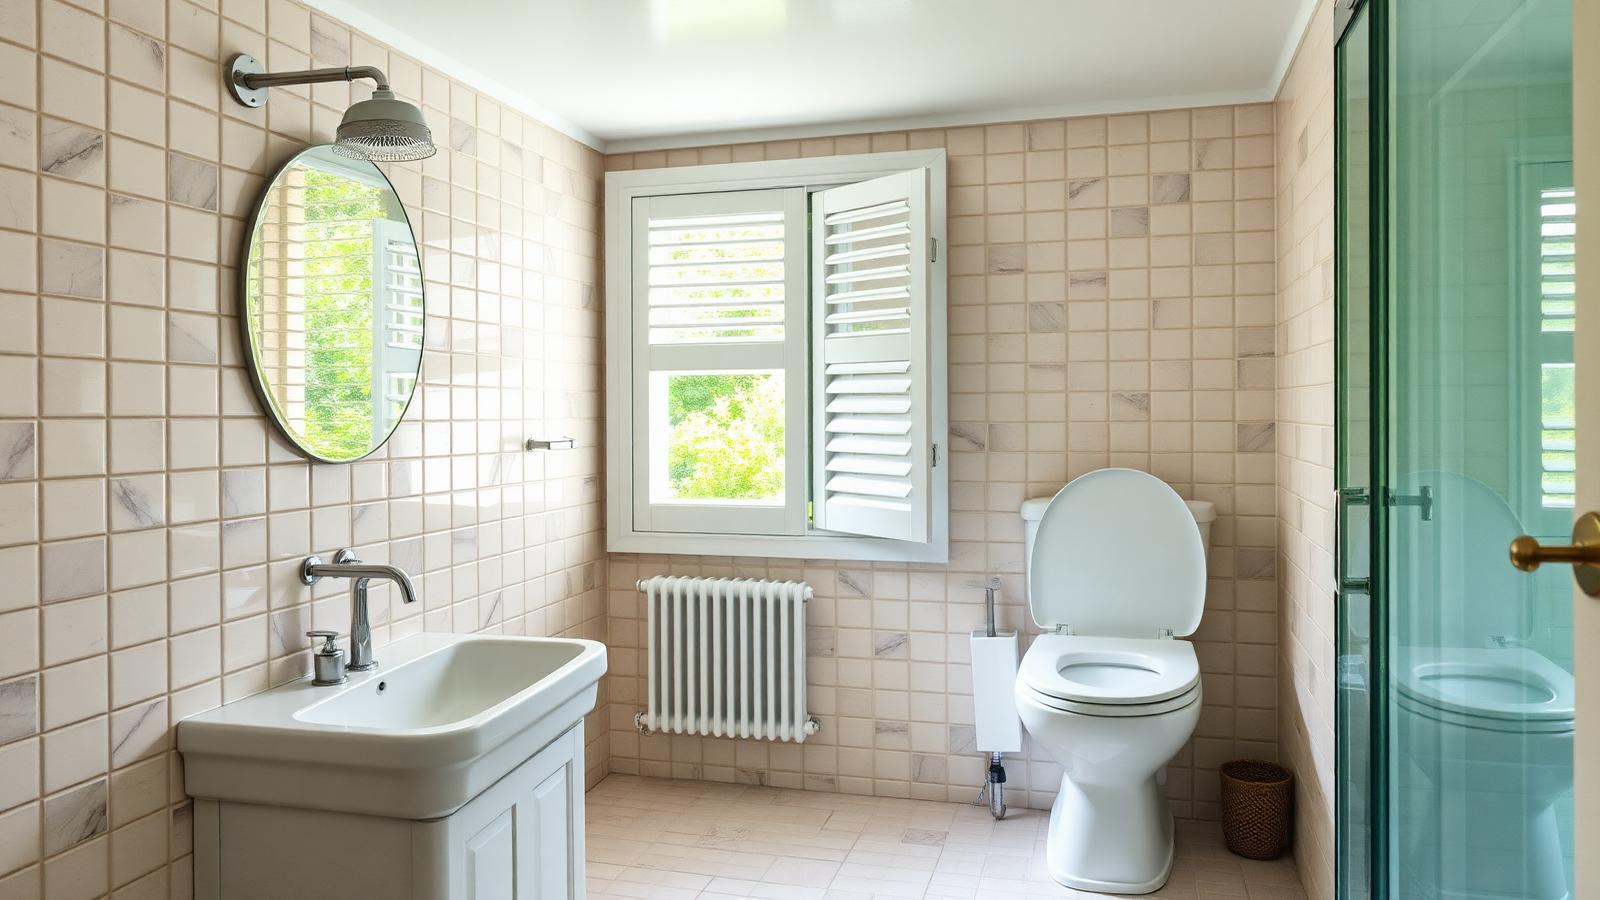
The bathroom — a wet room that dries out
A fully tiled wet area, compact vanity, composting or low-flush toilet, louvre window for ventilation. Moisture is the main enemy of a small building, so waterproof properly, extract mechanically as well as through the window, and keep the door swing clear of the vanity. This is the one room where cutting cost almost always costs more later.
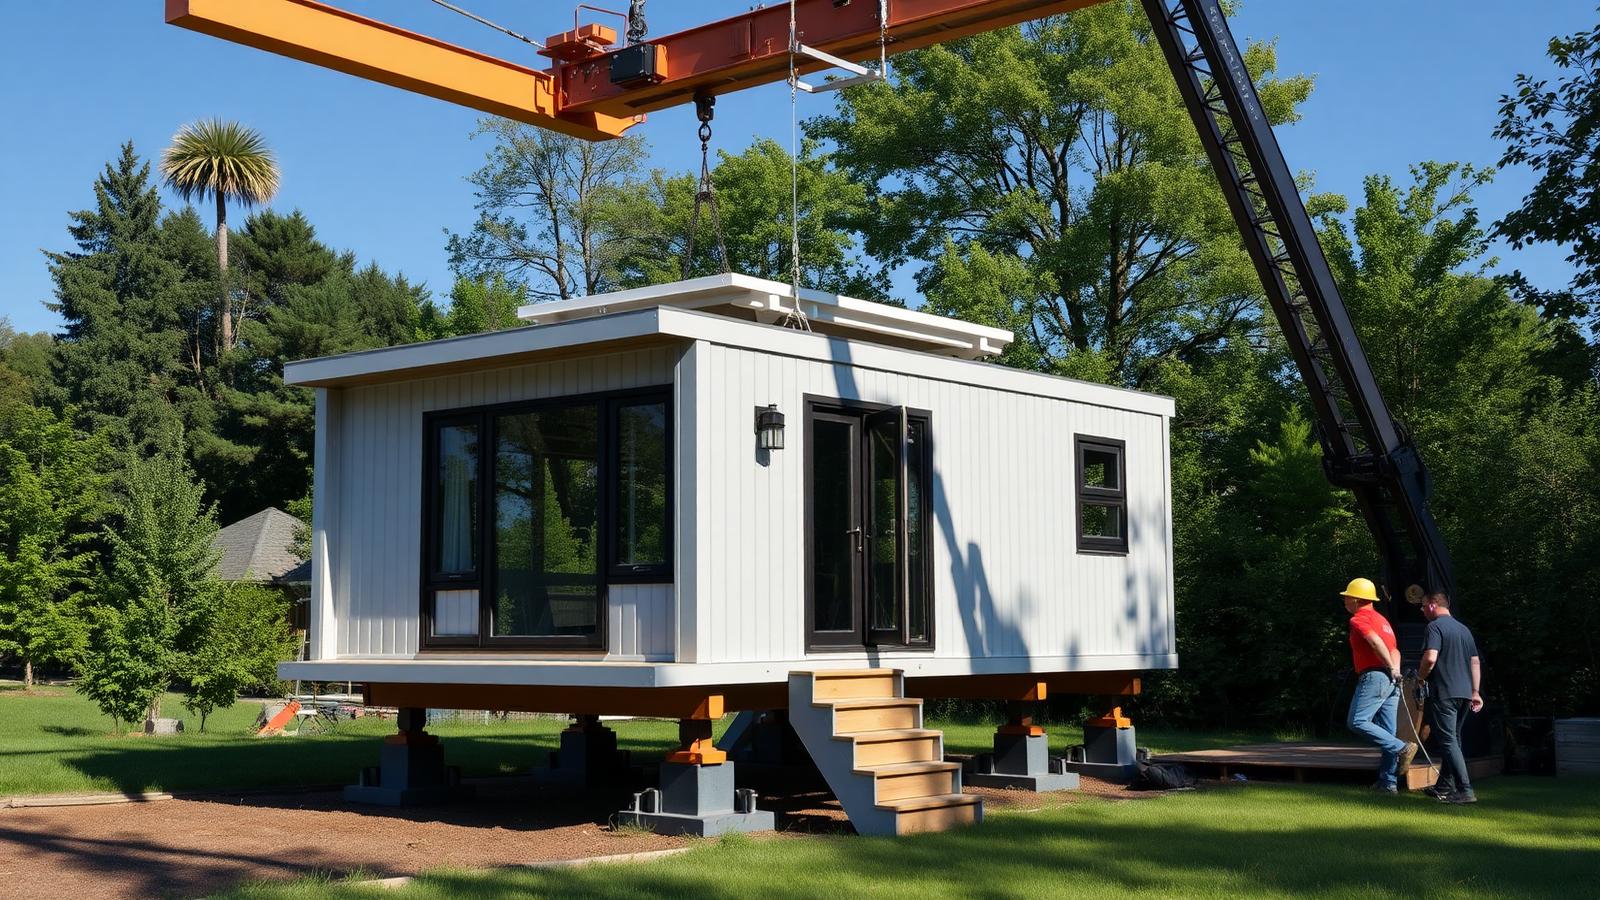
Prefab module craned onto prepared piers
A factory-finished module set down on piers that were poured weeks earlier. Prefab trades flexibility for certainty: a fixed price, a controlled build, and a house that is watertight the day it lands. The site work is still yours — access for the crane, piers, connections and drainage — and that is where prefab budgets usually blow out if nobody planned it.
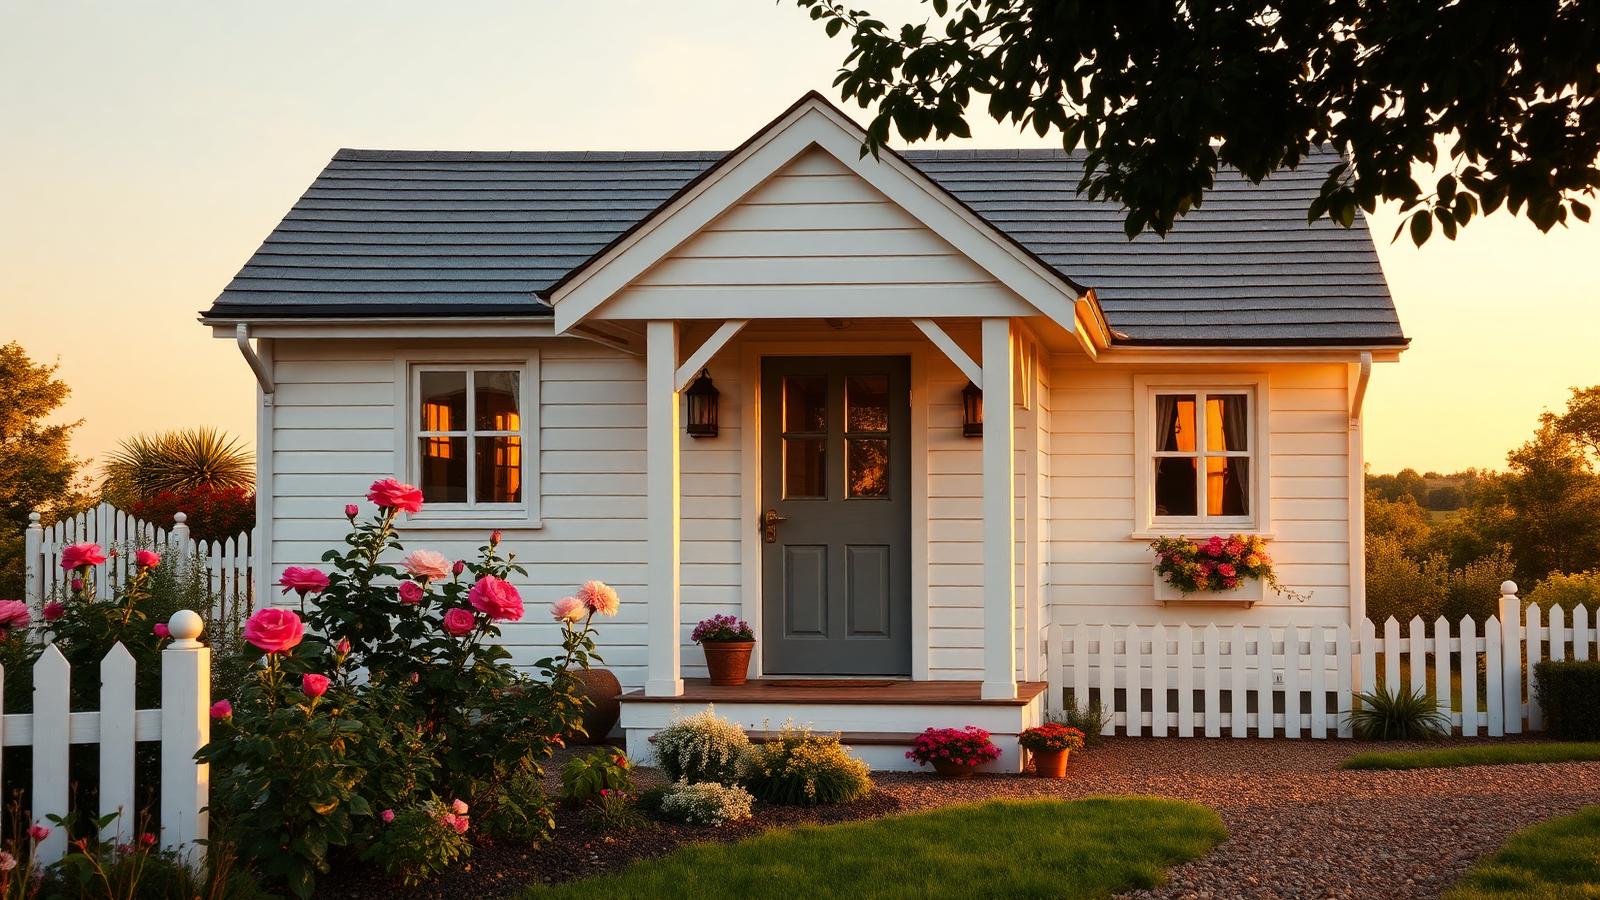
Finished cottage build with a planted front garden
White weatherboard, a gabled entry porch, roses and herbs behind a picket fence. This is what a completed traditional build looks like when the garden was part of the drawing rather than an afterthought. The porch does structural work for the feeling of the home — it gives the front door a room, and it makes a very small house read as a proper house.
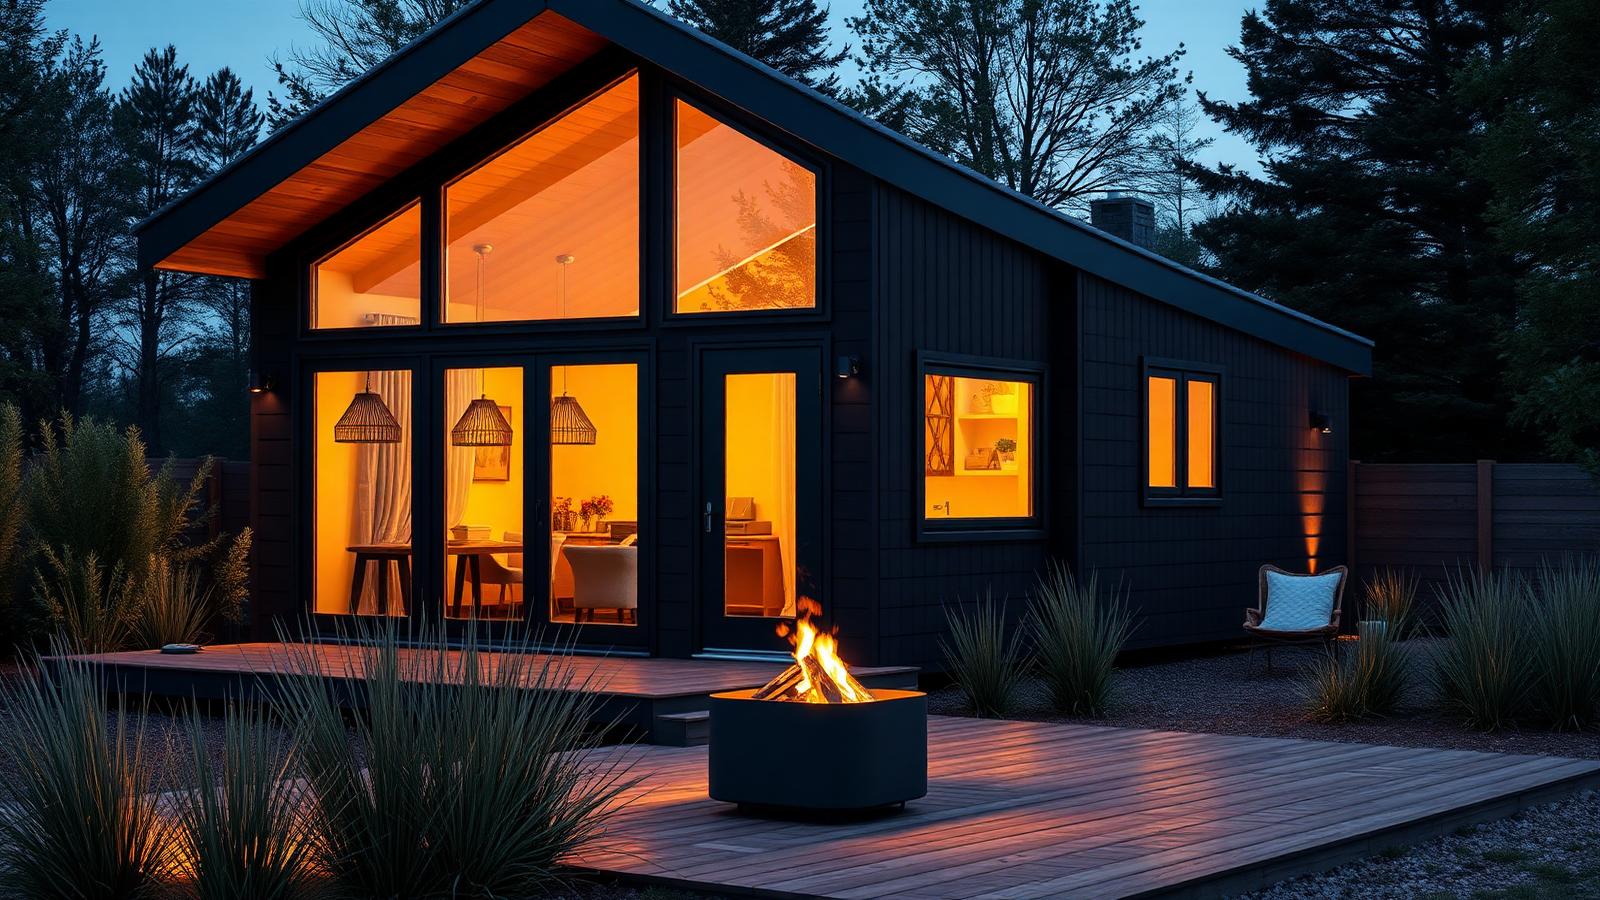
Finished modern build with a glazed gable
Black cladding, a full-height glass gable, timber deck, grasses and a firepit at dusk. One large, well-oriented window will do more for a tiny interior than four small ones — it borrows the garden as extra floor area. Orient it away from the afternoon sun or add an eave, otherwise the same glass that makes the room will overheat it.
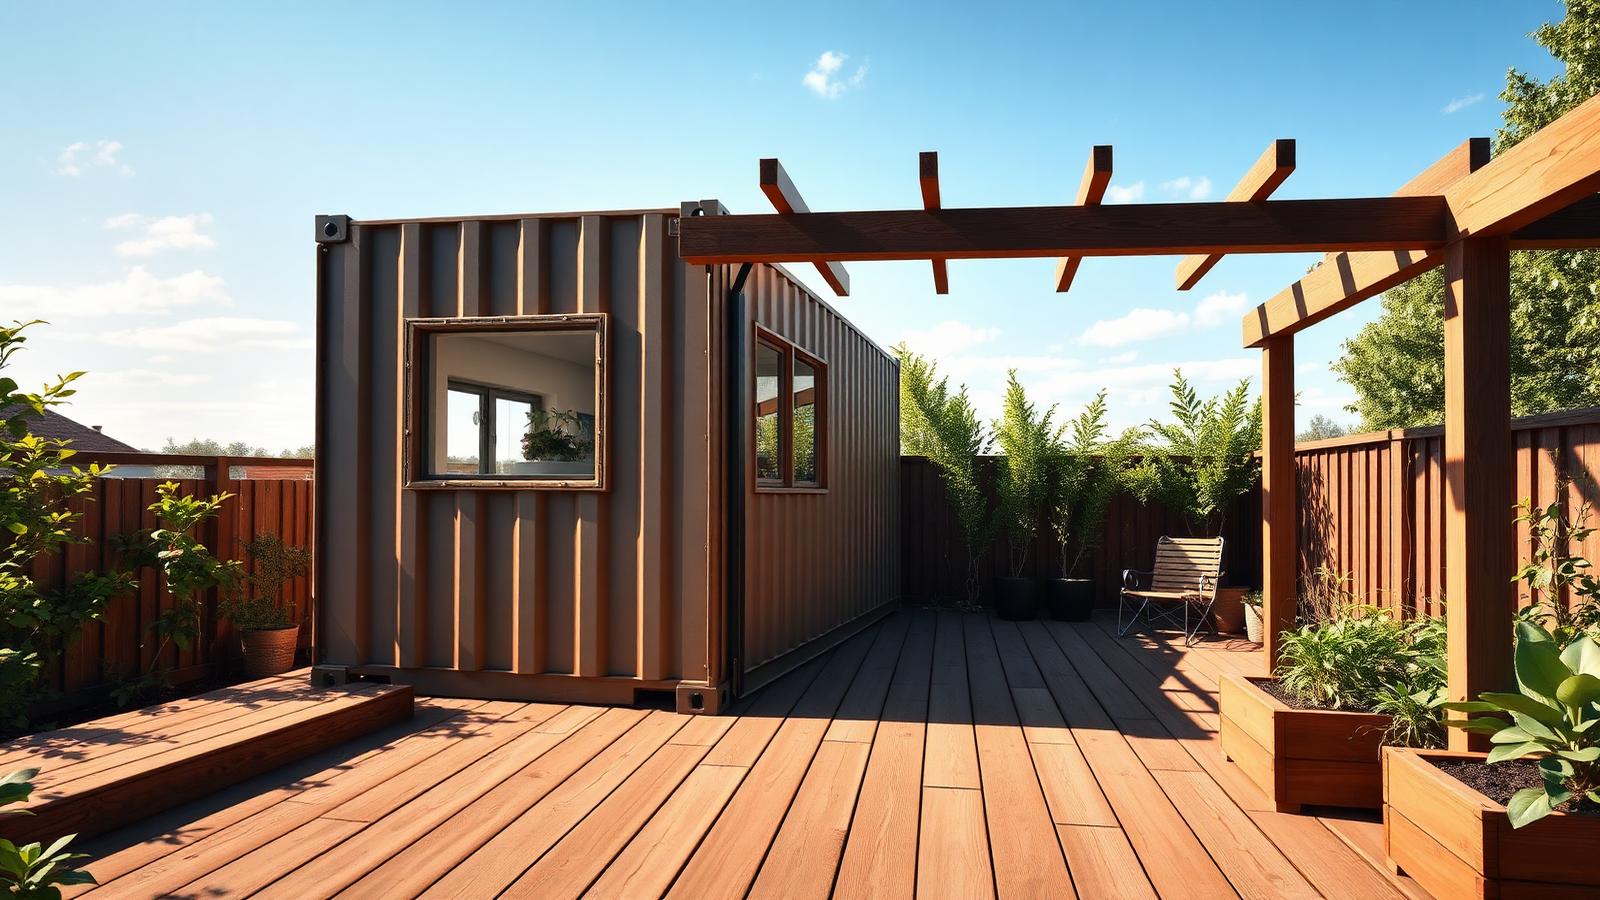
Container conversion done properly
A shipping container shell with openings cut and framed, deck and pergola attached, vegetable beds alongside. Containers give you a strong, dry, cheap box — but every cut needs reframing and the steel needs insulating and lining or it will sweat. Treated as a structure rather than a shortcut, they are one of the fastest routes to a finished small home.
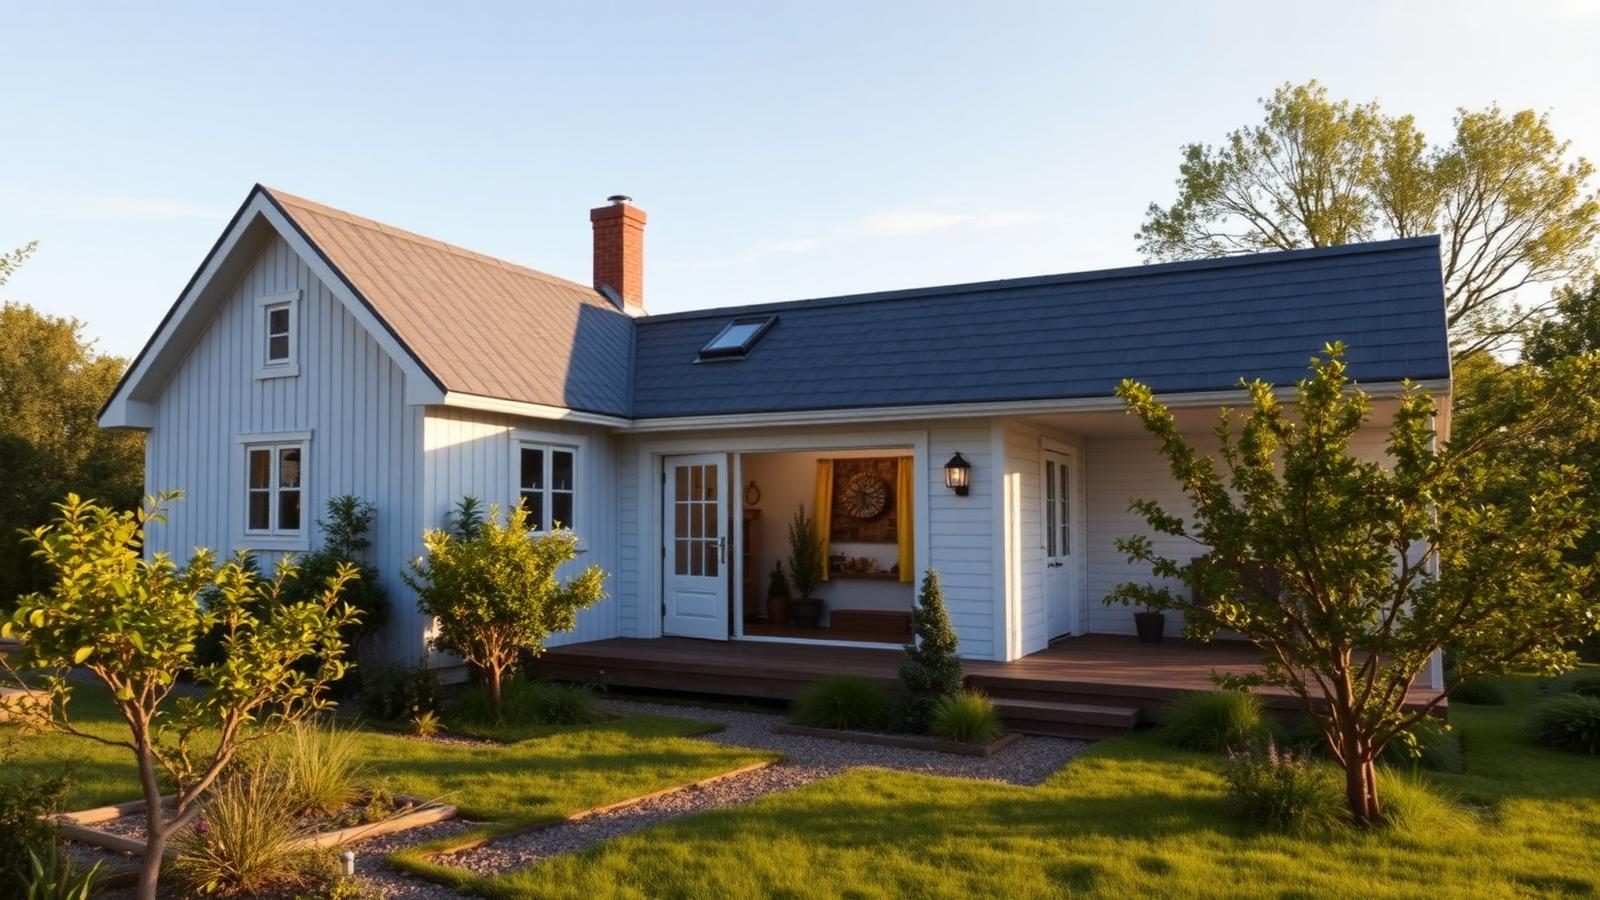
Staged build — the core now, the extension later
A finished core with a lean-to pod added afterwards, two roof forms reading as one house. Building in stages lets you move in earlier and pay as you go. It only works if the first stage was designed with the second in mind: roof line, wall opening, slab or pier layout and service capacity all pre-planned so the addition bolts on instead of tearing in.
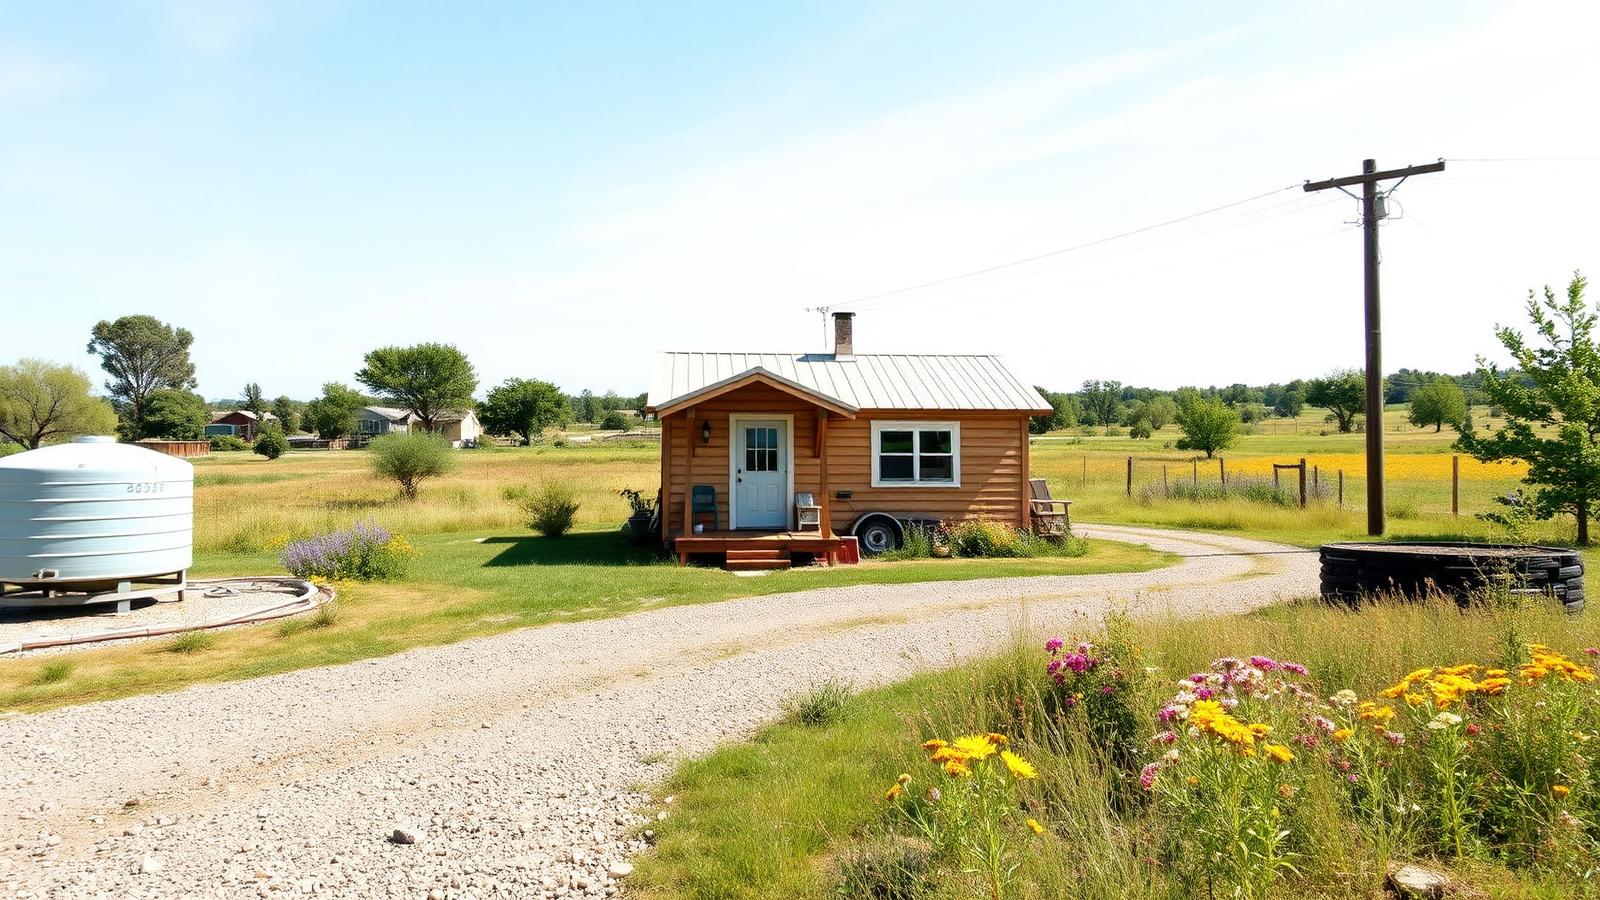
Rural site — services, access and setbacks
A small cabin on a paddock lot with driveway, water tank, wastewater field and a power connection. Cheap rural land is only cheap until you price the connections. Work out water, waste, power and all-weather access before you buy, and design the garden around the infrastructure — the tank, the driveway and the wastewater area are landscape elements whether you plan them or not.
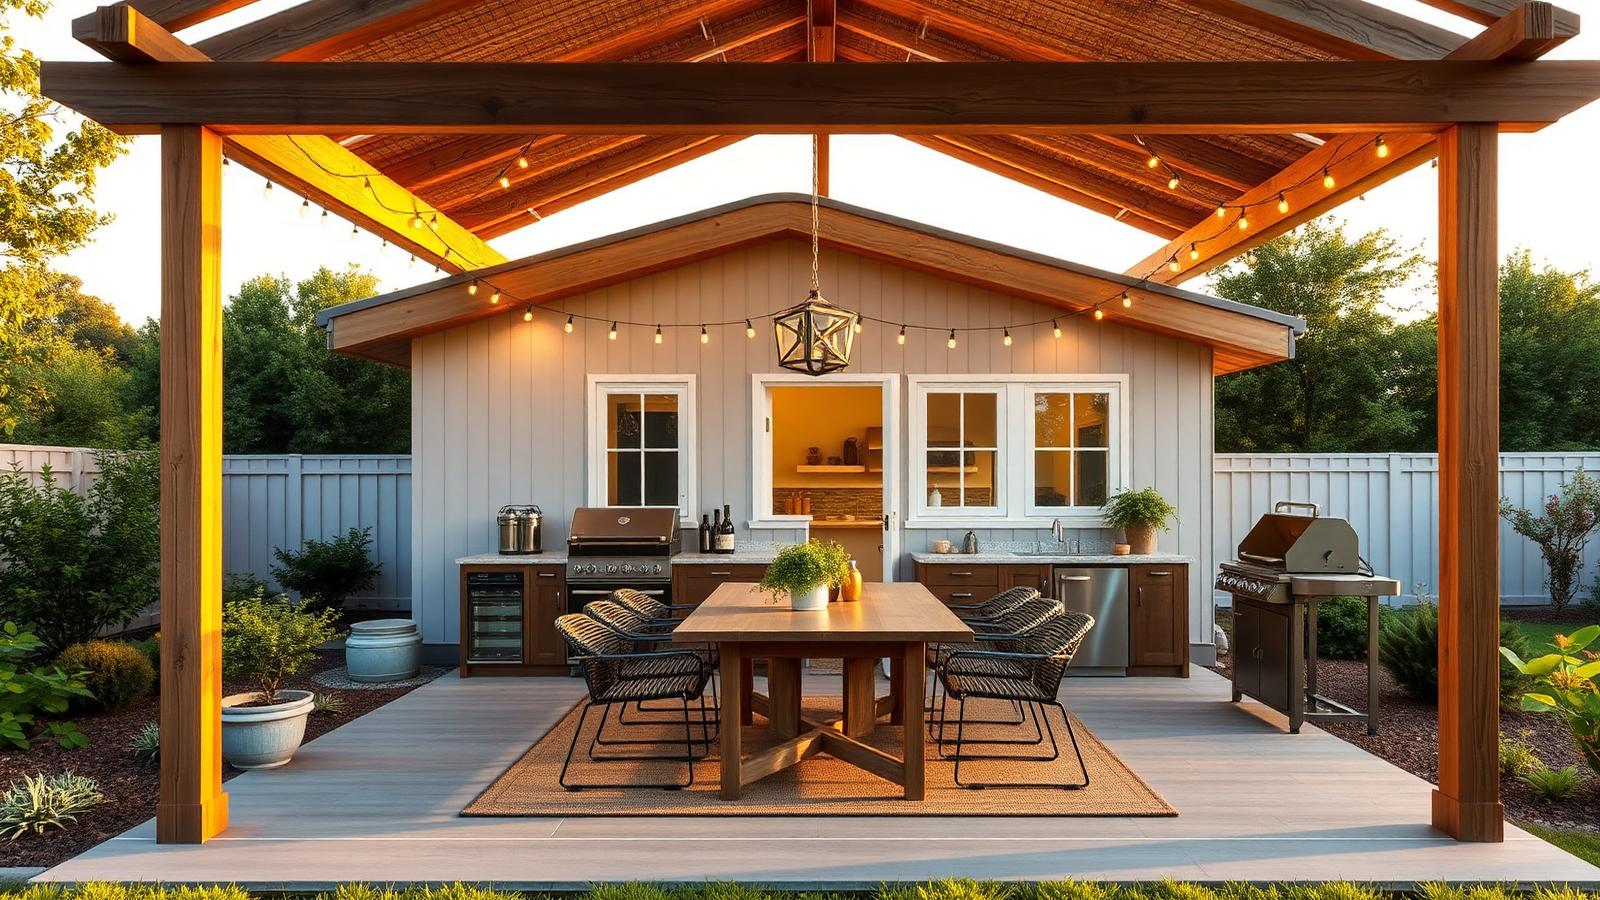
The outdoor room that doubles the house
A pergola-covered deck with dining table, BBQ and lush planting beside a compact home. In a tiny home the cheapest square metres are outside. A roof, a floor and shelter from wind turn a deck into a room you use most of the year, which is why almost every successful tiny home spends part of the build budget outdoors rather than indoors.
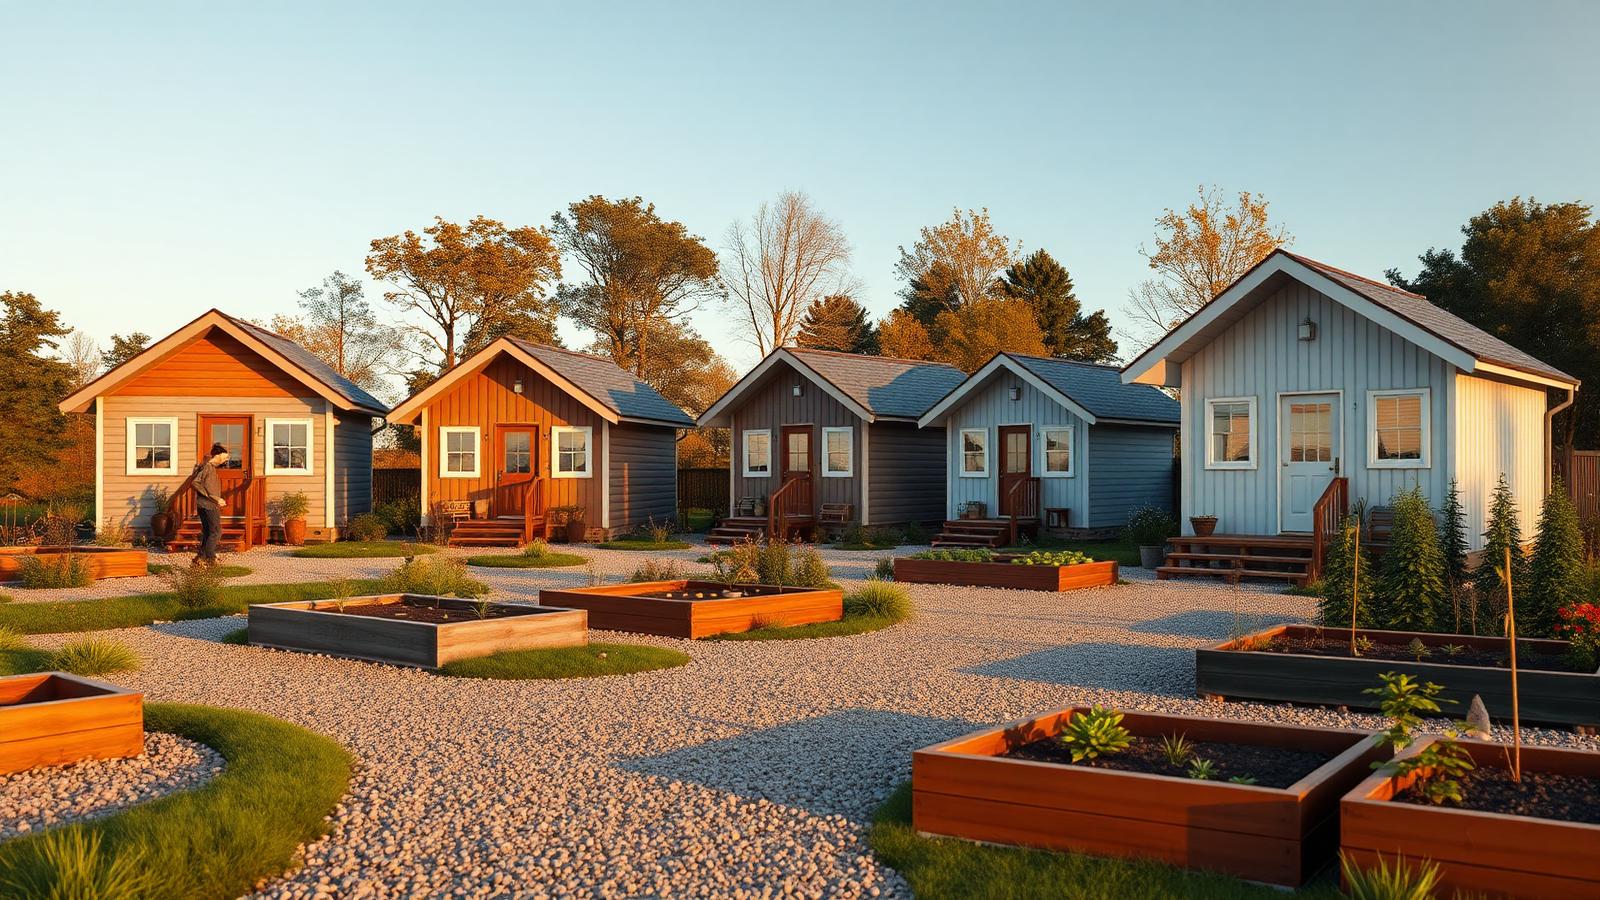
A village of finished builds sharing a garden
Five completed cabins around gravel paths and shared raised beds. Repeating one well-resolved design is how small housing becomes affordable at scale: the same frame, the same services, the same details, built five times with the errors removed each round. The shared garden is the common living room that makes the small private footprints feel generous.
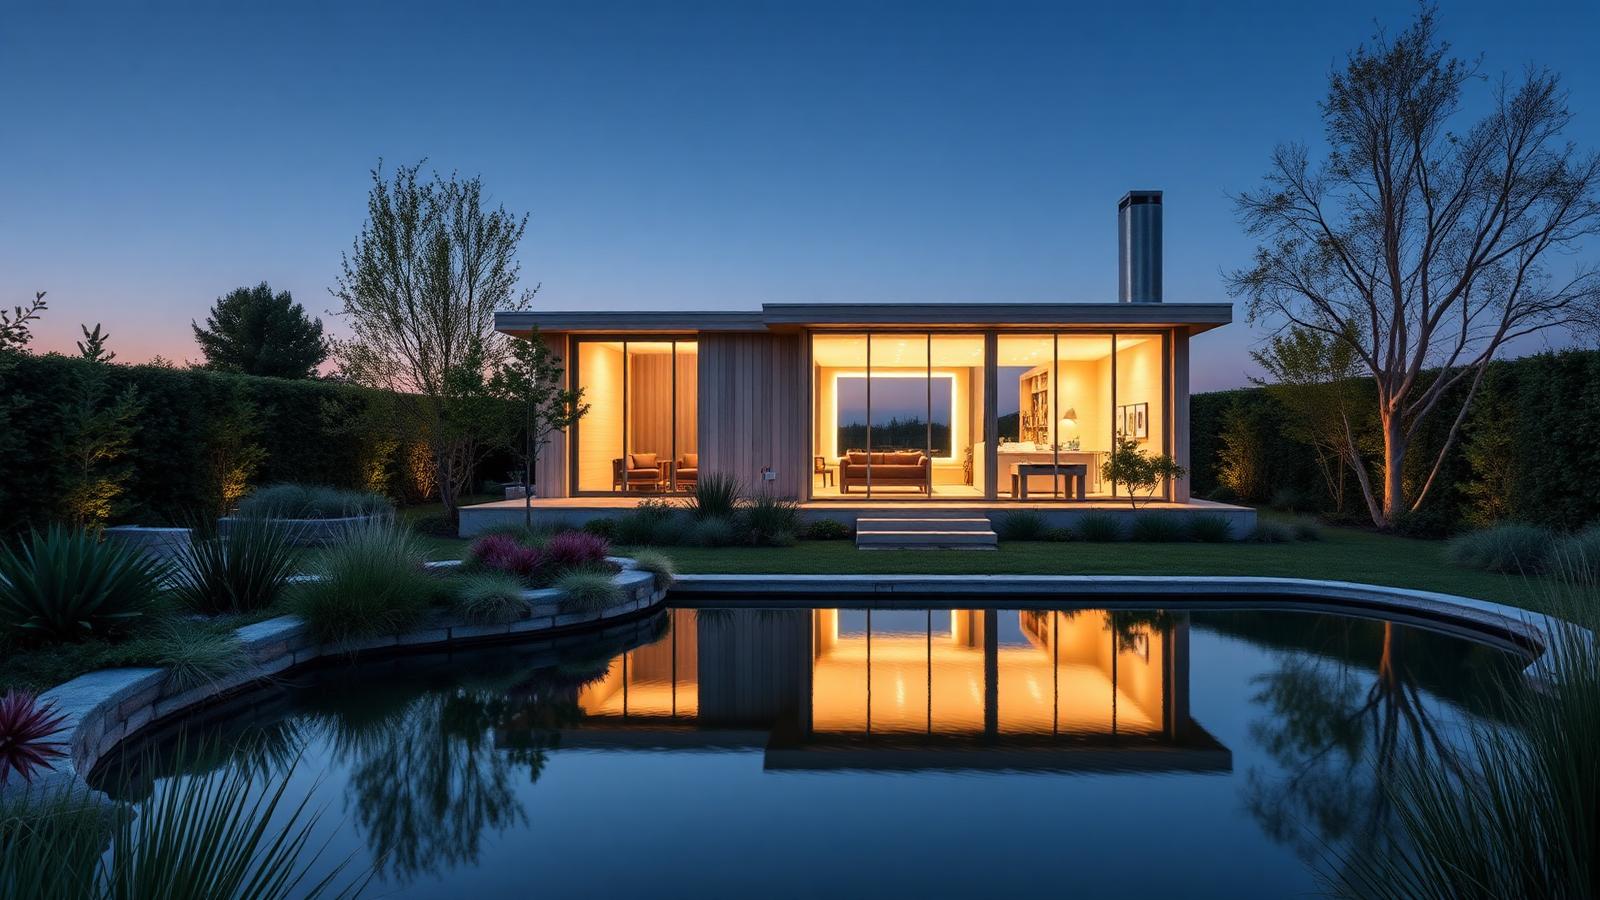
The last design — small, finished, and worth keeping
Pale timber and glass, a green roof, a reflecting pond and sculpted planting at twilight. A hundred designs later, the argument is simple. Build the shell properly, spend the money on light, air and one beautiful outdoor space, and keep the footprint small enough that you own it rather than owing on it. That is the whole of the tiny home idea, finished and standing in its garden.
A five part series
The Tiny Home Series — 100 designs across five articles
- Part 1100 Tiny Home Designs to Give You IdeasDesigns 01–20 — fixed cabins and cottages
- Part 2Tiny Homes for the New GenerationsDesigns 21–40 — how younger buyers actually live
- Part 3Tiny Homes for Affordable Home BuyingDesigns 41–60 — the land, the build, the bills
- Part 4Tiny Homes — The Solution for an Expensive Homes Market?Designs 61–80 — does small housing really answer the market?
- Part 5Tiny Homes — How to Build Them, and 20 Designs for InspirationDesigns 81–100 — the build sequence, stage by stage — you are reading this one
The end of the series
One hundred designs, and one very simple conclusion
Across five parts and one hundred designs, the homes that worked shared the same handful of traits. They sat on secure ground. They were built shell-first and sealed properly. They put their money into light, air, storage and one good outdoor room. And they were small enough that the owner could finish them, keep them and change them without asking a bank for permission.
If you are starting, do it in this order: confirm what you can legally build where you intend to live, get a level and drained base or a properly rated chassis, frame and weatherproof before winter, run services once and photograph everything, then fit out in stages as cash allows. Plant the garden early — it takes longer to grow than the house takes to build.
That is the series. Start at Part One if you want the designs in order, or go back to the article index for the rest of our home and garden features.