Weekly Edition · 8 December 2025
How to Build a Tiny Home Deck, Porch and Outdoor Room
Learn how to design and build a functional, detachable deck and outdoor room to double your tiny home's living space.
This Week
Building a tiny home deck, porch and outdoor room
Learn how to design and build a functional, detachable deck and outdoor room to double your tiny home's living space.
Designing for Independence: The Freestanding Deck
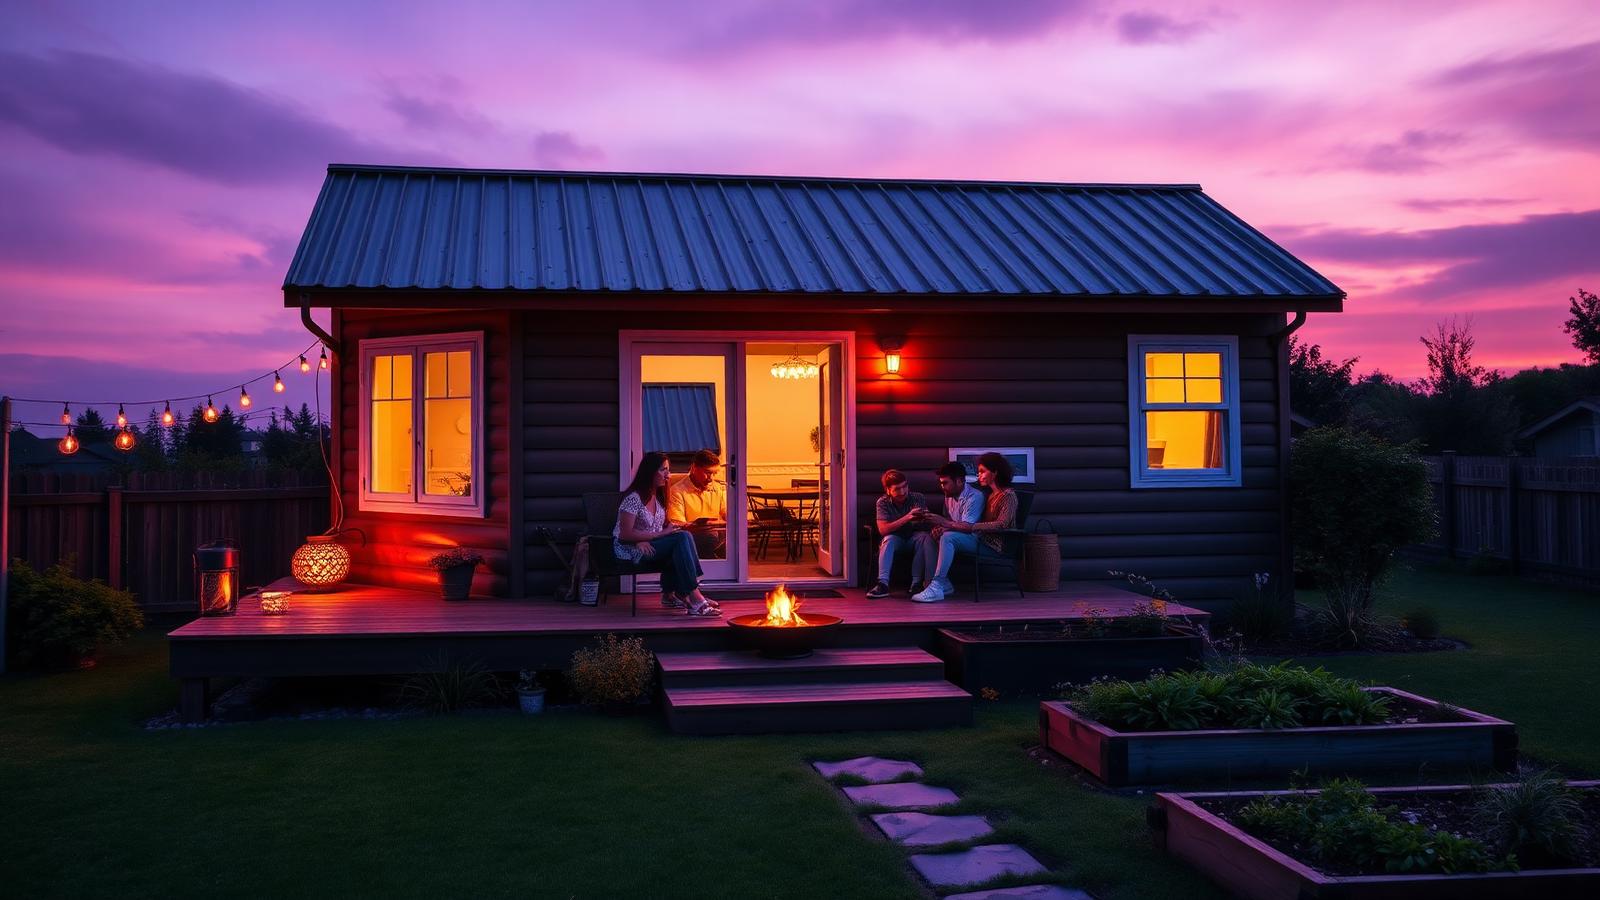
When building a deck for a tiny home on wheels, the golden rule is independence. Attaching a heavy wooden structure directly to your trailer frame can transfer structural stress during windstorms or soil settling, and it complicates road transport. Instead, design a freestanding platform that sits on its own foundation, positioned millimetres away from the tiny home's threshold. By using adjustable concrete deck blocks or ground screws, you can easily level the joists on uneven terrain without pouring permanent concrete footings. This approach keeps your setup fully transportable, allowing you to disassemble or move the deck if you ever decide to relocate your home.
To make relocation seamless, build your deck in modular panels. A standard 2.4 m by 4.8 m [8 ft by 16 ft] deck can be constructed as two separate 2.4 m by 2.4 m [8 ft by 8 ft] frames bolted together. When it is time to move, simply unbolt the sections, lift them onto a flatbed trailer, and drive away. For the framing, use H3.2 pressure-treated timber [equivalent to UC3B Ground Contact] for joists and bearers to resist rot and insect damage. Space your joists at 400 mm [16 in] on-centre to ensure a stiff, bounce-free walking surface that feels as permanent and solid as a traditional suburban home.
Crafting a Welcoming and Safe Entryway
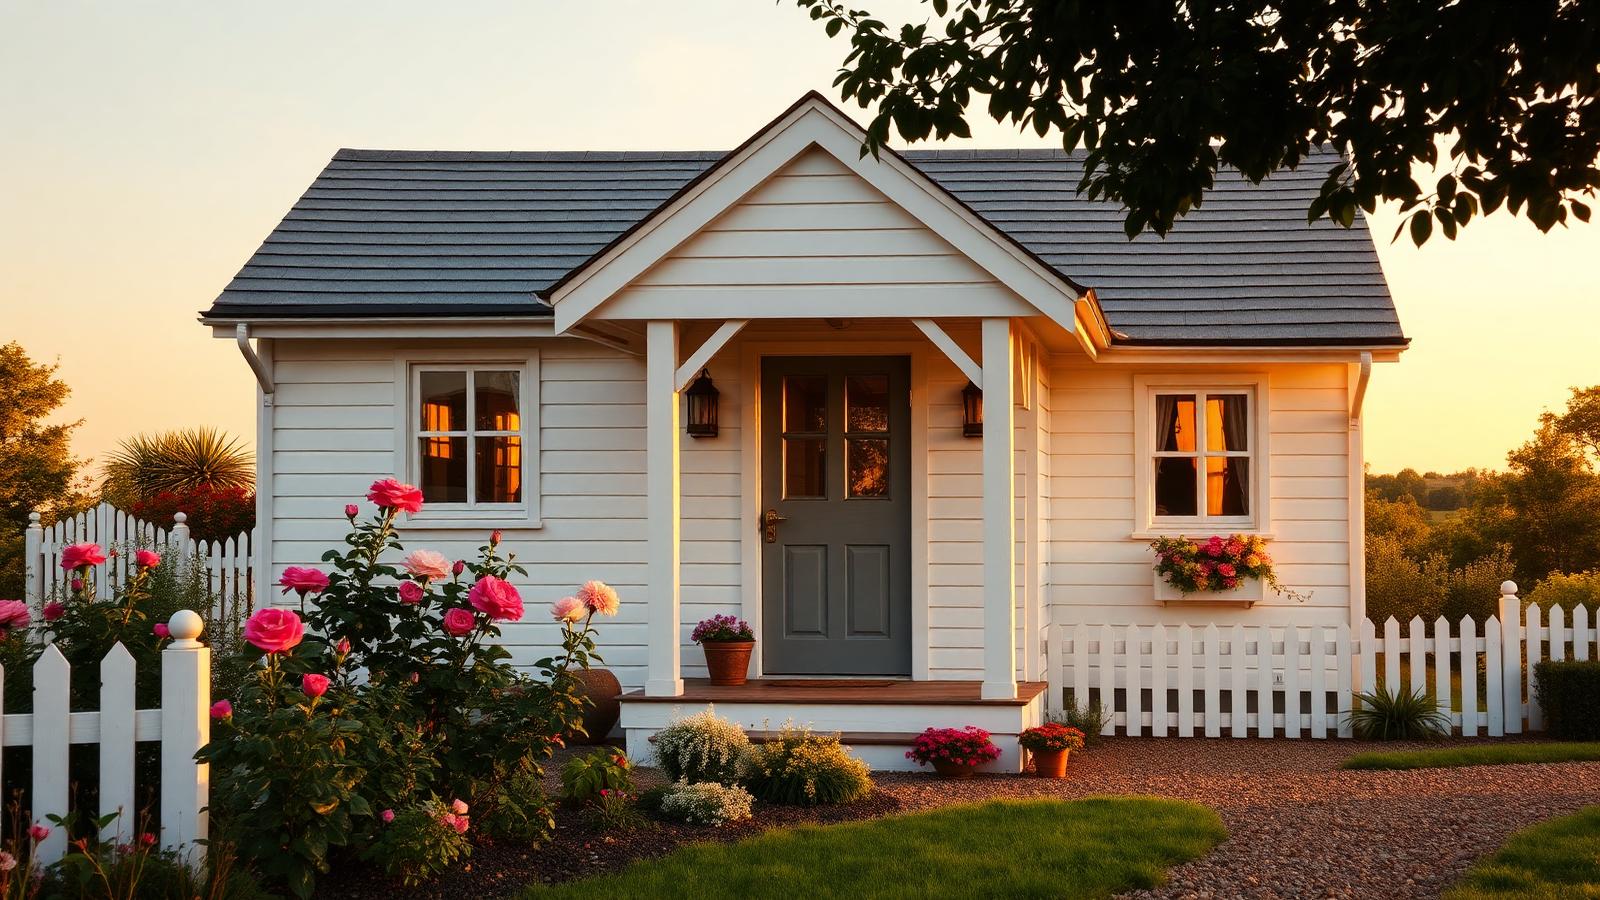
The transition from the ground to a tiny home's elevated doorway requires careful planning. Most tiny home thresholds sit between 600 mm and 900 mm [24 in to 36 in] off the ground, depending on the trailer height. A simple set of steps is not just a utility; it is the physical introduction to your home. Build your stairs with a comfortable rise of 150 mm to 180 mm [6 in to 7 in] and a deep run of 280 mm to 300 mm [11 in to 12 in] to prevent trips. If your deck is elevated more than 750 mm [30 in] above the ground, local building codes generally require a balustrade or handrail at least 1 m [39 in] high for safety.
To maximize utility, integrate storage into this transition zone. The dead space beneath your porch steps or deck platform is ideal for weather-resistant hatch doors. You can store bulky outdoor gear, firewood, or greywater hoses out of sight but within easy reach. If you build a small covered porch directly over the doorway, extend your roofline by 600 mm to 900 mm [2 ft to 3 ft] using lightweight polycarbonate sheeting or matching metal roofing. This protects your entryway from rain, keeps mud out of your living area, and provides a dry spot to kick off dirty boots before stepping inside.
Enclosing the Space for Year-Round Use
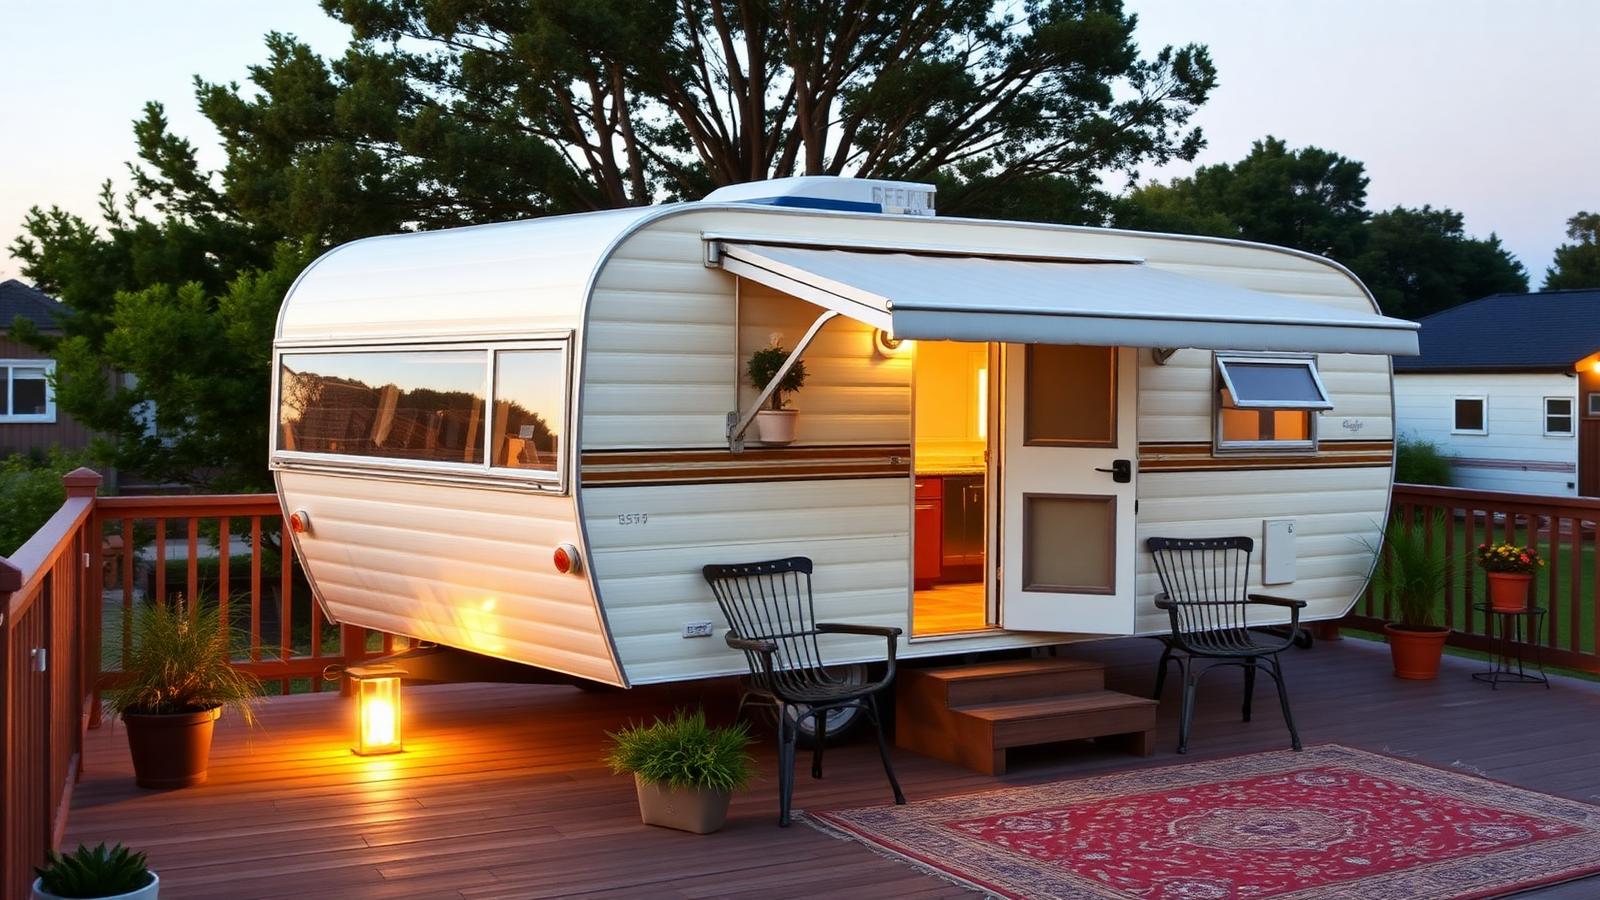
To truly double your living area, transform your flat deck into a semi-enclosed outdoor room. This zone blurs the boundary between indoors and outdoors, offering a dining area, workspace, or lounge that feels like a natural extension of your floor plan. Start by defining the boundaries with vertical elements. Installing timber privacy screens on the windward or neighbor-facing sides of the deck blocks cold breezes and provides visual privacy. Use horizontal cedar slats spaced 20 mm [0.75 in] apart to maintain airflow while diffusing harsh sunlight, creating a dappled, calm atmosphere inside your new outdoor lounge.
Overhead protection is crucial for making the space usable in all weather. A timber pergola constructed from 100 mm by 100 mm [4 in by 4 in] posts offers a sturdy framework for various roofing options. For seasonal flexibility, install a retractable canvas sail track or a heavy-duty waterproof awning. If you want permanent shelter, install corrugated polycarbonate panels over the pergola rafters. These clear or bronze-tinted panels block harmful ultraviolet rays and shed rainwater while allowing natural light to flood through your tiny home’s windows, keeping your interior bright even on overcast winter afternoons.
Choosing Durable Materials for Longevity
Selecting the right decking materials directly impacts your DIY budget and maintenance schedule. For a natural, high-performance option, local softwoods like larch, redwood, or cedar offer excellent natural rot resistance without chemical treatments, though they require oiling every one to two years to retain their color. If low maintenance is your priority, wood-plastic composite boards are a durable choice that will not warp, splinter, or rot. Keep in mind that composites are heavier than timber and require closer joist spacing—usually 300 mm [12 in] on-centre—to prevent sagging, which adds to the weight of your modular deck panels if you intend to move.
When assembling your deck, pay close attention to fasteners. Use high-grade 304 or 316 stainless steel deck screws rather than galvanized nails, as nails will inevitably pop up over time due to wood movement and the vibrations of travel. Pre-drilling your board ends prevents splitting and ensures a clean, professional finish. Keep a consistent 4 mm to 6 mm [0.15 in to 0.25 in] gap between your decking boards to allow for expansion, contraction, and drainage. By taking your time with these structural details, you will create a beautiful, durable outdoor oasis that expands your tiny home's footprint for years to come.