Weekly Edition · 16 August 2026
Designing a Practical Off-Grid Tiny Home Solar System
A hands-on guide to sizing, choosing, and safely installing a reliable off-grid solar setup for your DIY tiny house.
This Week
Off-grid solar power systems for tiny homes
A hands-on guide to sizing, choosing, and safely installing a reliable off-grid solar setup for your DIY tiny house.
Calculating Your True Daily Power Demands
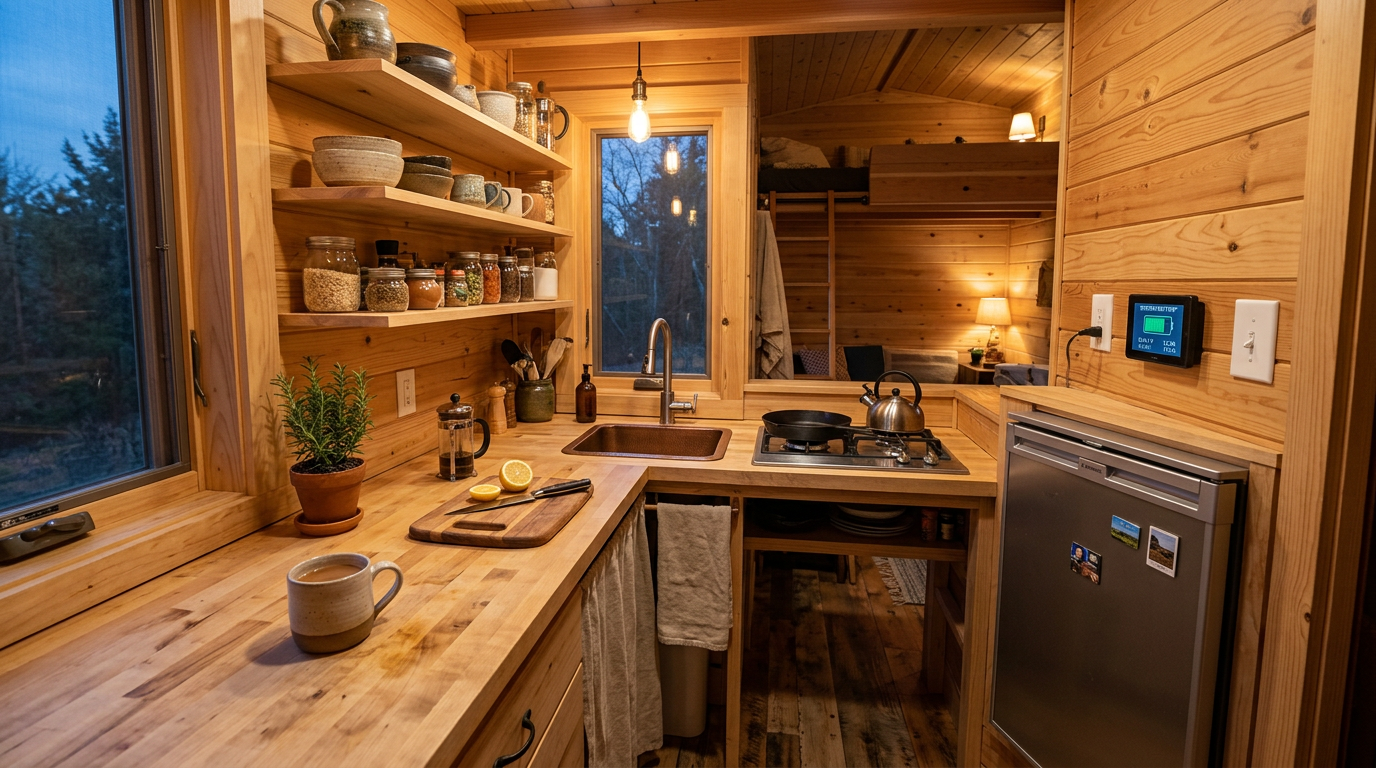
The absolute first step of designing an off-grid solar system is conducting a rigorous energy audit. Instead of guessing, you must catalog every single electrical device you plan to run, from your laptop to your water pump. Multiply each item’s wattage by the number of hours it will run daily to calculate your total watt-hours. For example, a 60-watt laptop charger used for 4 hours requires 240 watt-hours. Adding a 20% safety margin for inverter inefficiency ensures you do not run dry during consecutive overcast days.
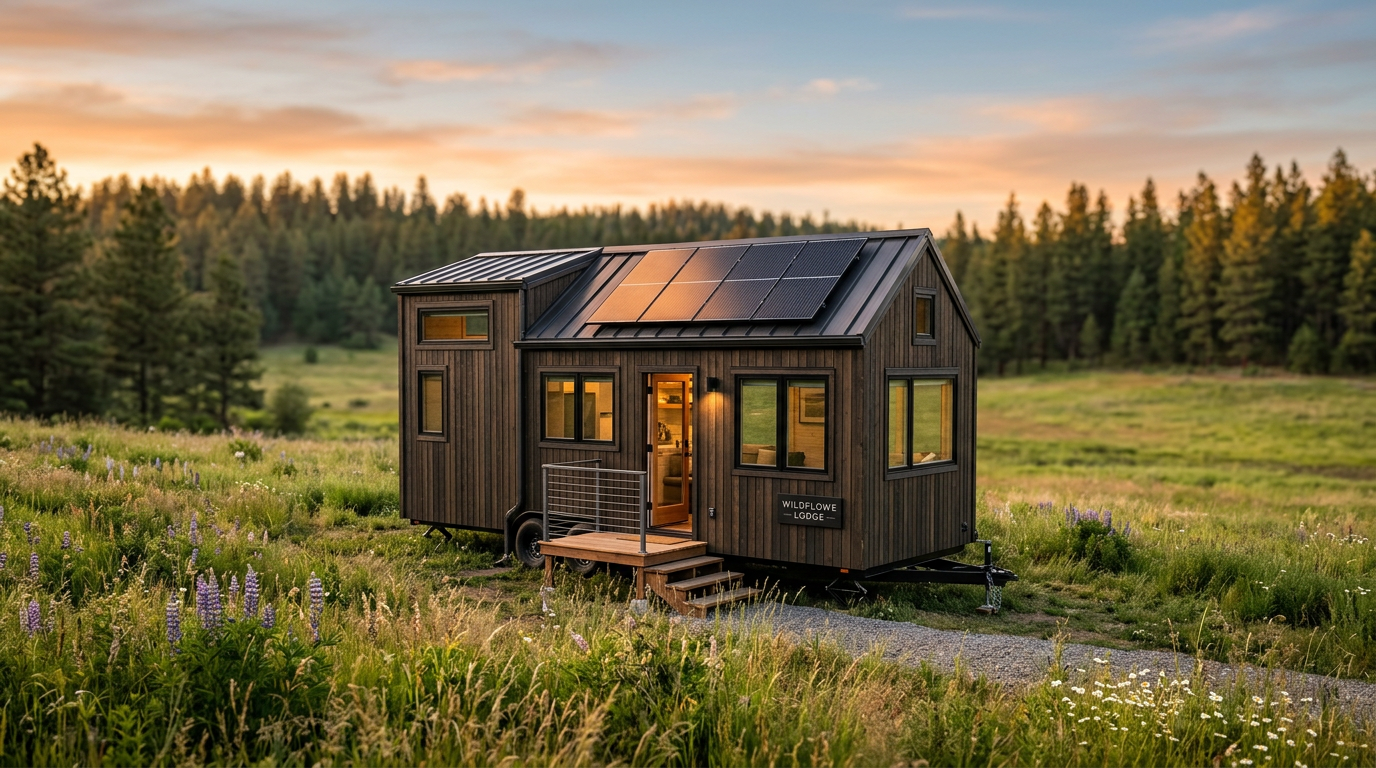
To make solar realistic on a small footprint, separate your heating needs from your electrical needs. Relying on electricity for high-draw thermal appliances like water heaters, stoves, and space heaters will quickly drain even a massive battery bank. Instead, design your tiny home to utilize propane, diesel, or wood for heating and cooking. This simple design choice reduces your daily electrical load from a staggering 10,000 watt-hours down to a highly manageable 2,500 watt-hours, making a roof-mounted system entirely feasible.
Sizing and Selecting Your Battery Bank
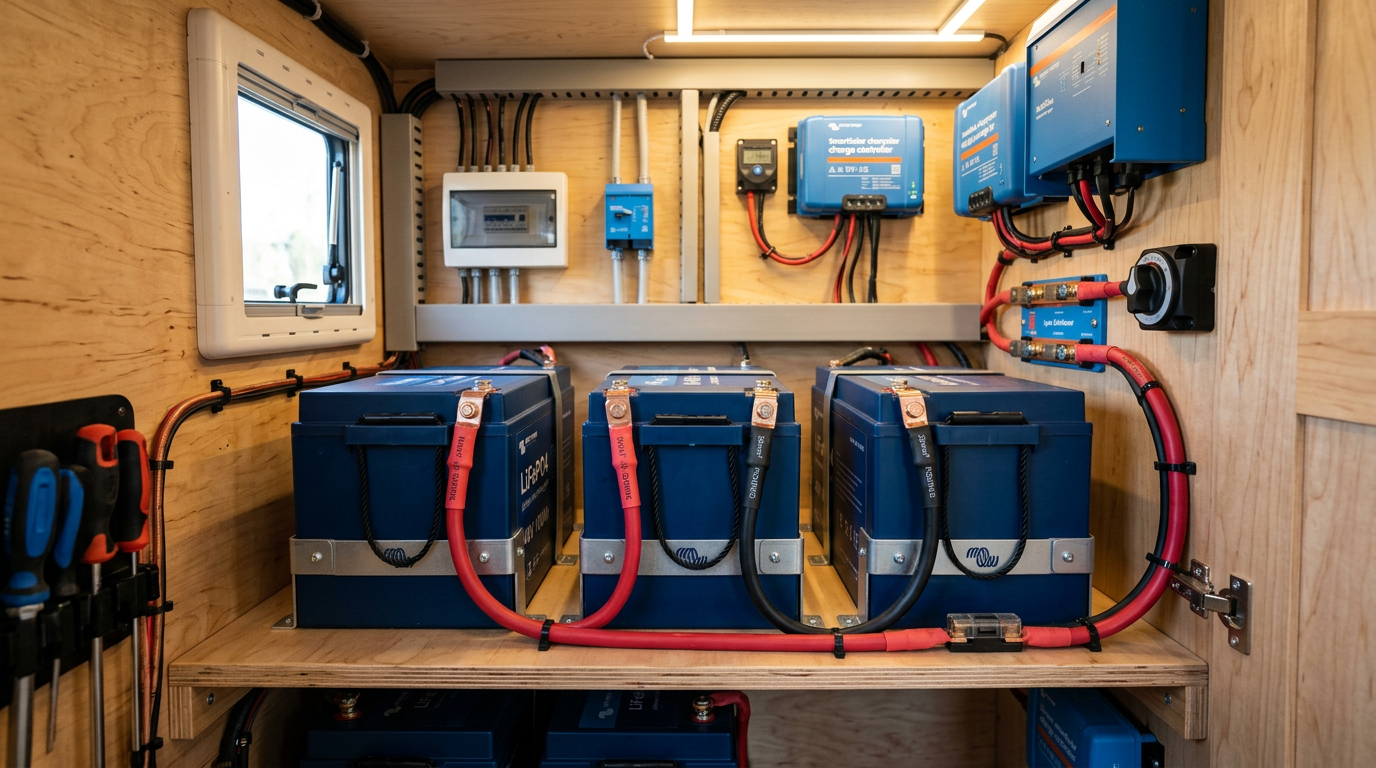
Your battery bank is the heart of your off-grid system, storing the sun's energy for night use. While traditional flooded lead-acid batteries are cheap upfront, Lithium Iron Phosphate (LiFePO4) batteries are the superior choice for tiny homes. Lithium batteries can be discharged up to 90% without damage, whereas lead-acid batteries should only be discharged to 50%. Additionally, lithium batteries weigh about half as much and last up to ten times longer, easily justifying their higher initial investment in a mobile tiny home.
When designing your battery bank, you must also choose your system voltage: 12V, 24V, or 48V. For tiny homes with power runs longer than 5 meters [16 feet], a 24V or 48V system is highly recommended. Higher voltage reduces the current flowing through your wires, which allows you to use thinner, less expensive copper cables while minimizing power loss through heat. It also makes your system run significantly cooler and more efficiently.
Solar Panel Selection and Charge Controllers
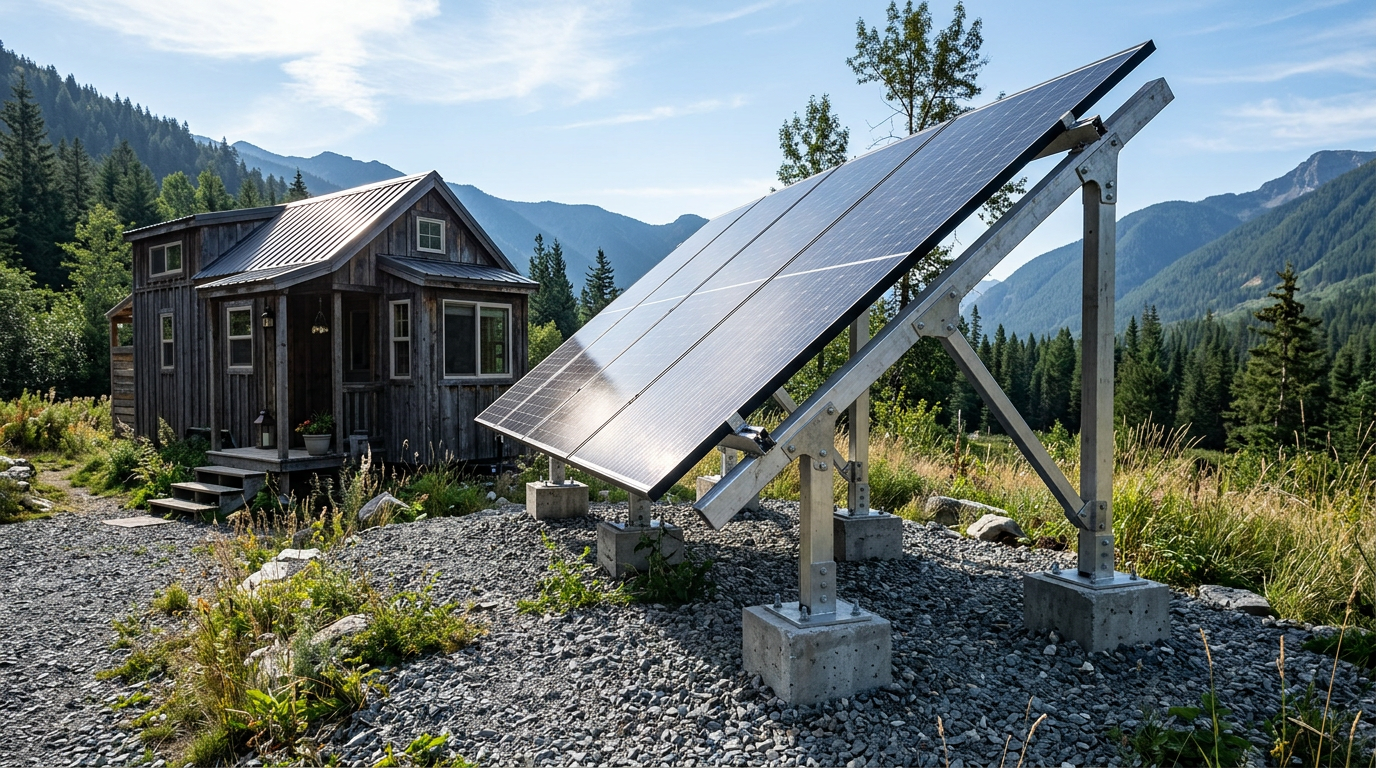
Monocrystalline solar panels are the industry standard for tiny homes due to their high efficiency and compact size. When space on a tiny home roof is limited to perhaps 2.4 meters [8 feet] by 6 meters [20 feet], maximizing watt-per-square-inch is critical. If your roof is frequently shaded by trees, consider building a portable ground-mount array instead. Ground-mounted panels can be placed up to 15 meters [50 feet] away in direct sunlight and easily angled toward the sun as seasons change.
To safely bridge your panels and batteries, you need a Maximum Power Point Tracking (MPPT) charge controller. Unlike older, inefficient PWM controllers, an MPPT controller constantly adjusts voltage and current to harvest the absolute maximum power possible from your panels, especially on cloudy days. Size your charge controller based on the total open-circuit voltage of your panel array, leaving at least a 15% safety buffer to prevent damage during unusually bright, cold winter days.
Wiring, Inverters, and System Safety
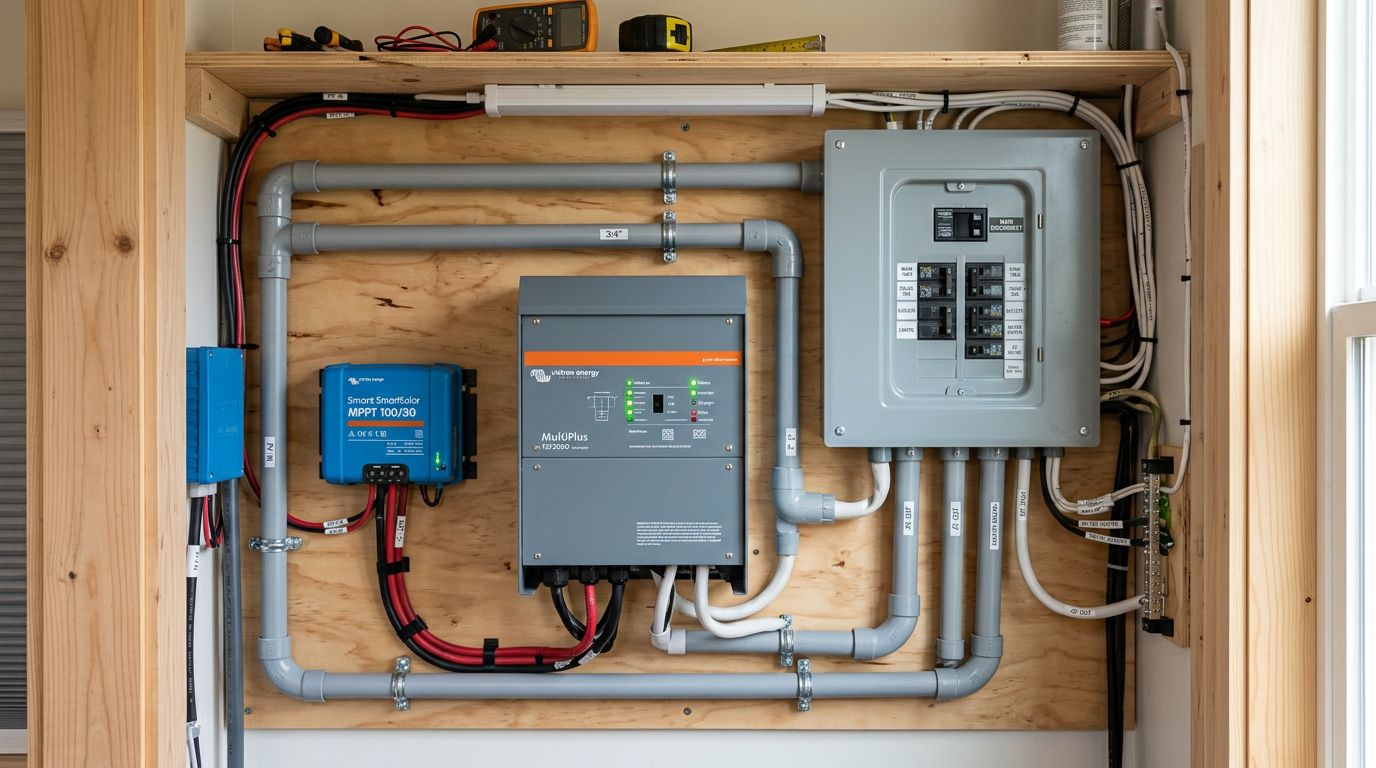
Your inverter converts the Direct Current (DC) stored in your batteries into the Alternating Current (AC) used by standard household outlets. For a tiny home, always choose a high-quality pure sine wave inverter rather than a modified sine wave model. Sensitive electronics, including laptop chargers, induction cooktops, and LED light ballasts, run hot, buzz, or fail entirely on modified sine wave power. A 2,000-watt to 3,000-watt inverter is typically the sweet spot for a well-designed tiny home.
Safety must be your top priority when wiring an off-grid electrical system. Every major component must be isolated with appropriate fuses and circuit breakers to prevent electrical fires. Install a heavy-duty class-T fuse directly on the positive battery line, as lithium batteries can release massive currents in a short-circuit event. Keep all your components mounted on a fire-resistant backing board, like cement board or painted plywood, inside a well-ventilated cabinet to prevent heat buildup.