Weekly Edition · 17 August 2026
Groundwork: Choosing Your Tiny Home Foundation
Build on solid ground. Discover the pros, cons, and DIY steps for tiny home trailers, piers, concrete slabs, and wooden skids.
This Week
Tiny home foundations: skids, piers, slabs and trailers
Build on solid ground. Discover the pros, cons, and DIY steps for tiny home trailers, piers, concrete slabs, and wooden skids.
Mobile Foundations: Heavy-Duty Trailers
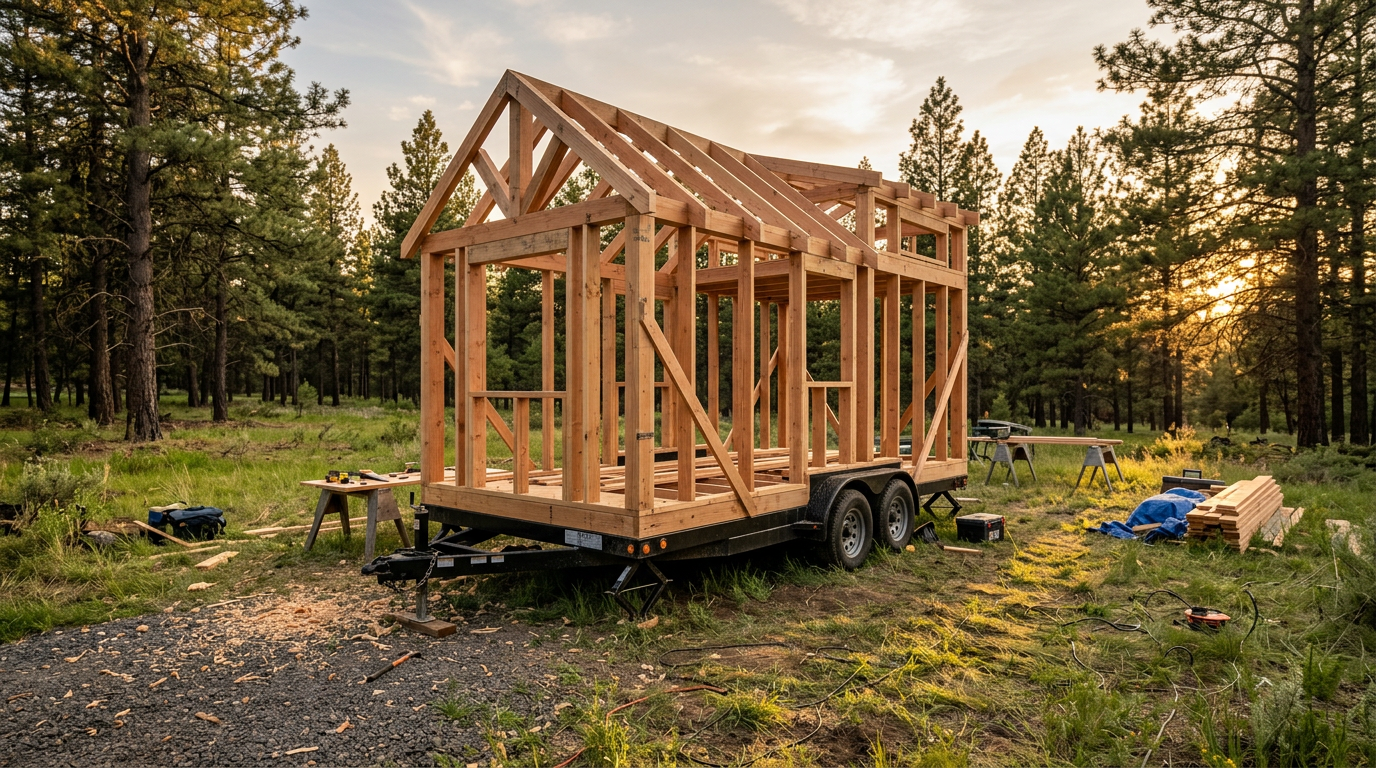
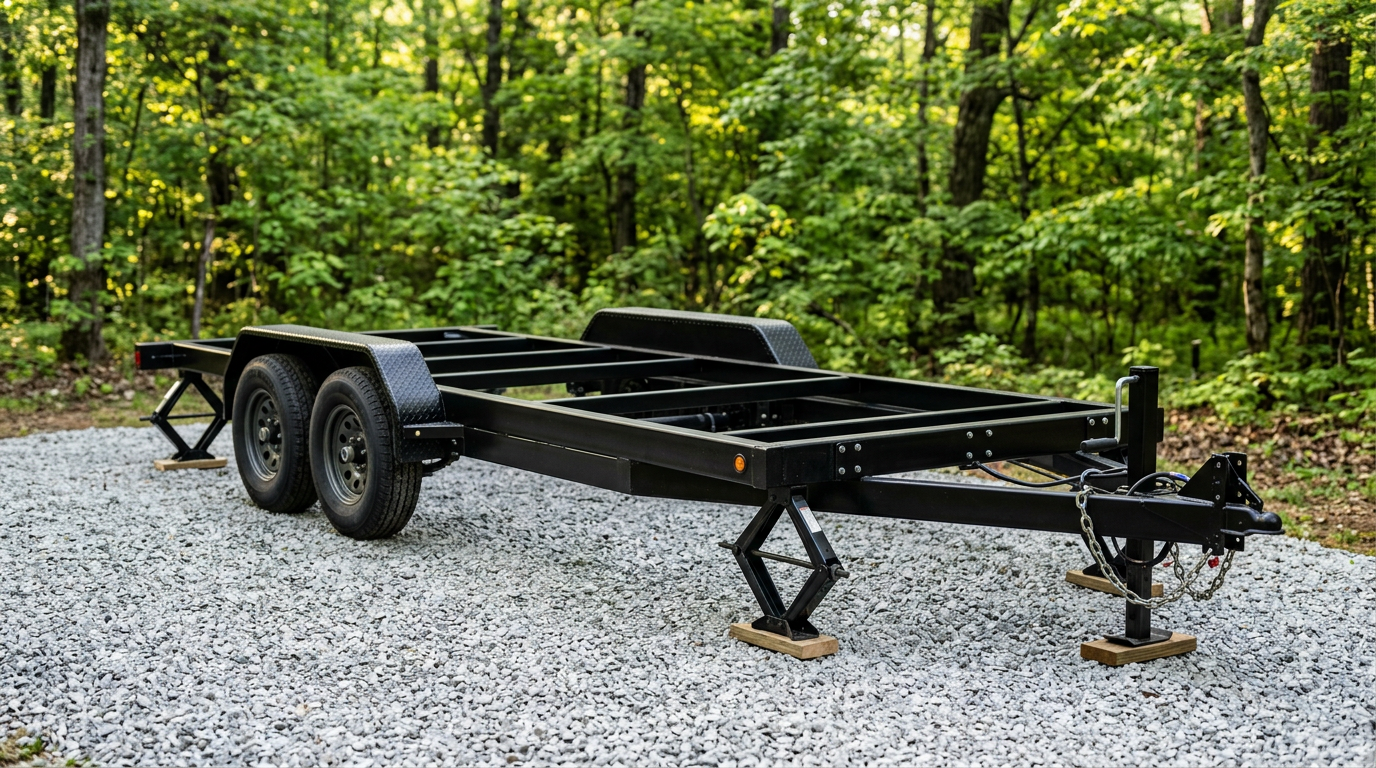
Building on a trailer is the defining choice for many tiny home builders, offering unparalleled mobility and a clever way to navigate strict local zoning laws. Unlike standard utility trailers, a dedicated tiny home trailer features integrated flashing, heavy-duty drop axles, and perimeter framing designed to bolt directly to your subfloor. When choosing a trailer, look for dual or triple axles rated for at least 6,350 kg [14,000 lbs] to support the immense concentrated weight of timber framing, appliances, and personal belongings.
To secure your house to the trailer, use heavy-duty tension ties or hold-downs bolted through the steel frame. Run 12 mm [0.5 inch] threaded rods through your bottom wall plates down through the subfloor and the trailer's steel perimeter flange. This creates a continuous load path that prevents the structure from lifting during highway transit. Don't forget to install a continuous metal flashing barrier underneath the subfloor to keep road moisture, road debris, and pests out of your floor insulation.
Pier Foundations: Budget-Friendly and Adaptable
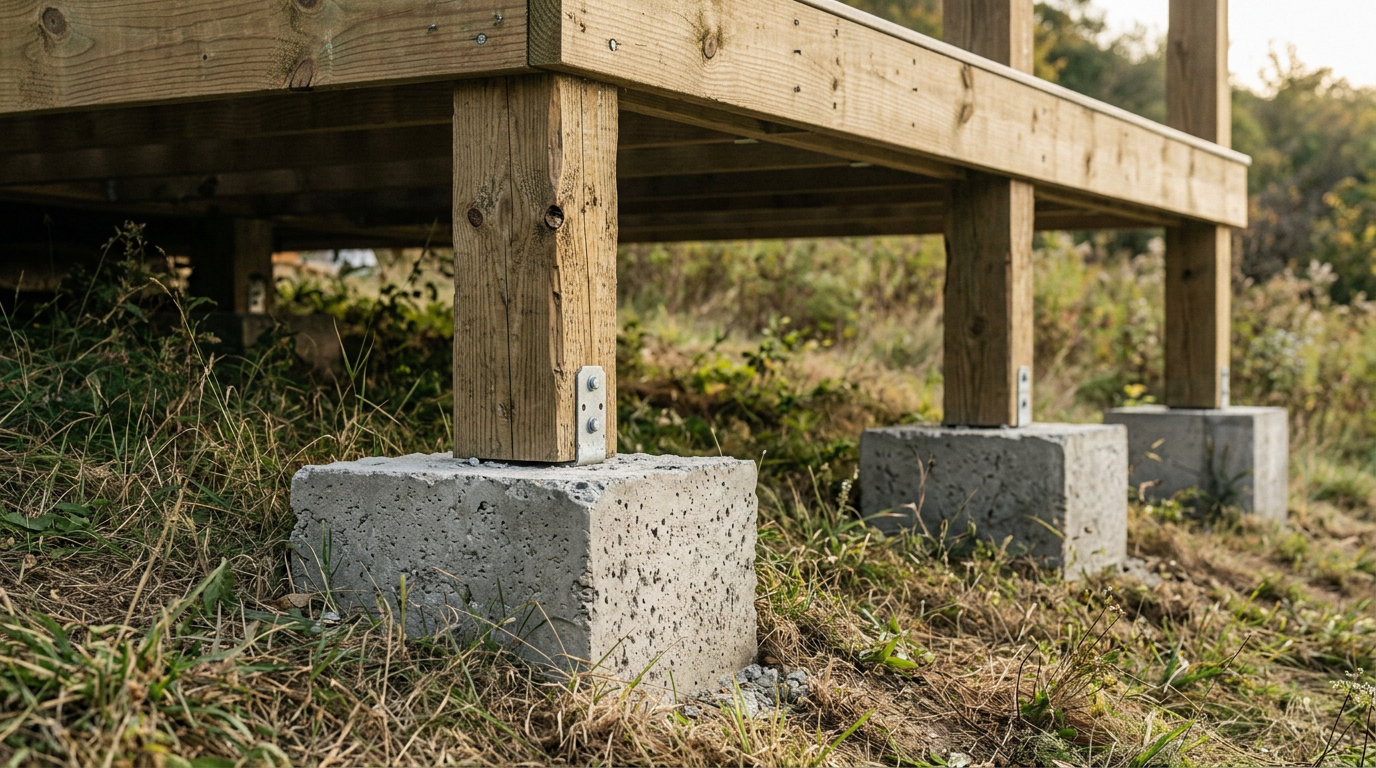
For permanent or semi-permanent tiny homes on sloped or uneven terrain, pier foundations offer a highly cost-effective and low-impact solution. By pouring concrete footings into deep cardboard tubes—often called Sonotubes—or using precast concrete pier blocks, you can elevate your home off the damp ground. This method requires minimal excavation compared to a full slab, making it incredibly popular for DIY builders working solo. It also leaves the natural drainage patterns of your land virtually undisturbed.
When building on piers, you must dig beneath your local frost line—often 900 mm [36 inches] or deeper—to prevent frost heaving from tilting your home. Once the concrete is poured, insert adjustable hot-dip galvanized post saddles into the wet concrete to anchor your 150 mm by 150 mm [6 by 6 inch] vertical support posts. Space your piers no more than 1.8 to 2.4 meters [6 to 8 feet] apart to ensure the floor joists do not sag under the weight of your walls and roof.
Wooden Skids: The Semi-Permanent Compromise
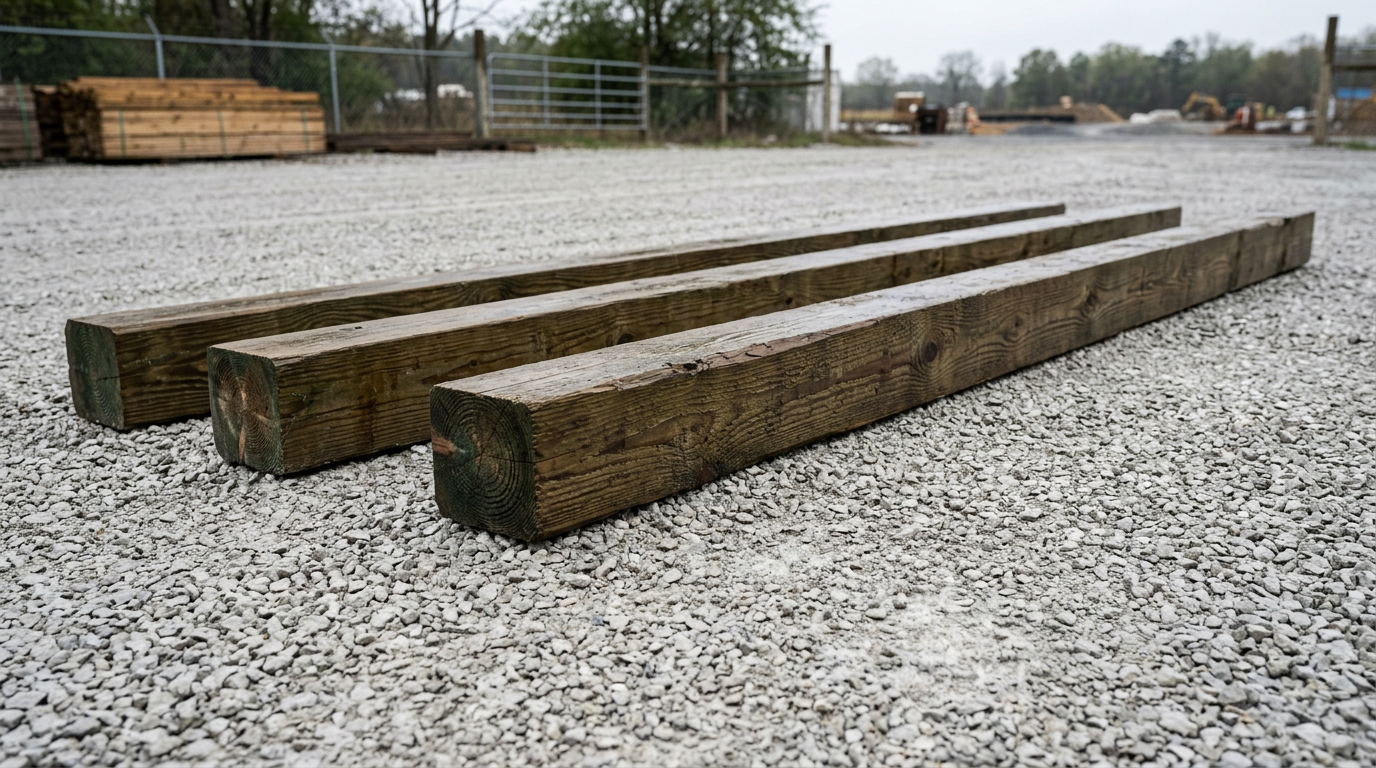
Skid foundations strike an ideal balance between permanent foundation stability and the relocatability of a trailer. Often used for cabins and backyard accessory dwelling units (ADUs), this system relies on heavy, pressure-treated timbers lying directly on a prepared gravel pad. The weight of the house holds the structure in place, but the entire building can still be dragged or winched onto a flatbed trailer if you ever need to relocate your home to a new property.
To build a durable skid foundation, excavate a flat area about 150 mm [6 inches] deep and fill it with compacted road base or crushed gravel to ensure excellent drainage. Lay three or four parallel 150 mm by 150 mm [6 by 6 inch] pressure-treated timber skids across the gravel, ensuring they are perfectly level with one another. Use heavy-duty timber screws to tie your floor joists to these skids, creating a rigid platform that resists shifting over time.
Concrete Slabs: Maximum Durability and Thermal Mass
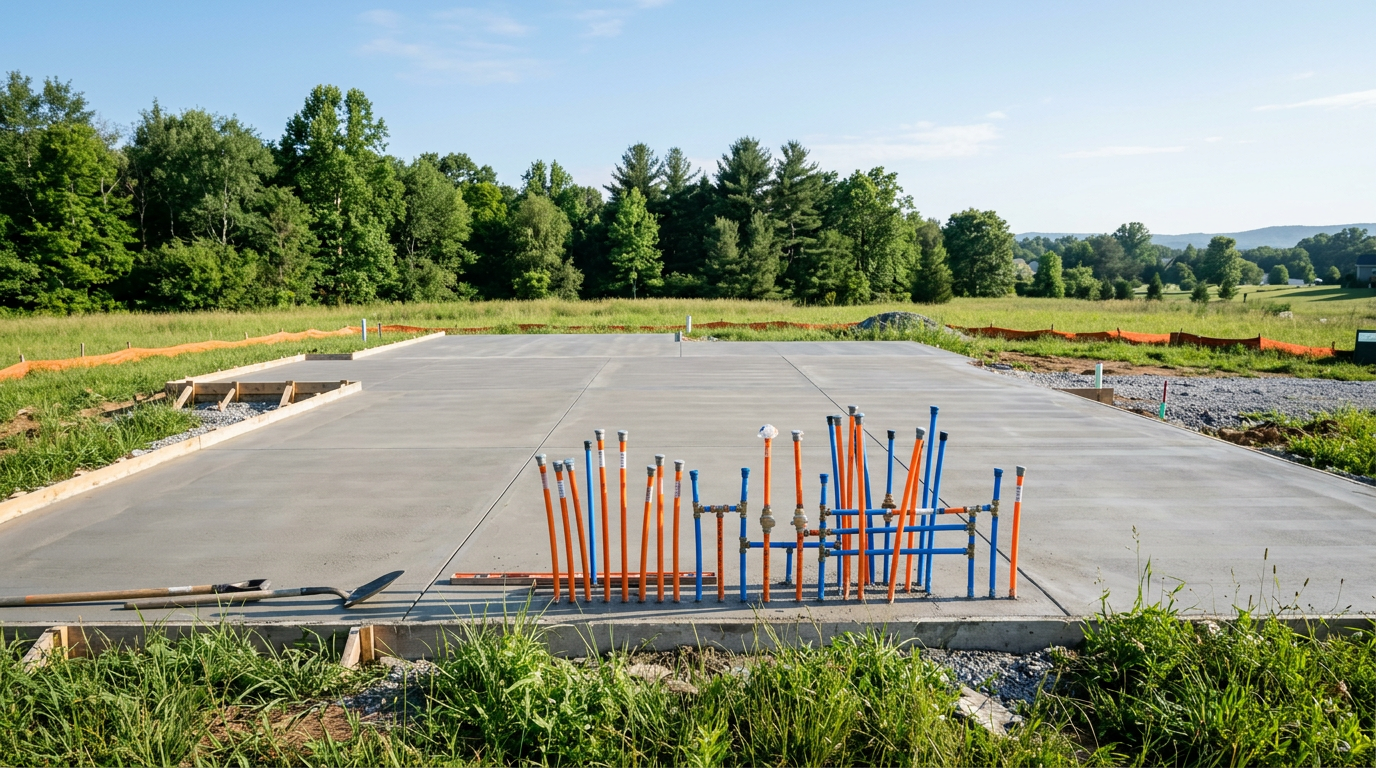
If you have secured a permanent piece of land and plan to live in your tiny home for decades, a concrete slab-on-grade foundation is the gold standard. It provides unmatched structural stability, absolute resistance to high winds, and eliminates any bounce or movement in your floors. Furthermore, a concrete slab can serve as a beautiful finished floor while providing incredible thermal mass, storing heat from daytime sunlight and slowly releasing it during cold nights.
Building a concrete slab requires meticulous planning, as all your plumbing drains and electrical conduits must be mapped out and installed before pouring. Excavate the footprint, build wooden formwork, lay down a thick vapor barrier to block rising dampness, and install a grid of steel rebar or welded wire mesh for reinforcement. Pouring a 100 mm [4 inch] thick slab with thickened edges of 300 mm [12 inches] ensures your tiny home has a rock-solid, lifetime foundation that meets strict building codes.