Weekly Edition · 14 September 2026
Lighting Secrets for Dark Tiny Home Interiors
Learn how to banish shadows and maximize space in your tiny home with layered lighting, smart placement, and efficient 12V DC systems.
This Week
Tiny home lighting design for small dark interiors
Learn how to banish shadows and maximize space in your tiny home with layered lighting, smart placement, and efficient 12V DC systems.
The Three-Layer Rule for Small Spaces
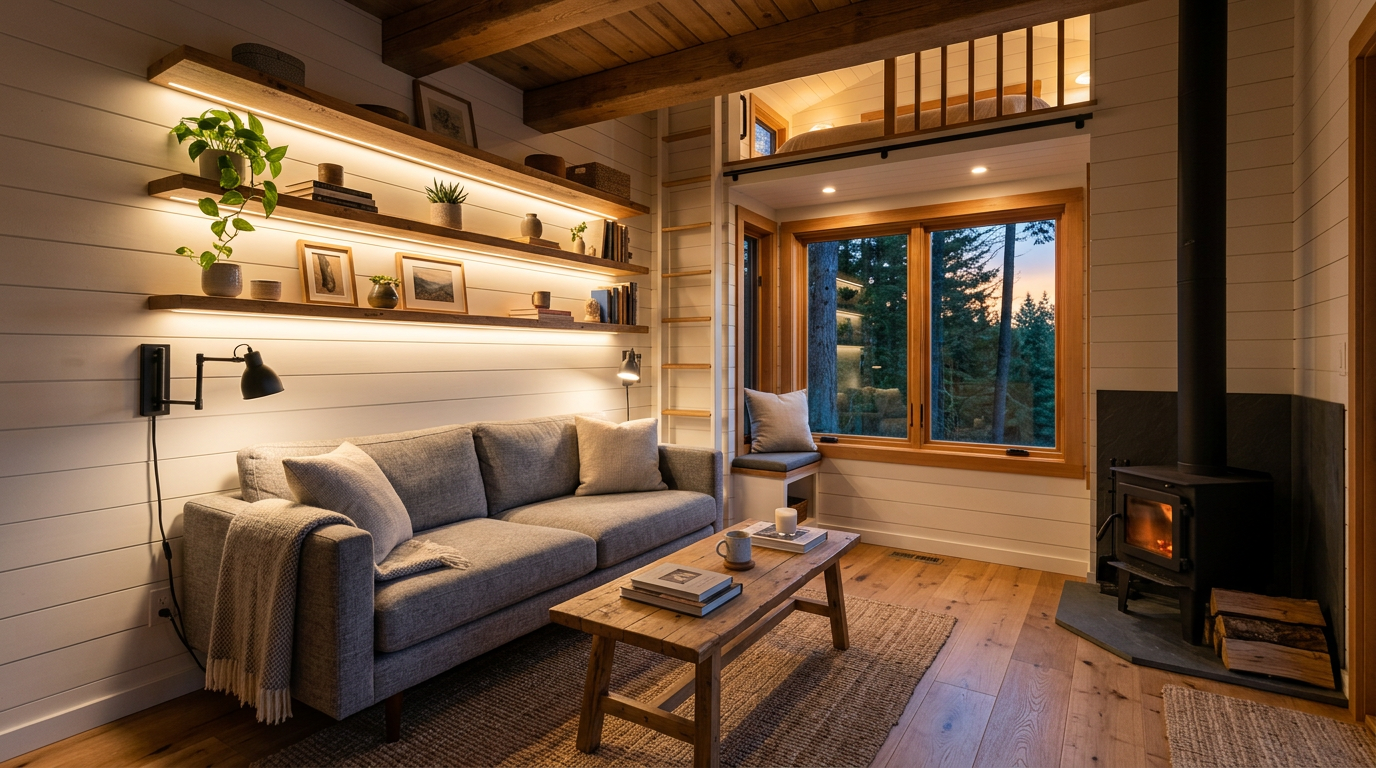
In a standard house, a single overhead fixture per room might suffice, but in a tiny home, relying on a single light source is a recipe for dark corners and a cramped, cave-like atmosphere. To make a small space feel open and inviting, you must implement layered lighting. This design approach uses three distinct layers: ambient, task, and accent lighting. Together, these layers fill in shadows, eliminate dark zones, and create a sense of visual depth that tricks the mind into perceiving more physical volume.
When planning your layout, avoid installing central dome lights on a ceiling that is already low. For a ceiling height of around 3 m [9.8 ft], opt instead for low-profile, recessed 12V LED puck lights spaced roughly 90 cm [35 in] apart. Ensure you select a warm color temperature between 2700K and 3000K. This spectrum mimics natural incandescent light, keeping your interior cozy and avoiding the cold, sterile feel of higher-Kelvin blue light.
Harnessing Low-Voltage 12V DC Systems
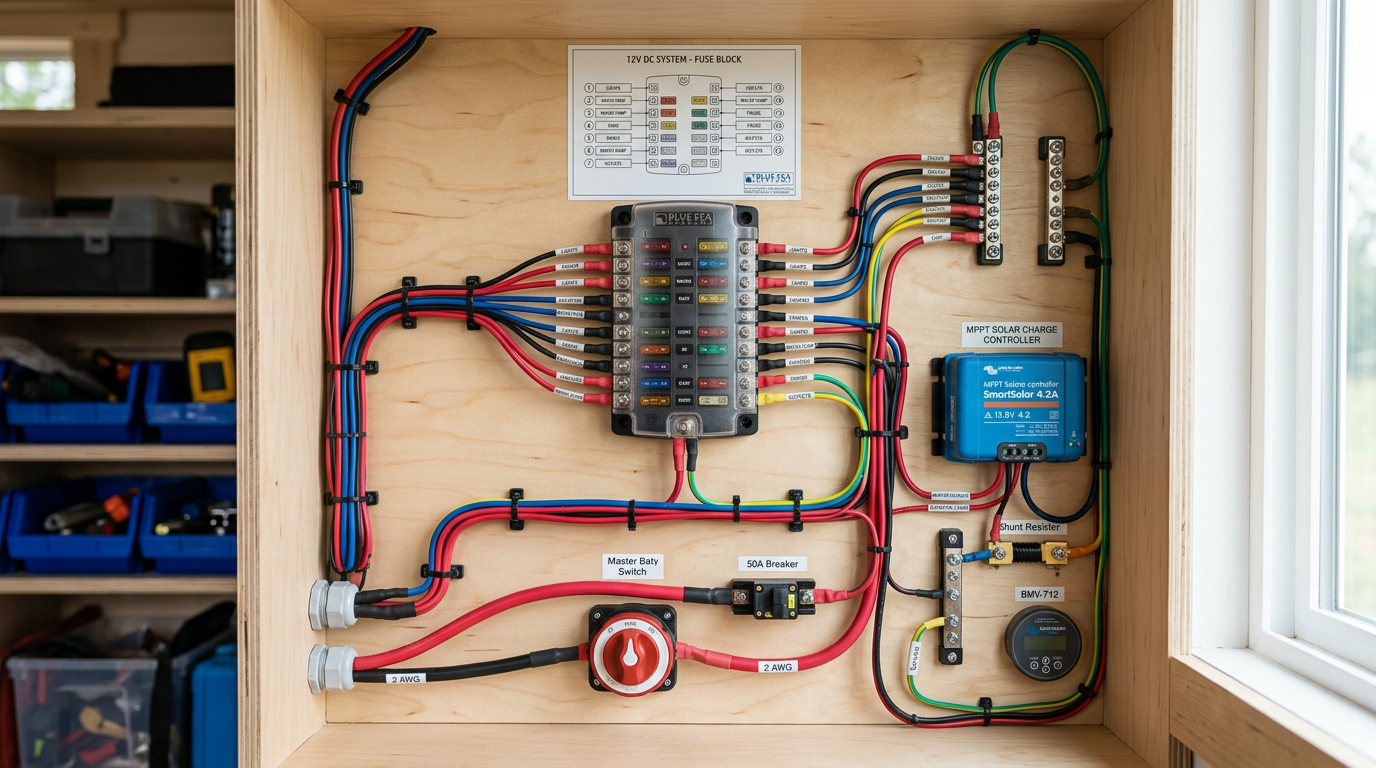
For DIY builders, a 12V DC (direct current) lighting system offers massive advantages over standard 120V or 230V AC household wiring. First, 12V systems are exceptionally safe and easy to install without an electrician's license, making them ideal for self-builders. Second, because most tiny homes run on solar power or batteries, a direct DC lighting system eliminates the energy loss associated with running an inverter. You run wiring directly from your battery bank to a dedicated marine-grade fuse block, powering your entire lighting array with minimal draw.
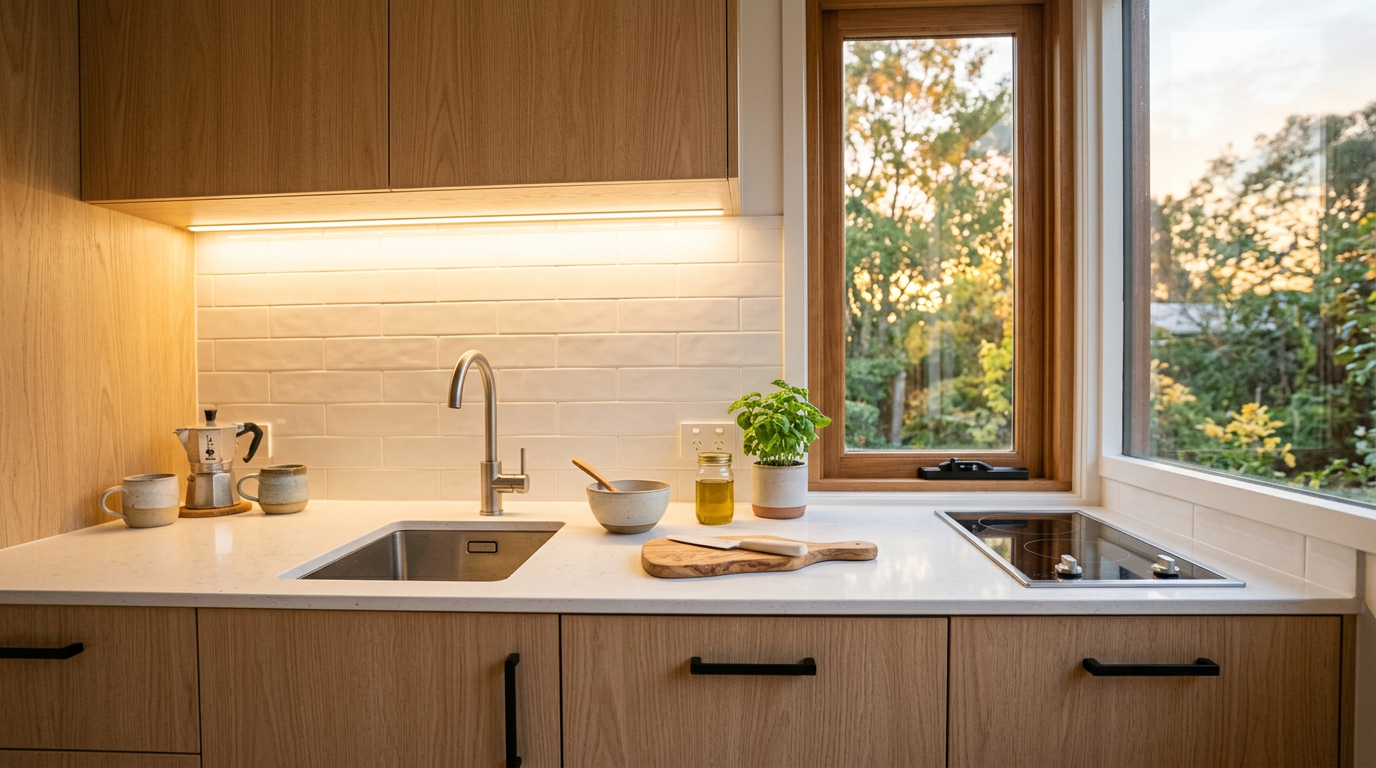
When pulling wire behind your wall panels, choose high-quality 14-gauge or 16-gauge marine-grade duplex wire. This heavier gauge prevents voltage drop, which can cause LEDs to flicker or dim at the end of a long run. Group your lighting into zones: one circuit for the kitchen task lights, one for the loft, and another for the living area. Control these zones with high-quality Pulse Width Modulation (PWM) dimmers, which lower light levels smoothly without wasting battery power as heat.
Strategic Placement for Lofts and Corners
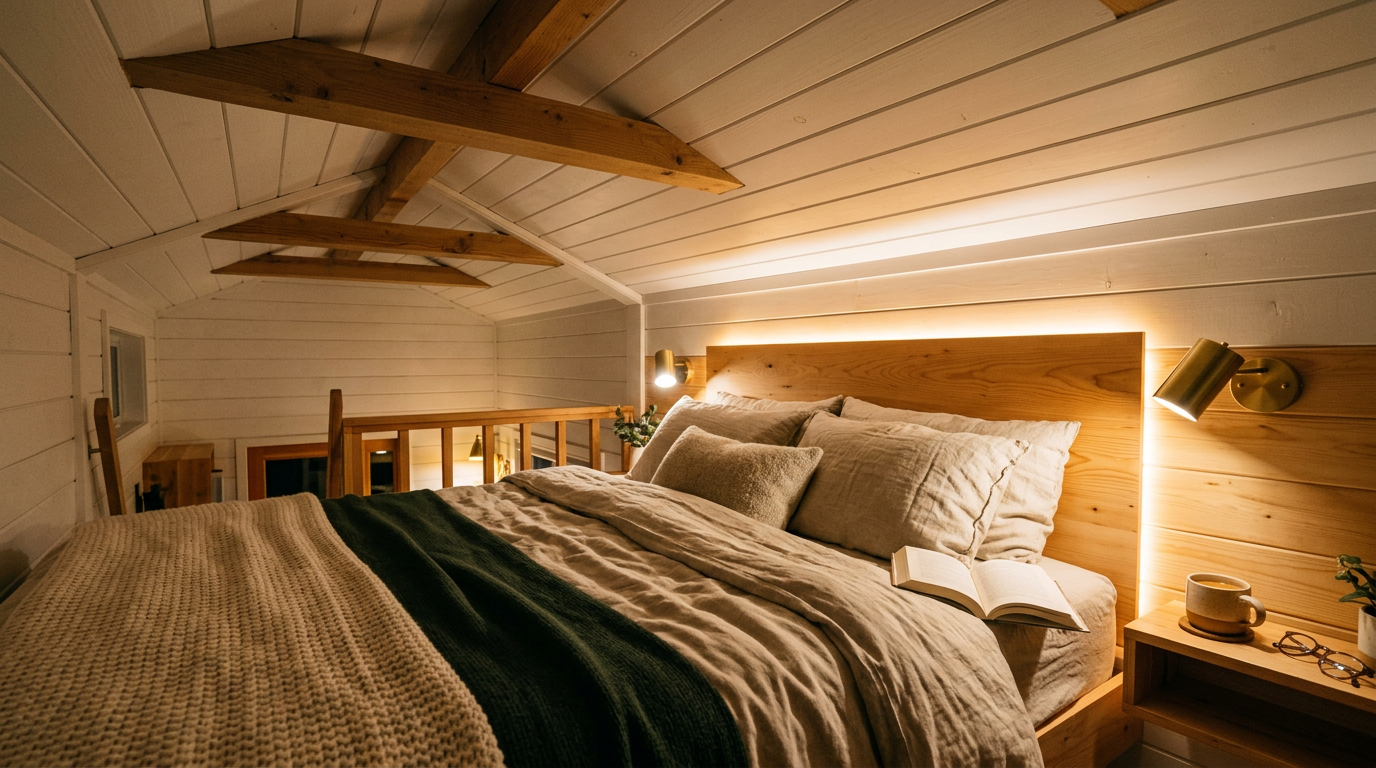
Tiny home lofts present a unique lighting challenge because clearance is often limited to less than 1.2 m [3.9 ft]. Standard light fixtures easily become head-knocking hazards. To solve this, run high-density LED strip lights inside aluminum channels with diffusion lenses along the top of the wall plates or collar ties. Directing the light upward to bounce off the ceiling creates a soft, indirect glow that visually lifts the roofline. Pair this with a low-profile reading sconce at the head of the mattress.
On the ground floor, tackle dark corners by installing vertical light strips recessed directly into the corner trim. This washes the adjacent walls with light, visually pushing them outward and broadening the room. For deep storage cabinets, under-stairs drawers, or pantry shelves, small 12V recessed pucks wired to magnetic door switches are incredibly helpful. The lights click on automatically when you open the compartment, ensuring no item gets lost in the dark.
Natural Light Redirection and Reflective Surfaces
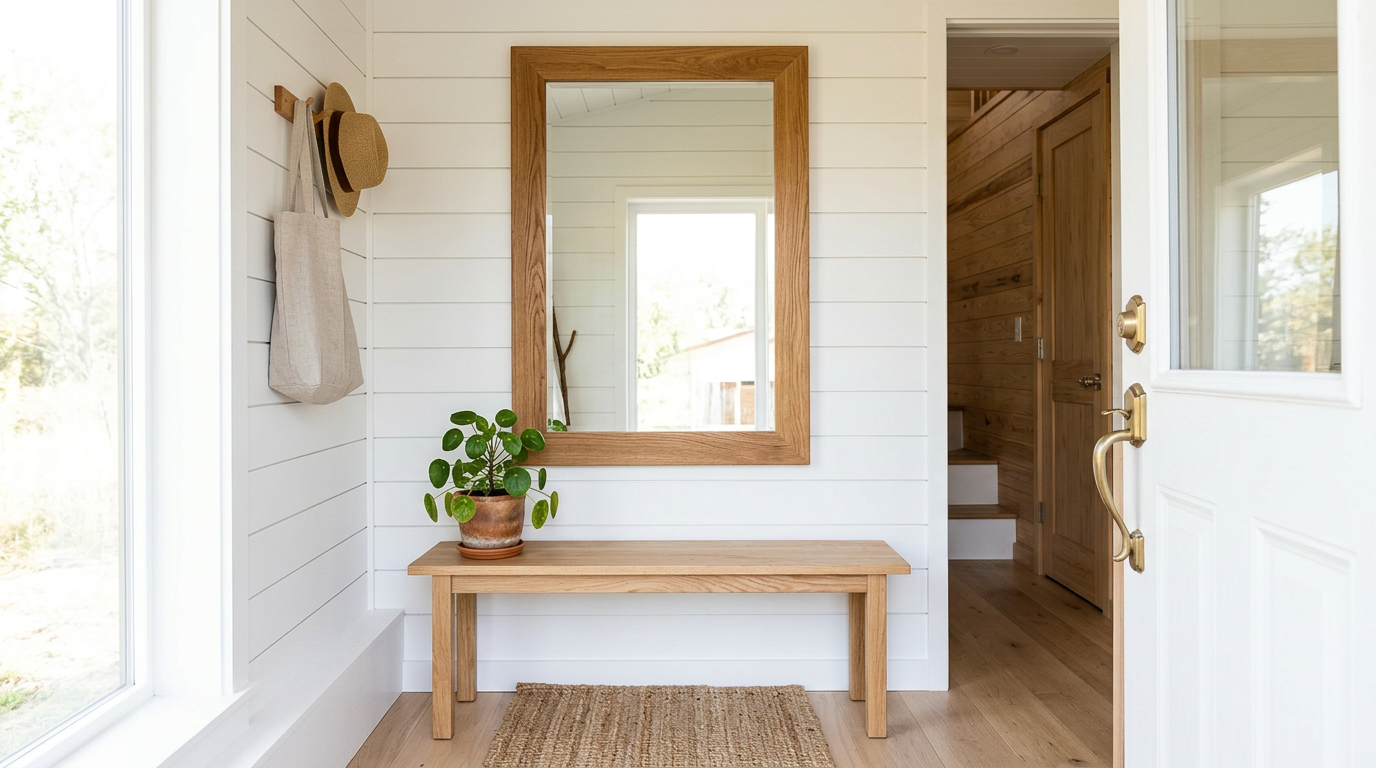
An effective lighting plan goes beyond lightbulbs and wiring; it also relies on how light bounces within your home. If your tiny house is parked on a wooded site or has small windows to prevent heat loss, you must make every photon of natural light count. Placing a large mirror measuring approximately 60 cm by 120 cm [24 in by 48 in] directly opposite your main window will bounce natural daylight deep into the interior, making the space feel twice as bright.
Your choice of paint finish also plays a critical role in light distribution. Avoid high-gloss finishes, which produce harsh, glaring hotspots under artificial light. Instead, paint your walls with a satin or eggshell finish in warm white, cream, or light grey. These finishes feature a subtle sheen that softly diffuses both artificial light and natural daylight. When paired with light-toned interior timber like birch, ash, or pine, your home will feel naturally bright and airy.