
Weekly Edition · 8 September 2025
Designing a Tiny Home Rainwater Harvesting System
Learn how to design, build, and maintain a safe off-grid rainwater harvesting and filtration system for your DIY tiny house.
This Week
Rainwater harvesting and filtration for tiny living
Learn how to design, build, and maintain a safe off-grid rainwater harvesting and filtration system for your DIY tiny house.
Calculating Your Tiny Roof Yield
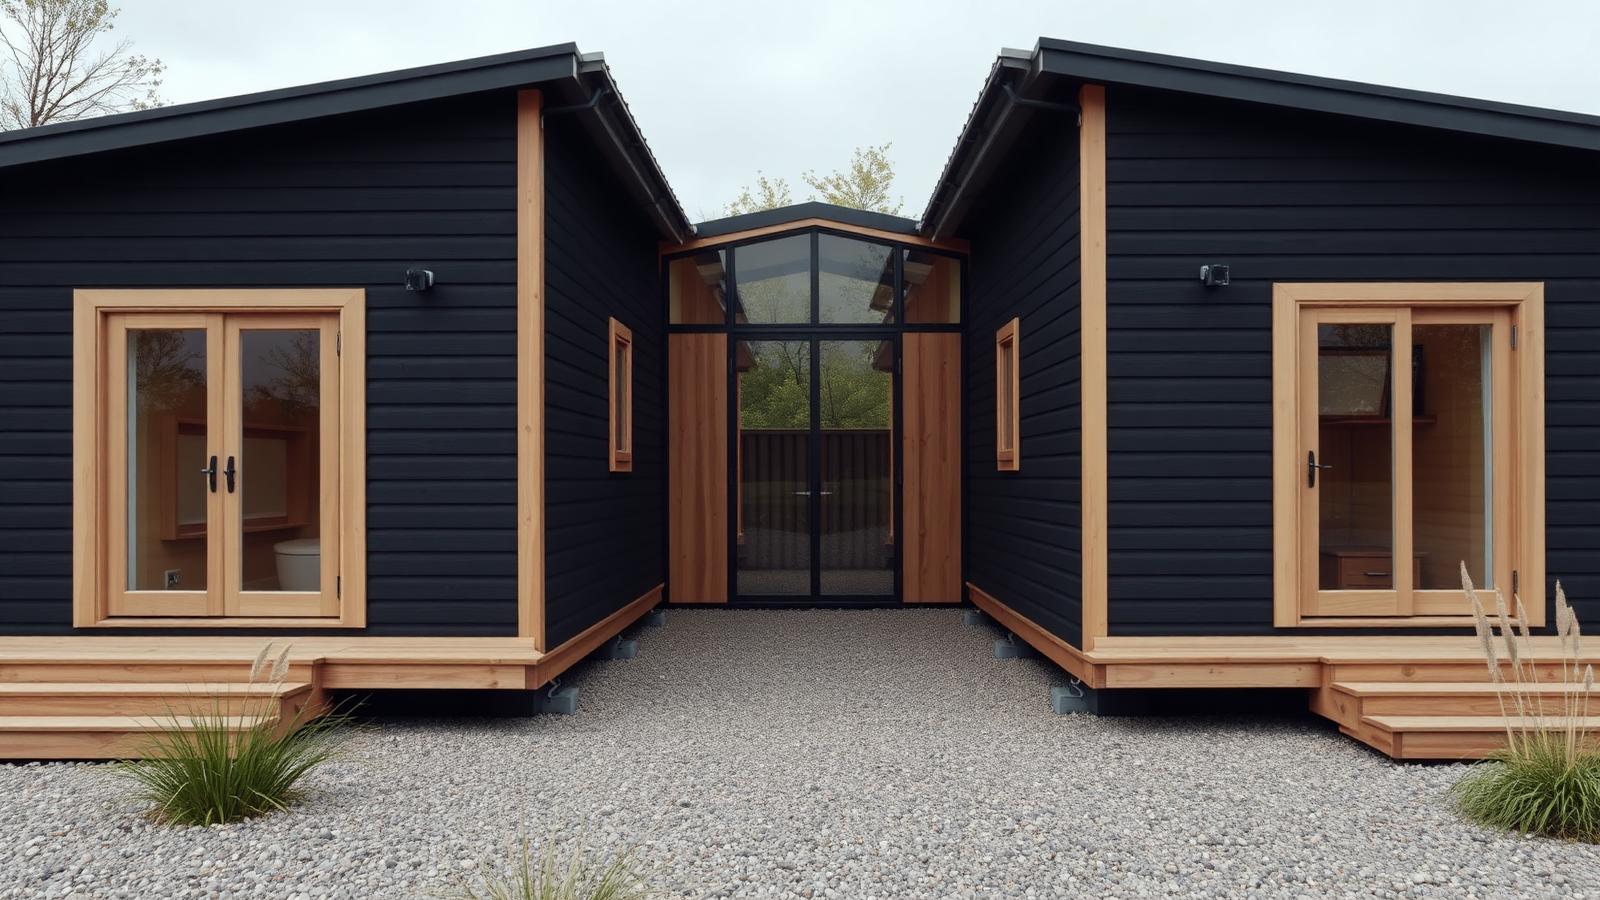
Before buying tanks, you need to calculate your potential water harvest based on your roof footprint. A standard tiny house measuring 8.5 meters [28 feet] by 2.4 meters [8 feet] offers a footprint of roughly 20.4 square meters [224 square feet]. To find your potential yield, multiply this footprint area by your local annual rainfall in millimeters and a runoff efficiency factor of 0.9. For instance, in an area with 1,000 millimeters [39 inches] of annual rain, this modest roof can yield roughly 18,360 liters [4,850 gallons] of water per year, which translates to about 50 liters [13 gallons] of daily water use if storage is managed correctly.
Roof material choice is critical when collecting drinking water. Avoid asphalt shingles, which leach heavy metals and petroleum-based toxins into your collection system. Instead, opt for a standing-seam metal roof made of bare aluminum or factory-coated steel with a food-safe finish. These smooth, non-porous surfaces allow water to slide off quickly, minimizing evaporation losses and preventing organic debris from getting trapped. Gutters should be constructed from aluminum or food-grade PVC, angled at a slope of 6 millimeters per meter [1/16 inch per foot] toward your downspouts to prevent standing water.
Preventing Debris with Pre-Filtration
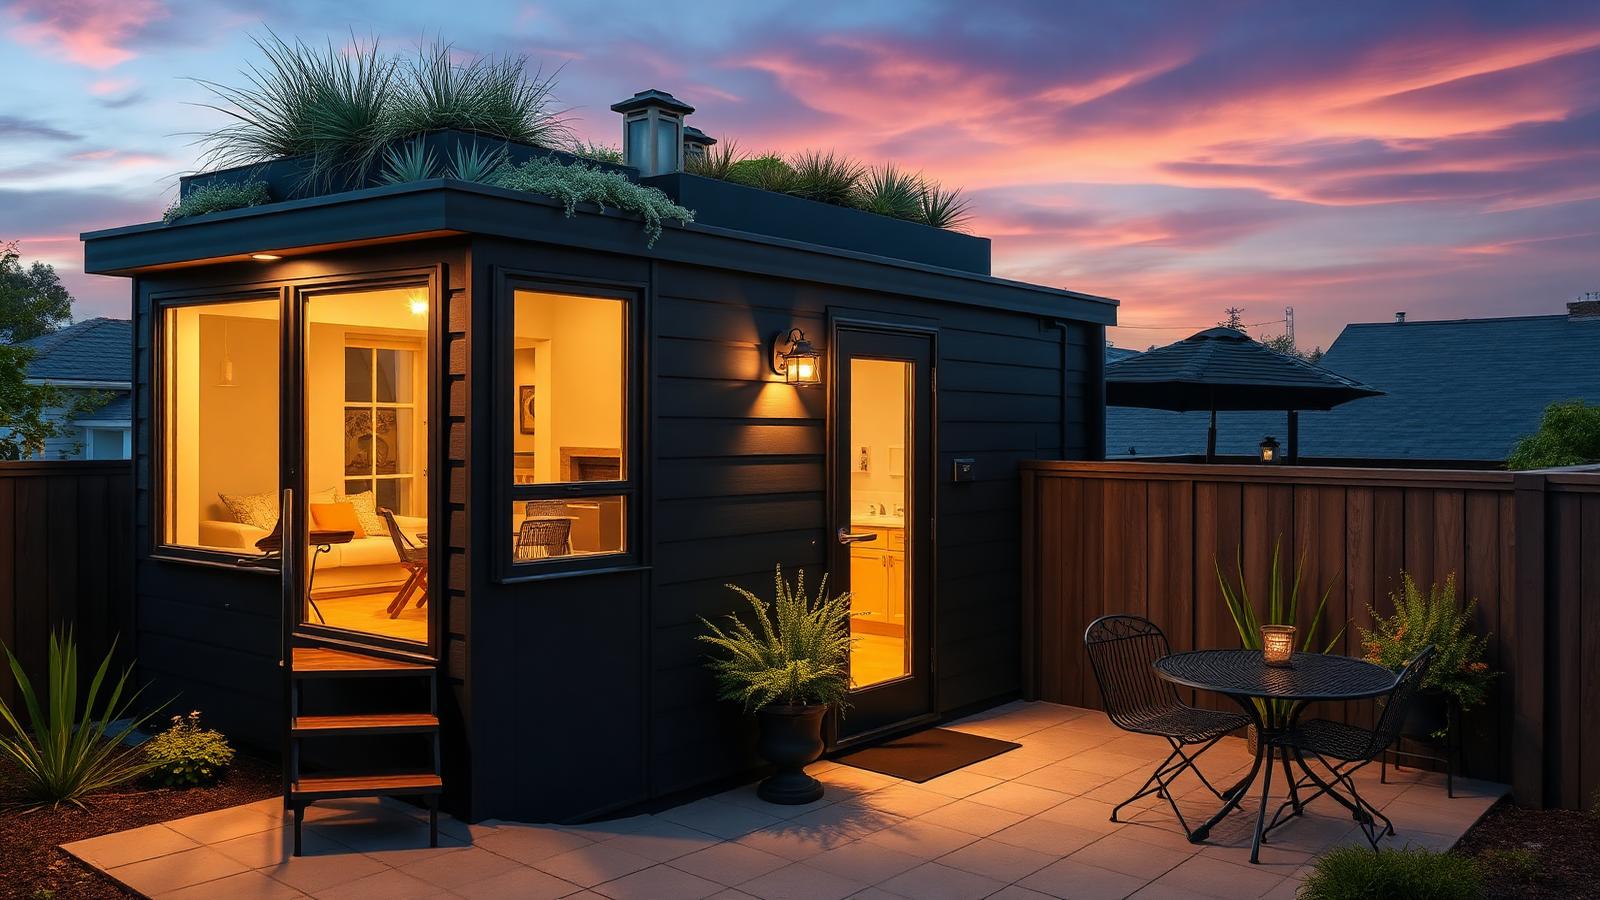
The first rain after a dry spell washes away accumulated dust, pollen, bird droppings, and leaf litter. To keep this highly contaminated water out of your main storage tanks, you must install a first-flush diverter. This simple mechanical device diverts the initial dirty water down a separate vertical pipe. Inside the pipe, a floating ball slowly rises as the chamber fills. Once the chamber is full of dirty water, the ball seals the inlet, directing the subsequent clean rainwater into your storage tank.
For every 92 square meters [1,000 square feet] of roof area, you should divert approximately 38 to 76 liters [10 to 20 gallons] of water. For a typical tiny home, a first-flush diverter pipe with a capacity of 15 to 20 liters [4 to 5 gallons] is usually sufficient. At the bottom of this diversion pipe, a slow-release drip valve drains the dirty water over 24 hours, automatically resetting the system for the next rainfall. Additionally, install stainless steel gutter mesh and a leaf slide at the top of your downspout to catch larger twigs and leaves before they even reach the diverter.
Selecting and Positioning Storage Tanks
Your storage tank must be constructed from food-grade material, such as high-density polyethylene (HDPE) that is UV-stabilized. Choose dark green or black tanks to block out sunlight, which prevents algae from growing inside your water supply. A 1,000-liter [264-gallon] IBC tote is a popular, budget-friendly choice for DIY builders, as it fits neatly on a heavy-duty trailer tongue or beside the house. Always place your tanks on a level, compacted gravel pad or a reinforced concrete slab, as 1,000 liters [264 gallons] of water weighs a massive 1,000 kilograms [2,204 pounds].
Plumb your tank using food-grade hoses or schedule 40 PVC pipes. Install a bulk-head fitting at the bottom of the tank for your water outlet, placing it at least 10 centimeters [4 inches] above the absolute bottom to avoid drawing in any fine sediment that settles at the base. You must also include an overflow port at the top of the tank that is equal to or larger than your inlet pipe. This overflow must be screened with fine stainless steel mesh to prevent mosquitoes, frogs, and rodents from entering the tank and contaminating your supply.
Purifying Water for Safe Indoor Use
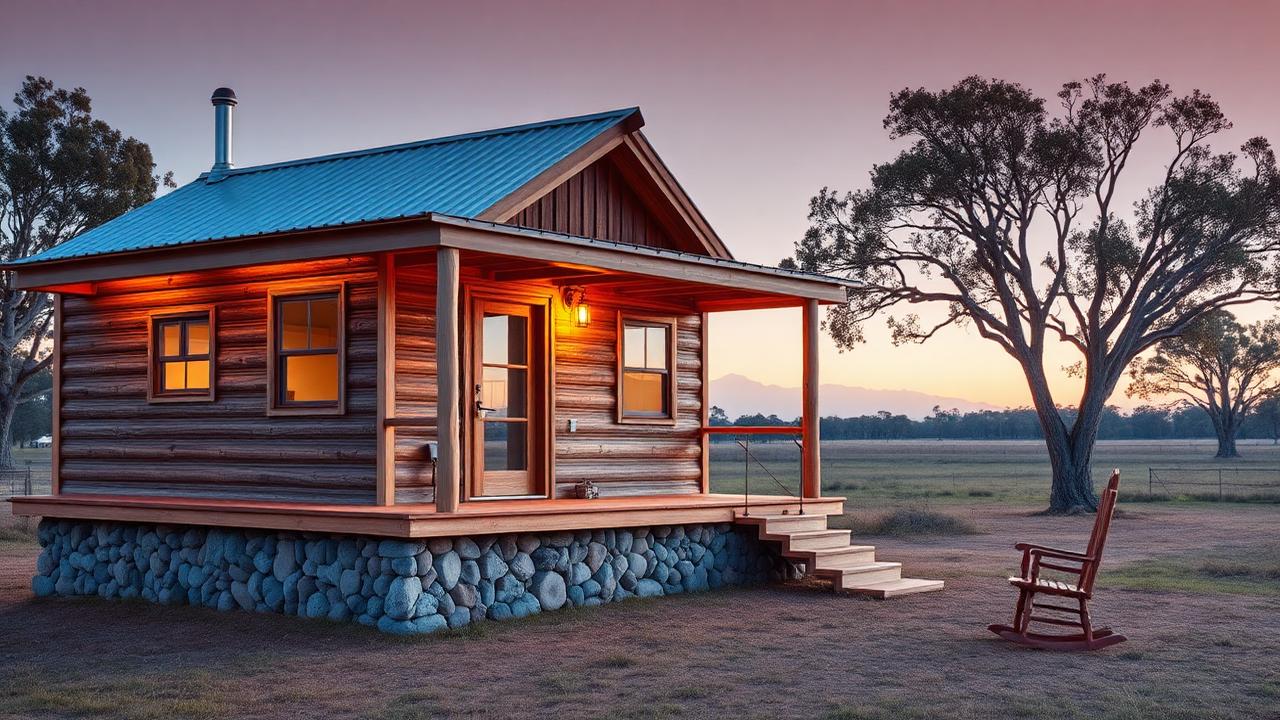
Raw rainwater is not safe for drinking without a proper multi-stage filtration system. To pressurize your home, use a 12-volt or 120-volt diaphragm demand pump capable of delivering 11 liters per minute [3 gallons per minute] at 3.1 bar [45 PSI]. Route the water first through a 20-micron sediment filter to catch fine dirt, followed by a 5-micron carbon block filter to remove taste, odor, chlorine, and organic chemicals. These cartridge filters must be housed in standard blue or clear filter casings, which should be mounted in an accessible location for easy replacement every six months.
The final and most crucial stage for potable water is disinfection. While carbon filters improve taste, they do not kill bacteria or viruses. Install a class A ultraviolet (UV) sterilizer after the carbon filter. The UV light disrupts the DNA of pathogens like Giardia, Cryptosporidium, and E. coli, rendering them harmless without adding chemicals to your water. Ensure your UV chamber is sized to match your pump's flow rate, typically requiring a 45-watt bulb for tiny home applications, and keep it powered continuously to prevent untreated water from bypassing the system.