Weekly Edition · 1 December 2025
Tiny Home Storage: Every Hidden Cavity You Can Use
Discover how to find and reclaim overlooked framing, floor, and stair cavities in your tiny house build for maximum storage.
This Week
Tiny home storage: every hidden cavity you can use
Discover how to find and reclaim overlooked framing, floor, and stair cavities in your tiny house build for maximum storage.
Between the Studs: Reclaiming Wall Cavities
Standard tiny home framing relies on 90 mm [3.5 inch] or 140 mm [5.5 inch] timber studs, which typically get filled with insulation and covered with cladding. However, not every wall cavity needs full-depth insulation, especially on interior partition walls or specific zones of exterior walls in milder climates. By planning your framing layout carefully, you can leave select bays open to create recessed shelving units. These shallow niches are perfect for spice racks, toiletry cabinets, or bookshelves, reclaiming valuable floor space that would otherwise be lost to protruding furniture.
To build a recessed wall niche, frame the rough opening just as you would for a small window, using a header and sill to support the load. Line the cavity with thin 6 mm [0.25 inch] plywood or paneling to maximize the interior depth while maintaining a clean finish. If you are building on an exterior wall, ensure you maintain a continuous vapor barrier behind the backing board and compensate for the lost insulation by using high-performance rigid foam or aerogel insulation behind the niche.
Step by Step: Transforming Staircases into Closets
The space beneath a loft access staircase is one of the largest untapped volumes in a tiny home. Instead of sealing this area off with drywall or simple plywood sheeting, you can design a modular storage system that utilizes every cubic centimeter. Divide the triangular footprint under the stairs into distinct functional zones. The tallest steps can house full-height pull-out pantry towers or wardrobe closets, while the lower steps can accommodate deep drawers on heavy-duty runners or open cubbies for daily-use shoes and pet bowls.
When constructing stair drawers, choose high-quality drawer slides rated for at least 45 kg [100 pounds] to handle the weight of heavy books or kitchen cast iron. Build the drawer boxes from lightweight 12 mm [0.5 inch] Baltic birch plywood to keep the deadweight low. To ensure safety, the stair treads themselves should remain structurally independent from the drawer faces; build a rigid primary frame to support your foot traffic, then slip the storage units into the structural openings beneath.
Underfoot and Out of Sight: Joist-Level Storage
Looking down can reveal surprising storage opportunities, particularly if your tiny home sits on a custom trailer. The space between your floor joists offers a depth of 100 mm to 200 mm [4 to 8 inches] that can be accessed via flush-mount trapdoors. This sub-floor storage is ideal for seasonal gear, spare tools, or bulky non-perishable food supplies that you do not need to access daily. To keep the floor structurally sound, limit these floor hatches to low-traffic areas like the walkway beneath a loft or the space directly in front of the sofa.
To build a secure floor hatch, cut the subfloor plywood cleanly using a track saw to preserve the cutout for use as the lid. Frame the perimeter of the opening with solid blocking between the joists to support the edges of both the floor and the lid. Install a flush-mounting brass ring pull and use durable piano hinges for a smooth opening action. Ensure the cavity is sealed against draft and moisture from below by lining the compartment box with insulated, foil-faced PIR board and installing adhesive weatherstripping around the lip.
The Plinth and the Platform: Elevated Floor Solutions
Elevating a section of your tiny home floor by just 30 cm to 40 cm [12 to 16 inches] can unlock massive storage potential without making the ceiling feel too low. Building a raised platform for your living room lounge or home office creates a deep plenum underneath that can swallow long, awkward items like skis, surfboards, or folding tables. In many clever tiny designs, this platform cavity is used to conceal a full-sized trundle bed that slides out at night, eliminating the need for a dedicated downstairs bedroom footprint.
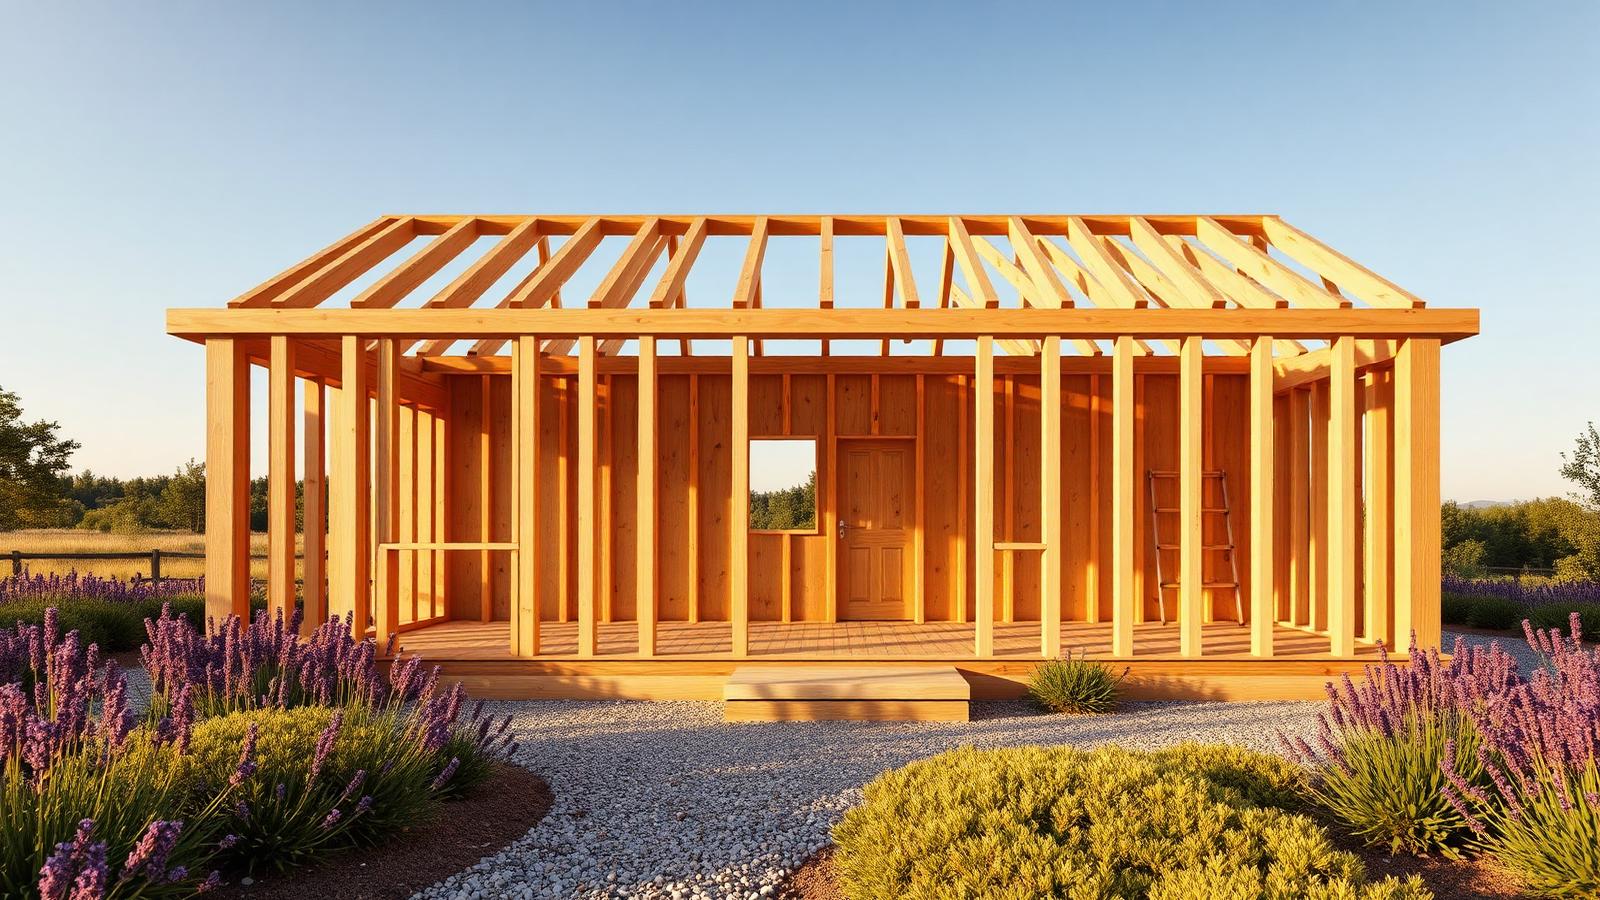
Constructing a platform requires robust framing to prevent sagging or bouncing when you walk across it. Use 45 mm by 90 mm [2x4 inch] joists spaced 400 mm [16 inches] on center, supported by solid vertical posts anchored directly to the subfloor. Cover the platform with 18 mm [0.75 inch] tongue-and-groove plywood, glued and screwed to prevent squeaks. For the slide-out elements, install heavy-duty inline casters with non-marking polyurethane wheels on the bottom of your drawers or bed frame to protect your main flooring from wear.