Weekly Edition · 7 September 2026
Breathe Easy: Tiny Home Ventilation and Mould Guide
Learn how to build and maintain a dry, healthy tiny home with active ventilation, thermal breaks, and simple daily habits.
This Week
Ventilation, condensation and mould prevention in tiny homes
Learn how to build and maintain a dry, healthy tiny home with active ventilation, thermal breaks, and simple daily habits.

The Science of Tiny House Moisture
When you compress your living space down to 25 square meters [270 square feet] or less, everyday activities have a massive physical impact on the indoor air. A single adult can release up to 1.5 liters [0.4 gallons] of water vapor daily just by breathing and sleeping. Add cooking, showering, and drying clothes indoors, and a tiny home's air volume quickly becomes saturated. Without an intentional escape route, this airborne moisture migrates toward the coldest surfaces in the house—typically exterior walls, single-pane glass, or metal window frames—where it instantly condenses back into liquid water, creating a prime breeding ground for mould.
Condensation is more than just a nuisance; it is a structural hazard. When moisture settles on timber framing or behind drywall, it initiates rot that can compromise your home's integrity long before you see the physical signs of black mould on your paintwork. Understanding that high relative humidity is an inevitable byproduct of daily life in a small volume of air is the first step toward building a resilient, long-lasting shelter that keeps both you and your building materials healthy.

Building the Envelope: Vapor Barriers and Thermal Breaks
Preventing moisture issues starts during the framing stage of your DIY build. If you are using steel framing, thermal bridging is a critical concern, as steel conducts cold rapidly from the outdoors, creating localized cold spots on your interior walls. To combat this, you must install a thermal break, such as a 10 mm [0.4 inch] closed-cell foam strip, between the steel studs and your interior cladding. Additionally, choosing the right wall assembly is vital. Always install a high-quality, breathable house wrap on the exterior side of your framing to allow trapped moisture to escape outward, while utilizing a smart vapor retarder on the interior side.
To ensure your walls can dry out if moisture does penetrate, build a rainscreen cavity behind your exterior cladding. Use 20 mm [0.78 inch] treated timber battens to create an air gap between the breathable house wrap and your exterior siding. This gap allows air to circulate vertically, carrying away any moisture that sneaks past your siding. Inside the wall cavity, choose insulation materials that handle moisture well, such as sheep’s wool or polyester batts, which retain their insulating properties even if exposed to minor dampness, unlike standard fiberglass.
Mechanical and Passive Ventilation Systems
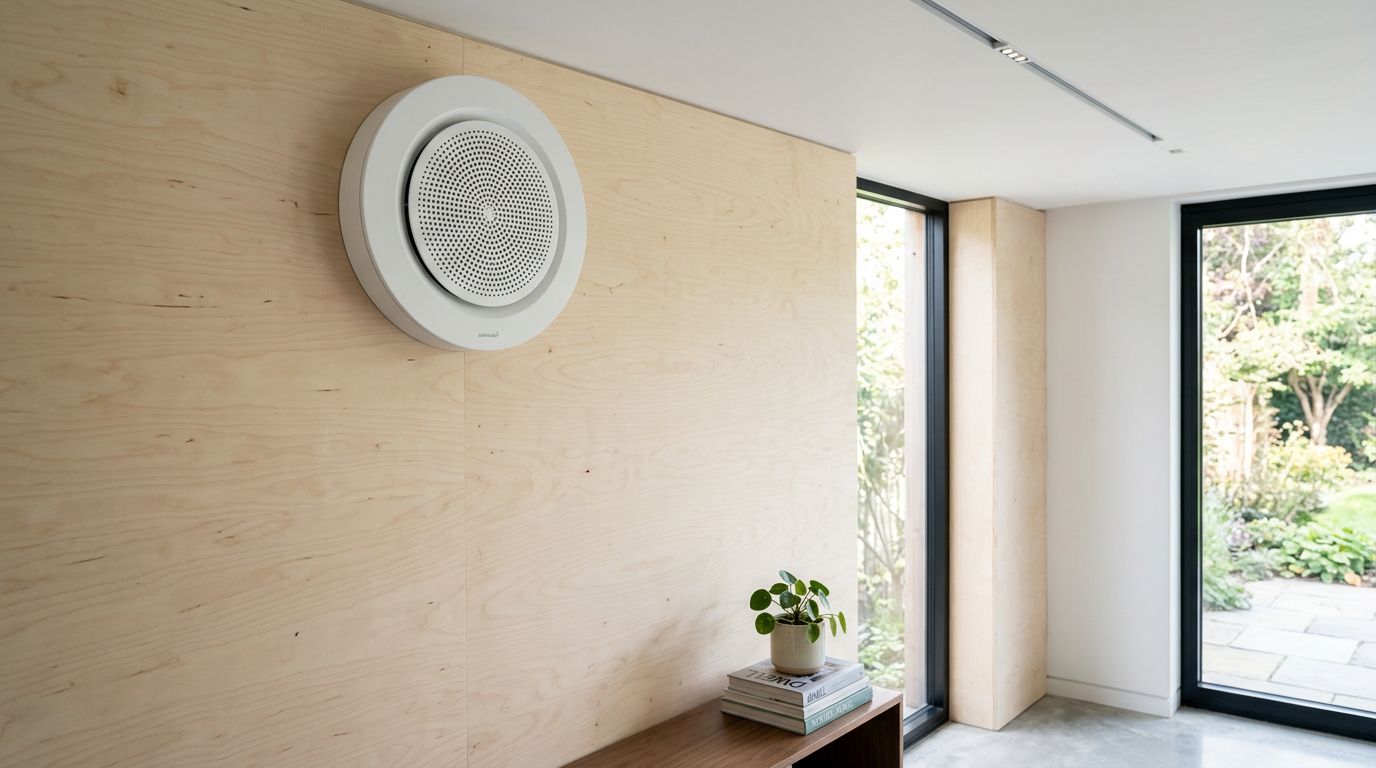
Because modern tiny homes are built to be highly airtight for energy efficiency, passive air leaks cannot be relied upon to refresh the indoor air. You need a dedicated, active strategy. A continuous decentralized Heat Recovery Ventilator (HRV) or Energy Recovery Ventilator (ERV) is the gold standard for tiny builds. These compact units, which require a single 100 mm [4 inch] wall penetration, continuously exhaust stale, moist indoor air while pulling in fresh outdoor air. Crucially, they pass the outgoing air through a ceramic heat exchanger to warm the incoming fresh air, saving on your heating bills.
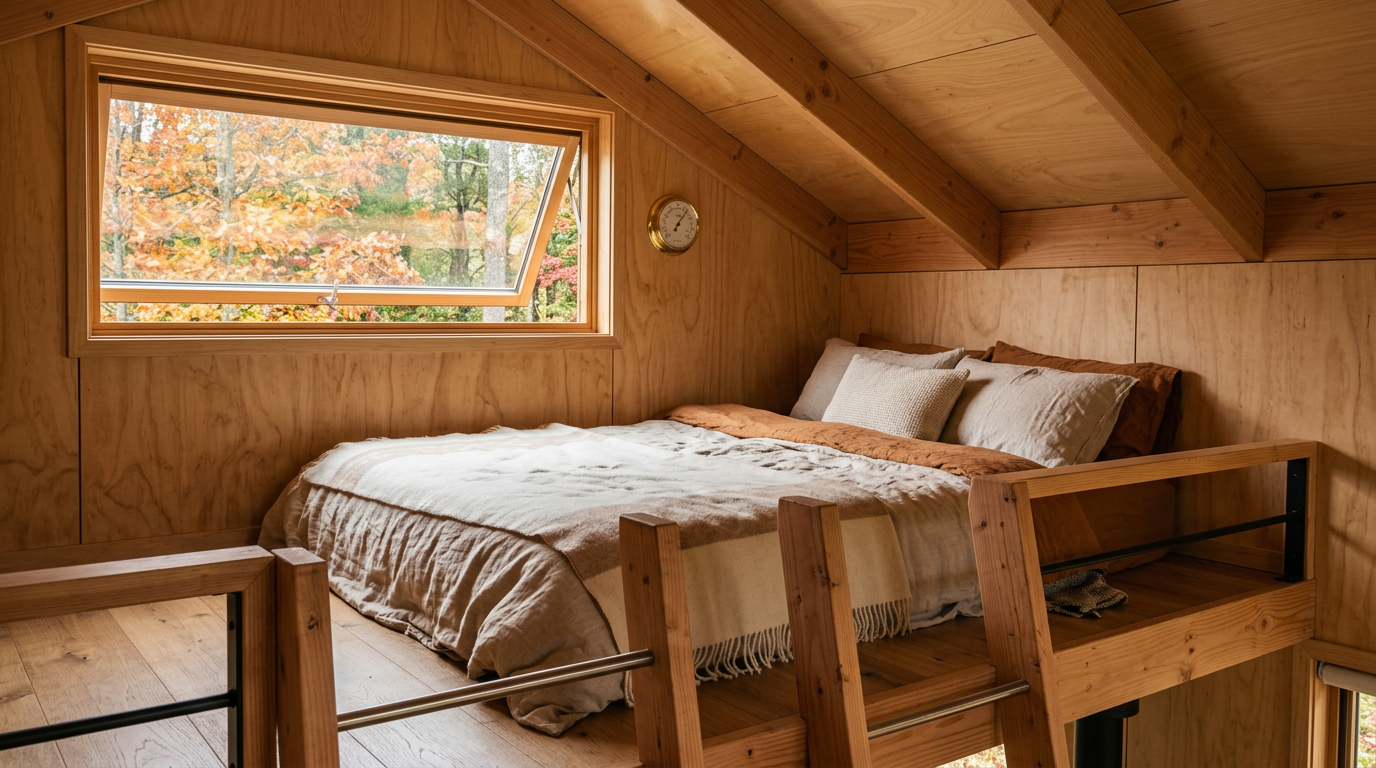
Complement your mechanical ventilation with clever passive design choices. Install windows on opposite sides of your tiny house to leverage cross-ventilation, allowing natural breezes to sweep away stale air in warmer months. High awning windows placed near the peak of a cathedral ceiling or in the sleeping loft are especially effective, as they exploit the stack effect—the natural tendency of warm, wet air to rise and escape through the highest point of the structure.

Smart Habits to Keep the Damp Out
Even the best-engineered ventilation systems can be overwhelmed by poor daily habits. To maintain your tiny home’s relative humidity between the ideal range of 40% and 60%, you must manage moisture at its sources. When cooking, always use pot lids to contain steam, and run a dedicated, externally vented range hood—do not rely on a ductless recirculating fan, which merely spins grease and returns humid air to the room. In the bathroom, run your extraction fan during your shower and leave it running for at least twenty minutes afterward, using a simple digital run-on timer to automate the process.
Be mindful of how you heat your home. Unflued gas heaters are a major source of indoor moisture, releasing nearly one liter of water into the air for every liter of fuel burned; opt instead for a dry heat source like a diesel heater, a small wood stove, or a split-system heat pump. Finally, keep a basic, inexpensive digital hygrometer in your living area. Monitoring your indoor humidity levels in real time gives you the data you need to know when to crack open a window or boost your ventilation unit's speed.