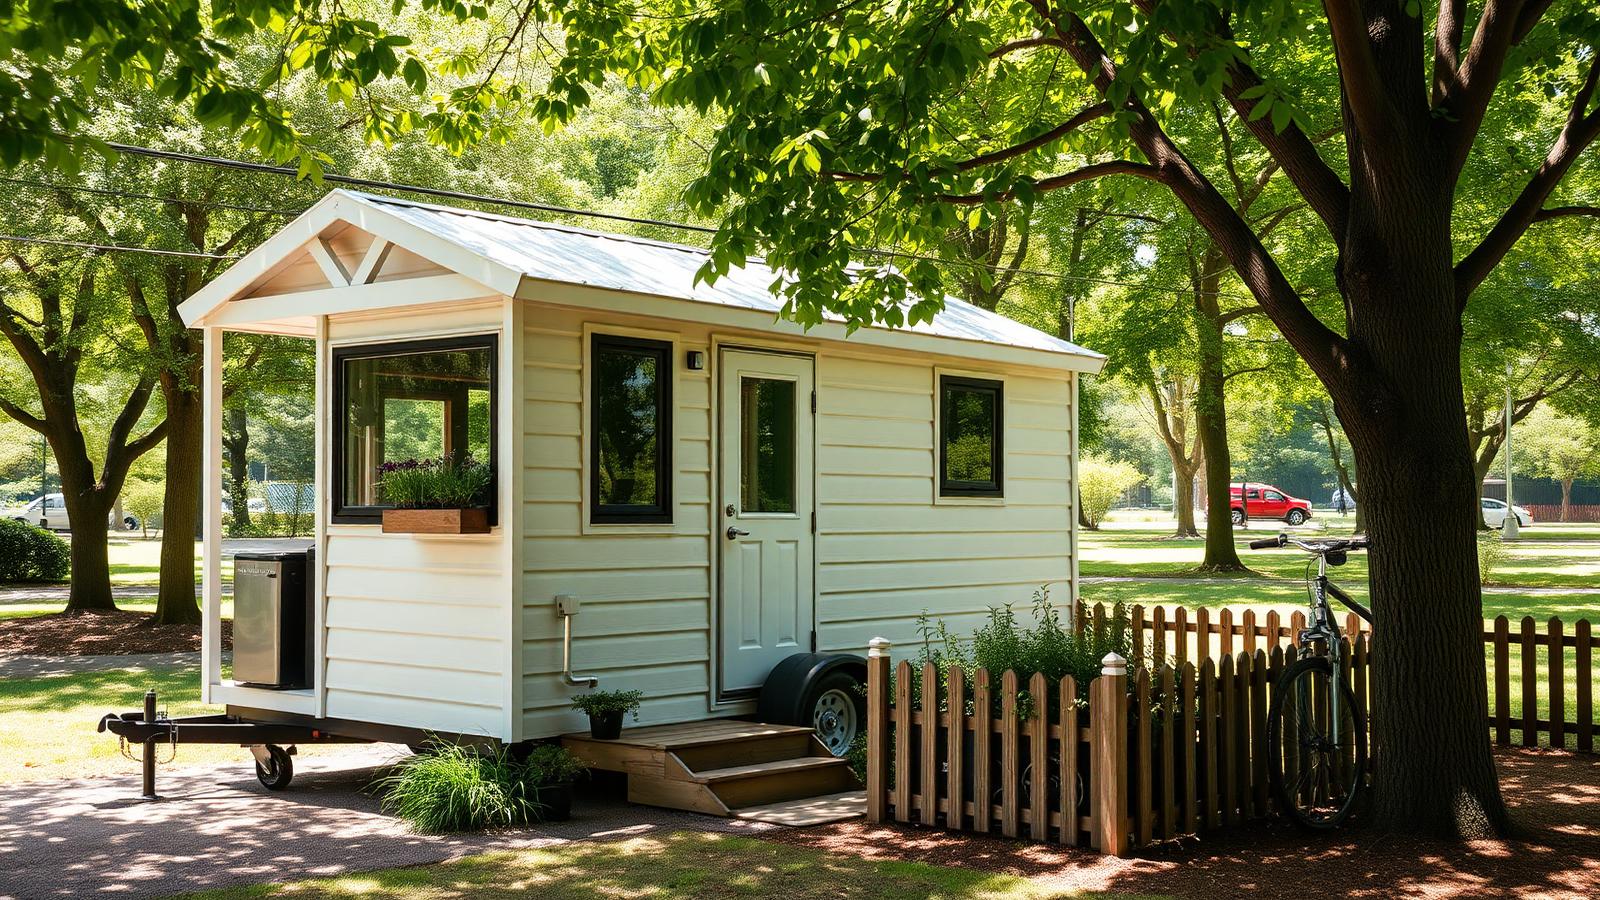
Weekly Edition · 6 October 2025
Guide to Tiny House Timber Cladding and Weatherproofing
Learn how to select the best timber cladding for your mobile tiny home and apply proven weatherproofing techniques to protect your build for decades.
This Week
Timber cladding choices and how to weatherproof them
Learn how to select the best timber cladding for your mobile tiny home and apply proven weatherproofing techniques to protect your build for decades.
Choosing the Best Timber Species for Your Build
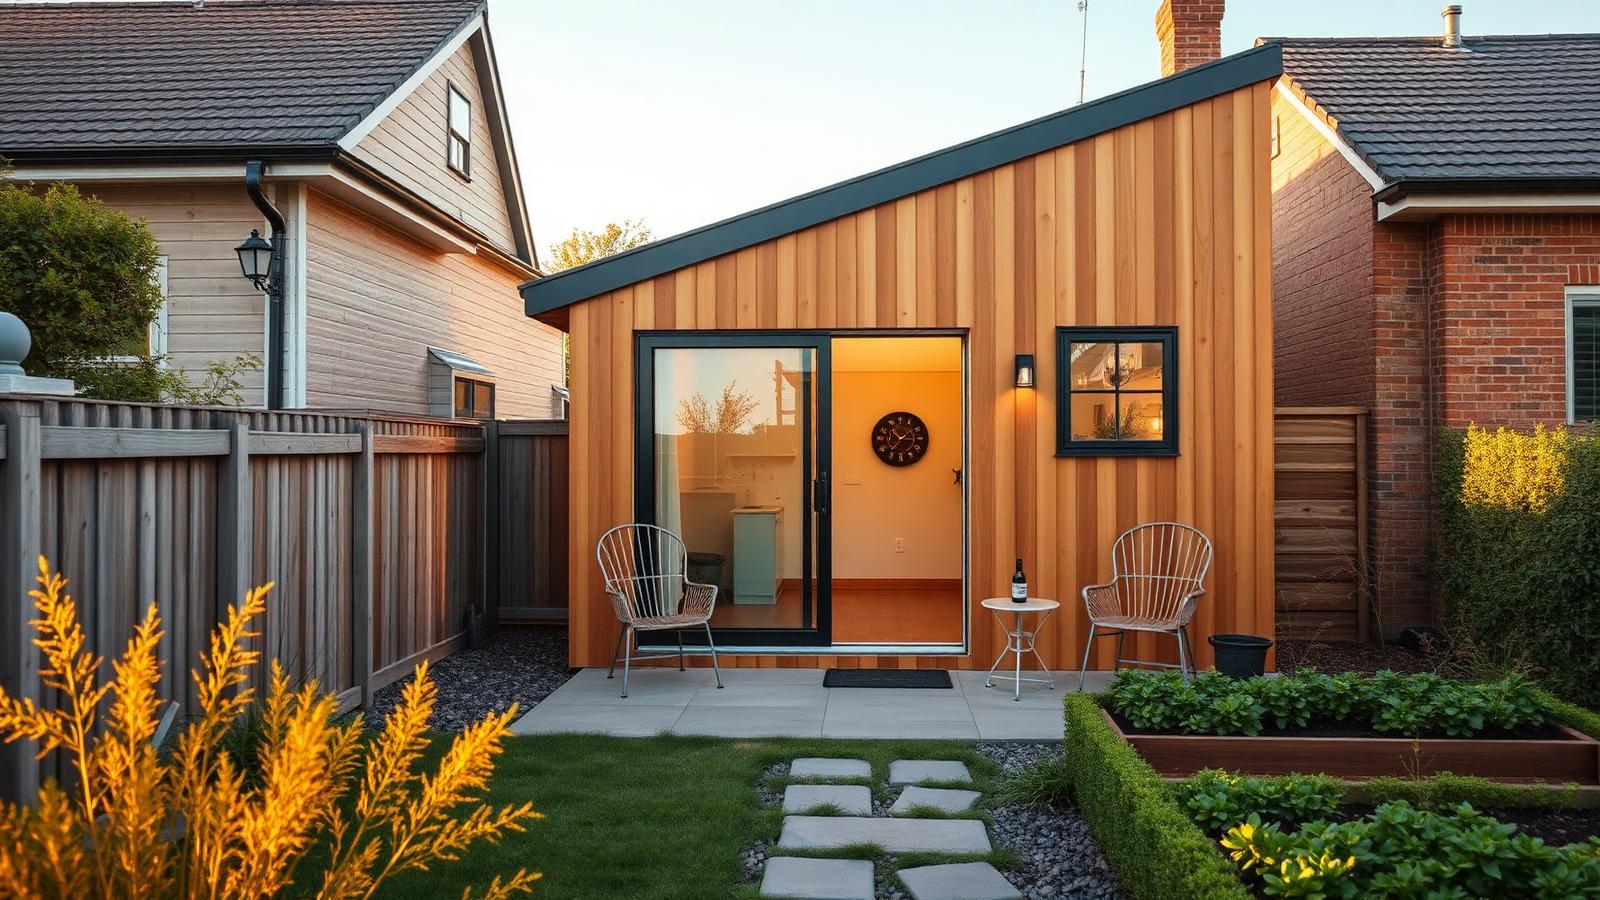
Selecting the right wood species is the foundation of a long-lasting tiny home exterior. Because tiny houses on trailers are subjected to high wind loads during transit and extreme weather shifts, you need a timber that is both stable and naturally rot-resistant. Western red cedar remains the gold standard for many self-builders due to its natural oils, low density, and minimal shrinkage. If you are looking for a highly durable European alternative, Siberian larch or home-grown European larch offers excellent decay resistance due to its high resin content. For those on a tighter budget, heat-treated pine (thermowood) provides remarkable dimensional stability, ensuring your boards won't warp or cup when exposed to driving rain.
When calculating your material requirements, aim for a board thickness of at least 15 mm [0.59 in], though 19 mm [0.75 in] is highly recommended for added rigidity on a mobile frame. Keep weight in mind during your selection process. While dense hardwoods like sweet chestnut or oak offer incredible longevity and a beautiful rustic aesthetic, they add significant weight to your trailer. A cedar clad tiny house can save you up to 300 kg [661 lbs] compared to one clad in heavy hardwood, which can make all the difference when trying to stay under the critical 3.5-tonne [7,716 lbs] road towing limit.

Profile Matching: Shedding Water Naturally
The profile of your timber cladding dictates how effectively your tiny home sheds rainwater. Tongue-and-groove profiles are incredibly popular because they create a clean, continuous flat surface that is highly wind-resistant during highway travel. When installing tongue-and-groove vertically, always ensure the tongue points upwards to prevent water from pooling inside the joints. For horizontal installations, shiplap profiles are highly effective because the overlapping joint allows gravity to channel rainwater down and off the building envelope. If you prefer a highly contemporary look, open-joint shadow gap cladding can be used, but this requires a high-quality UV-resistant membrane behind the timber to protect the structure underneath.
Regardless of the profile you choose, allow for wood movement by leaving a 2 mm [0.08 in] expansion gap within the joints. Wood naturally expands and contracts with changes in seasonal humidity. If you nail the boards too tightly together, they will buckle and crack as they swell in the winter months. For secure fixing, always use grade 304 or 316 stainless steel ring-shank nails or screws. Standard galvanized fixings will eventually react with the natural acids in timbers like cedar and larch, causing unsightly black streaks to run down your beautiful timber facade.
Building a True Weatherproof Rain-Screen
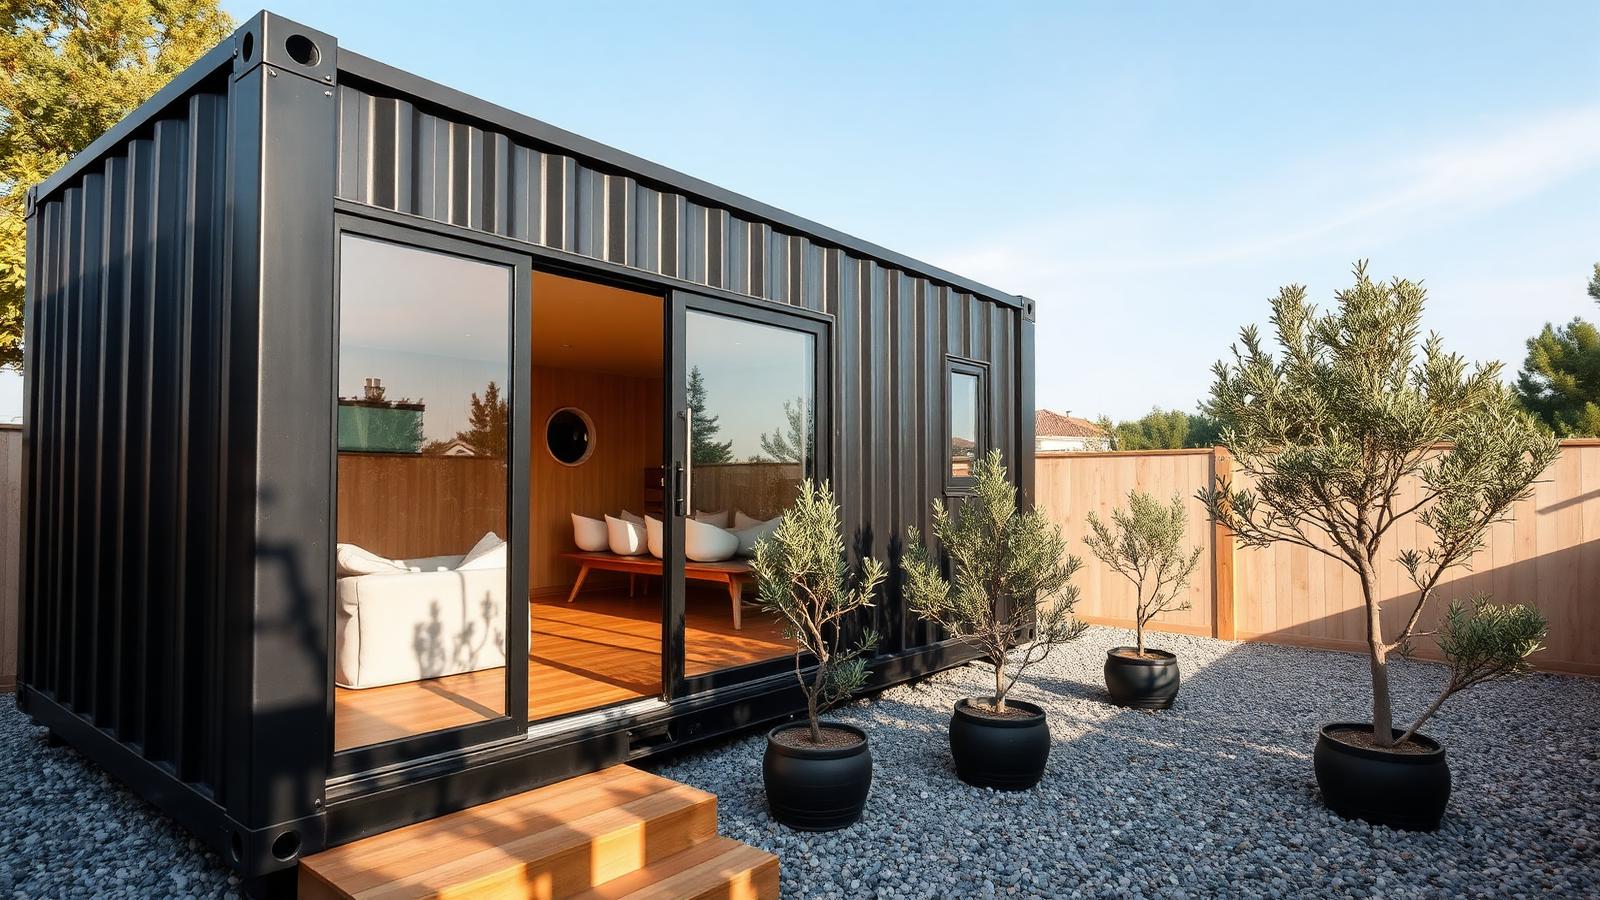
A common mistake among first-time tiny house builders is nailing timber cladding directly to the breathable building wrap. Without a ventilation cavity, moisture gets trapped between the back of the wood and the membrane, leading to rapid rot and mold. To prevent this, you must construct a functional rain-screen system. Start by wrapping your timber framing in a high-quality, tear-resistant breather membrane. Next, install treated softwood battens that are at least 19 mm by 38 mm [0.75 in by 1.5 in] directly over your stud lines. This creates a continuous air gap behind the cladding, allowing any water that penetrates the joints to drain away safely.
This cavity relies on the stack effect to dry out moisture. Cool air enters at the bottom of the wall, warms up slightly, and escapes at the top, carrying away dampness. To keep this system working efficiently while keeping pests out, you must install stainless steel or insect mesh at both the top and bottom ventilation openings. The mesh stops wasps, mice, and spiders from nesting in the cavity while maintaining the unrestricted airflow needed to keep your structural framing bone dry throughout the wettest seasons of the year.
Finishes, Oils, and Long-Term Preservation
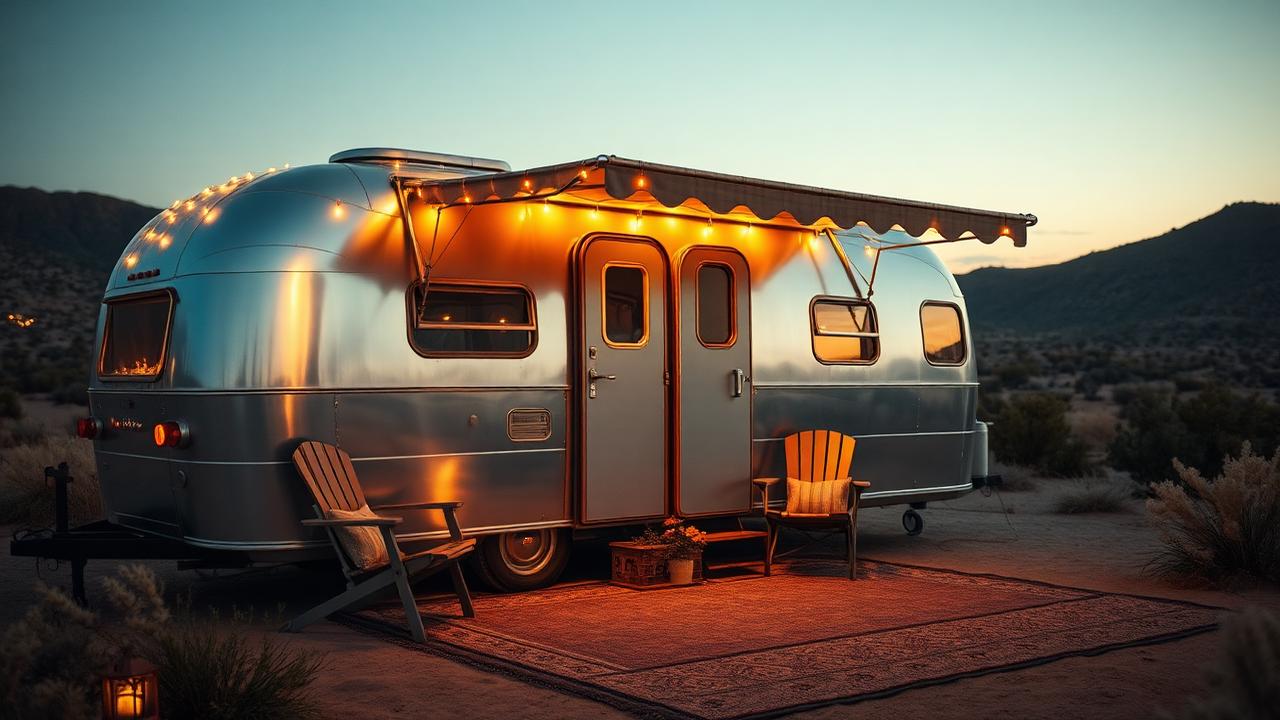
Once your timber cladding is installed, you must decide how to finish and protect it. If you love the warm, natural tones of fresh wood, you must apply a UV-protective exterior oil or penetrative stain. Untreated timber will naturally weather to a silvery-grey color over twelve to eighteen months due to UV exposure. While some builders welcome this low-maintenance, weathered look—particularly on durable woods like larch or cedar—applying a high-quality, non-film-forming wood oil every two to three years will replenish the wood’s natural oils and provide a hydrophobic barrier that repels water droplets while letting the timber breathe.
If you decide to paint your cladding, always use a microporous, breathable paint system. Avoid cheap, film-forming gloss paints that trap moisture beneath the surface, as this leads to bubbling, cracking, and eventual wood rot. Before applying any finish, make sure the moisture content of your timber is below 18 percent using a cheap pin-type moisture meter. Applying oils or paints to damp wood seals the water inside, which will inevitably ruin your finish within a single season. Taking these careful steps ensures your mobile home remains dry, safe, and beautiful for decades to come.